The order of photos in a listing gallery is part of the pitch. Buyers scroll with their thumbs, and most decide within the first handful of frames whether to keep going. A clear ordering logic keeps them moving through the home the way they would on a walk-through, and a poor one loses them before the kitchen.
This post covers the sequence after the first frame. The choice of the first image itself is a separate topic in How to Choose the Hero Photo for Your Listing.
What is the best order for a listing gallery?
The most reliable order follows the path a visitor would walk. After the hero, the gallery should move from the outside in, from public rooms to private ones, and from the main structure to the outdoor space.
- Hero and arrival. The front exterior or the strongest single image, then an entry or foyer frame that shows what it feels like to walk in.
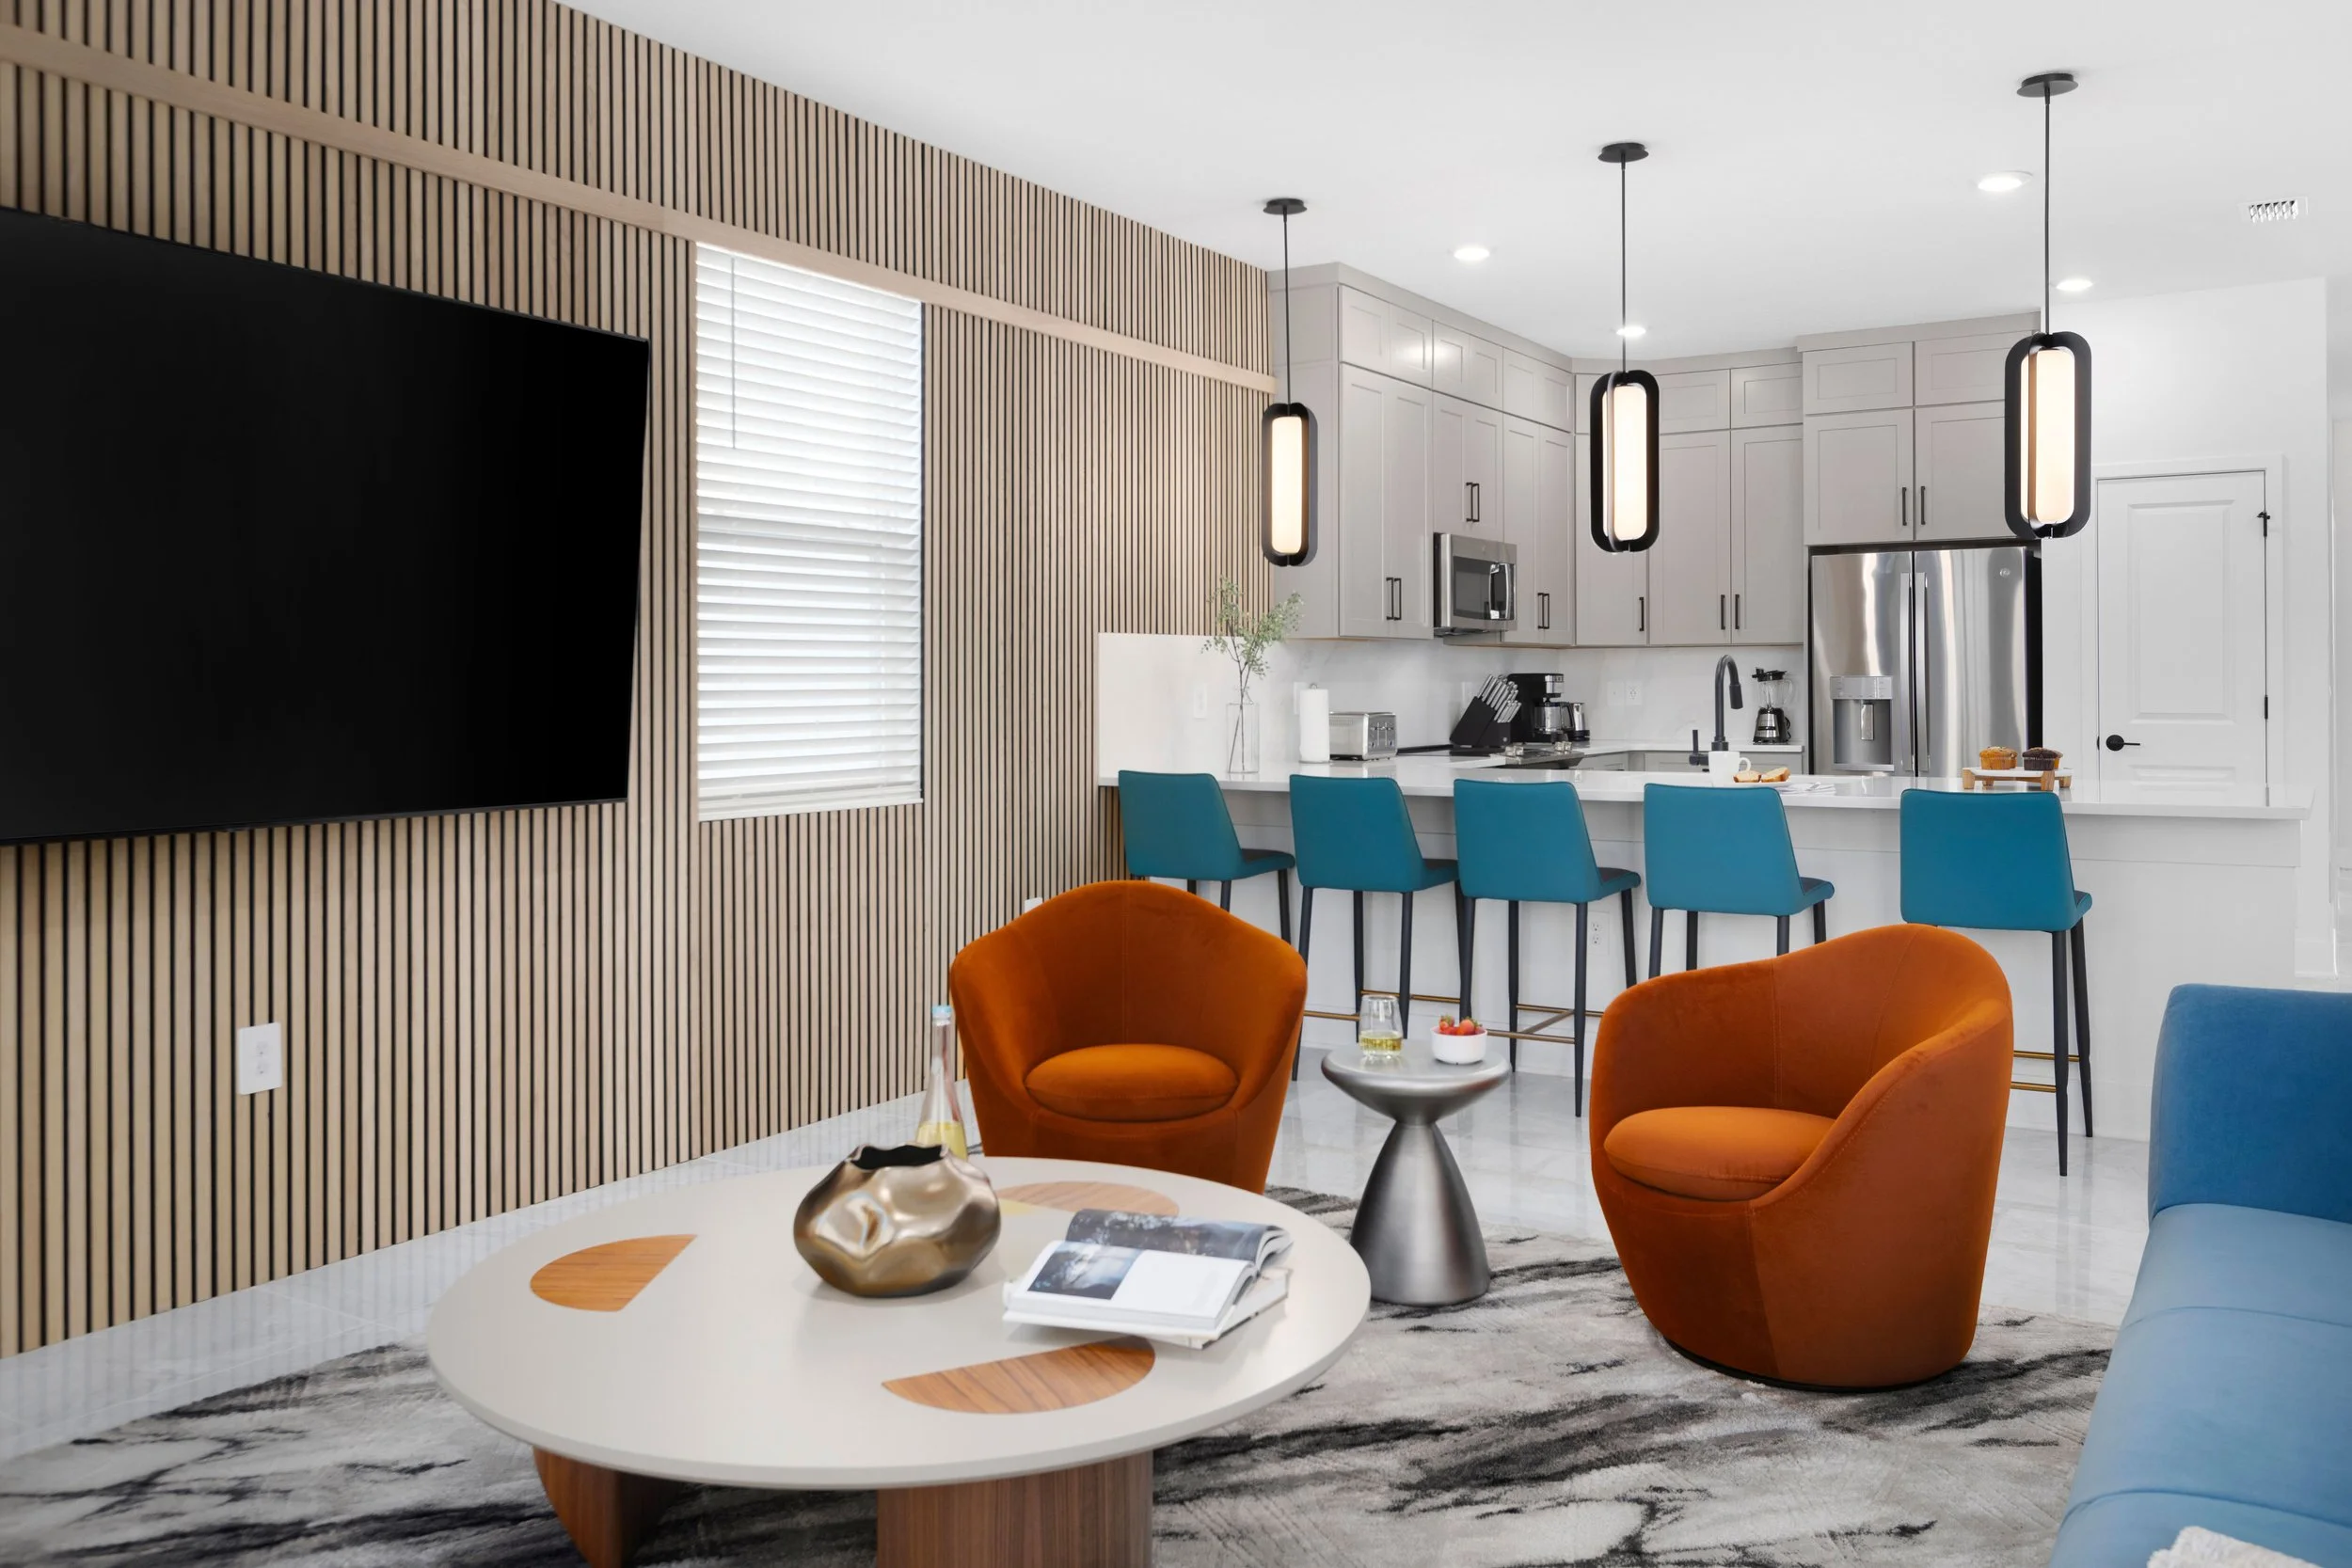
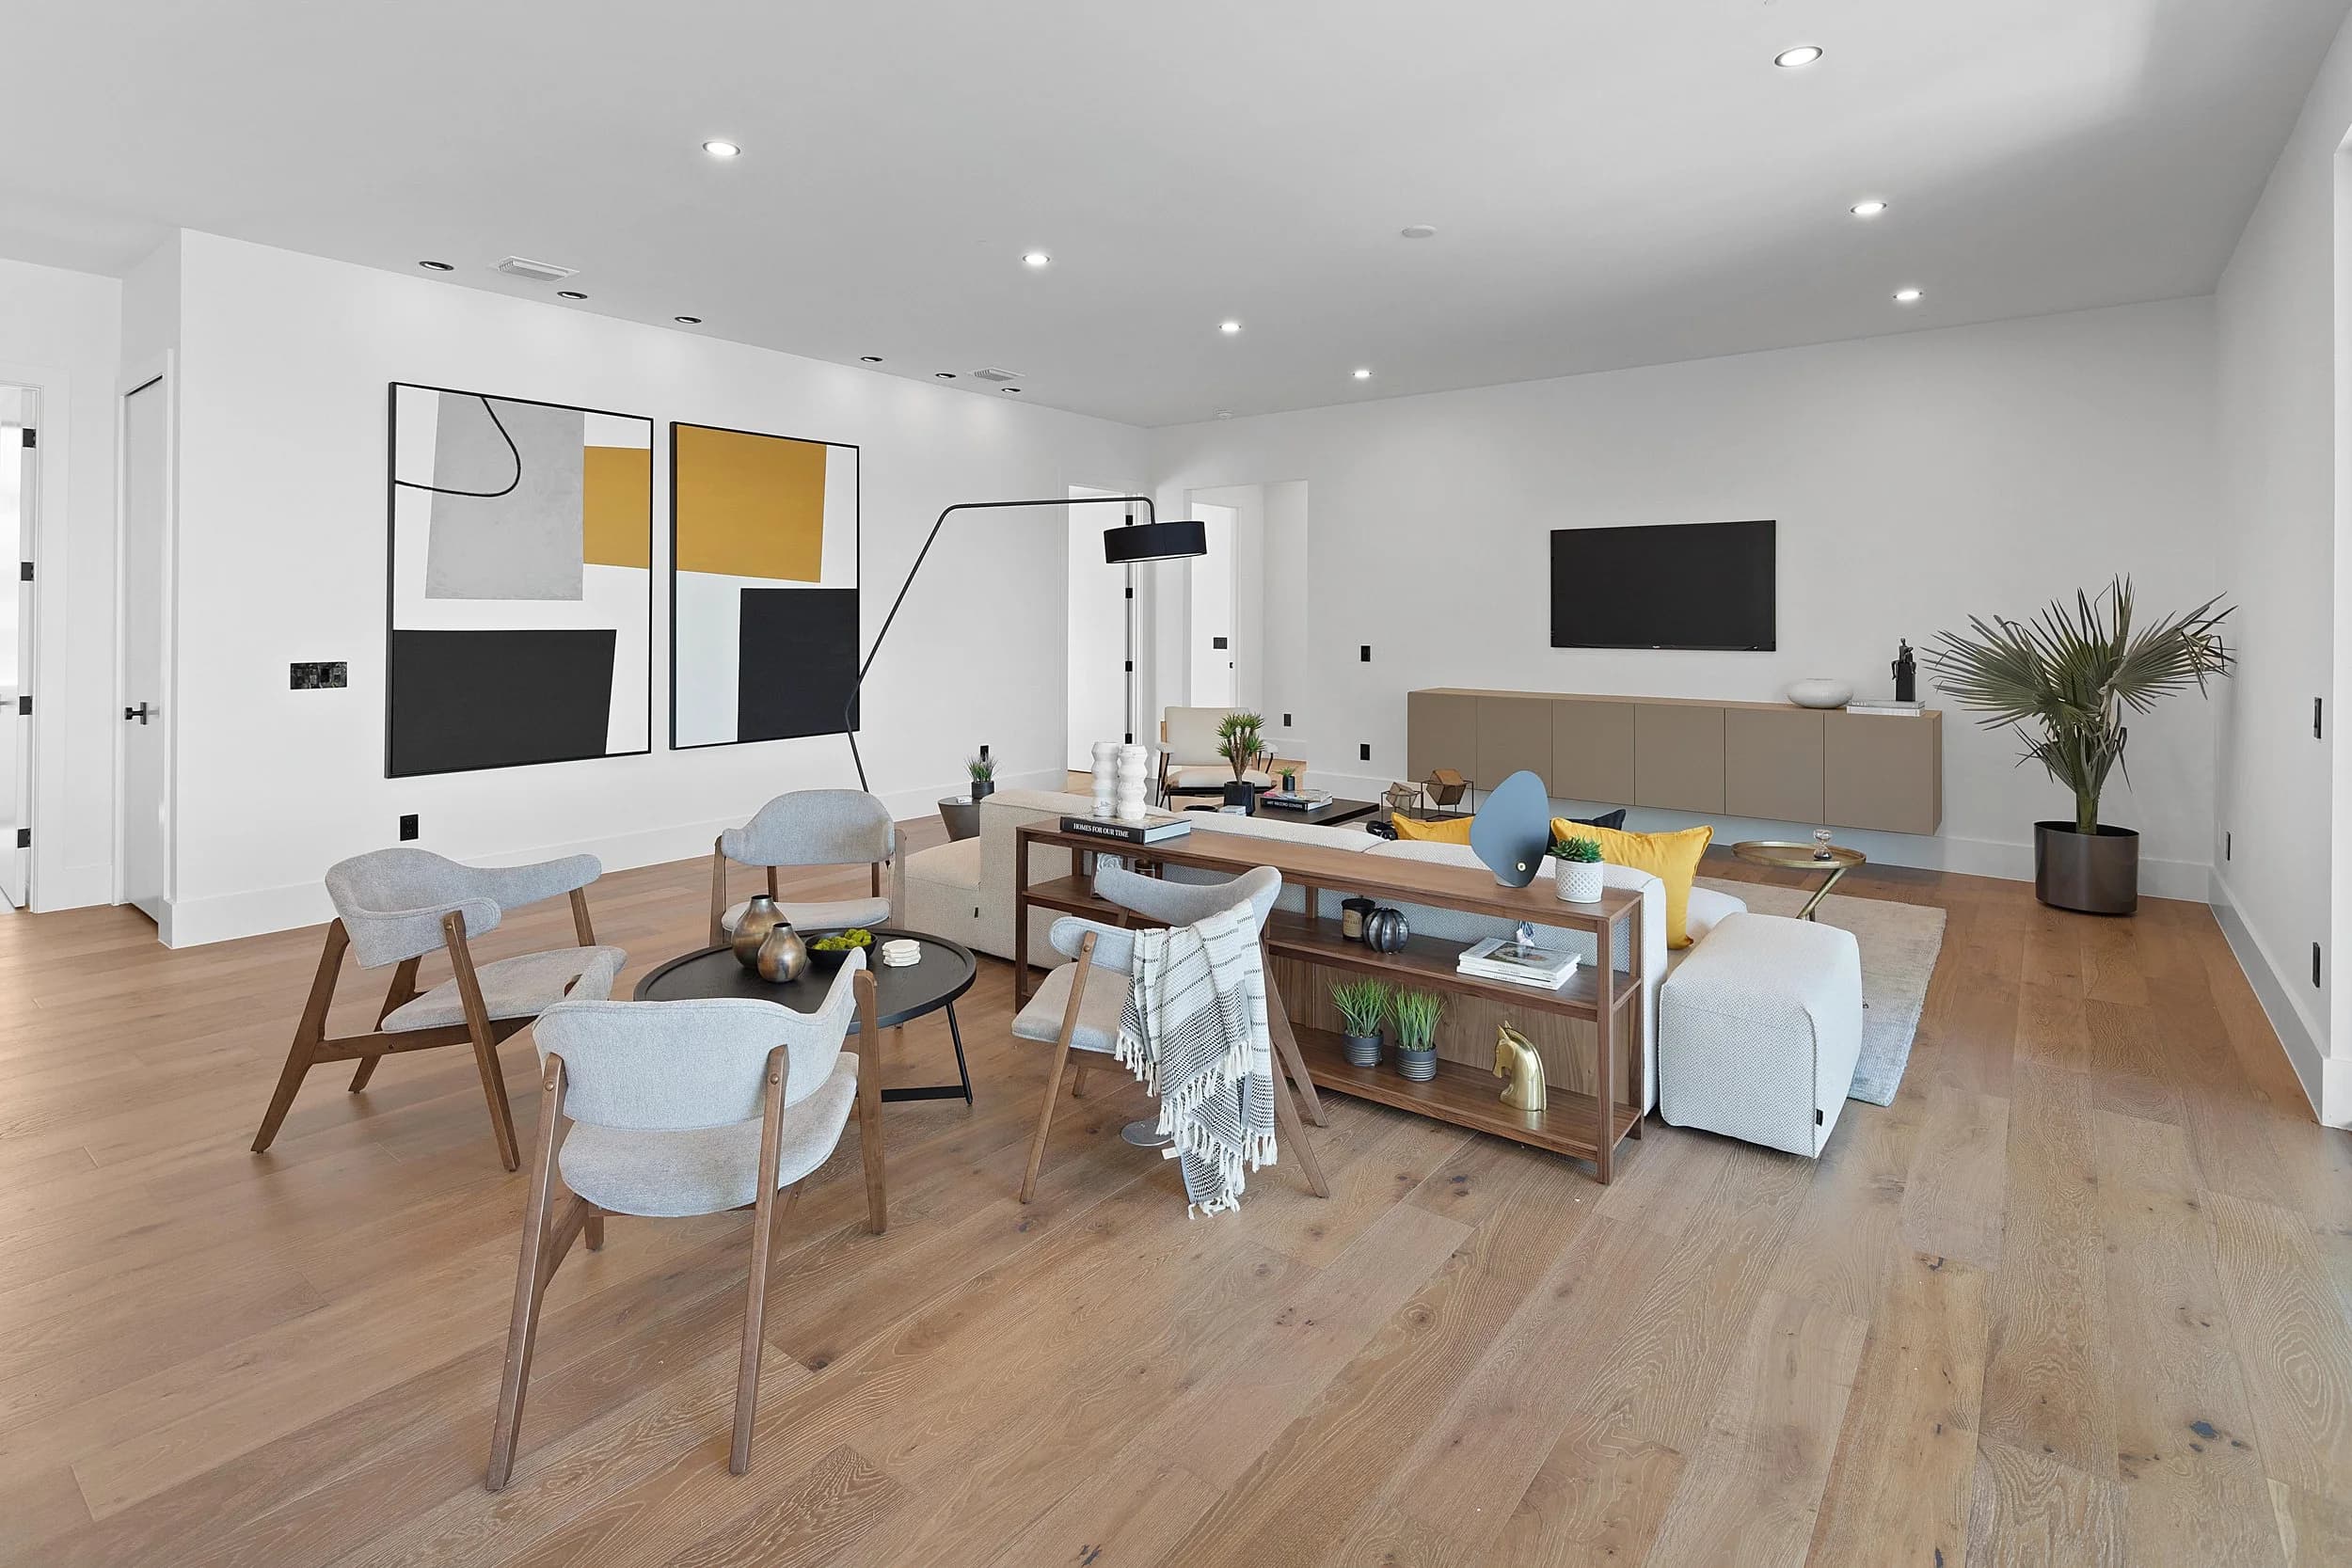
- Public rooms. Living room, dining area, and any great room, shown in the order they connect.
- Kitchen. Usually two or three frames, because buyers study it hardest.
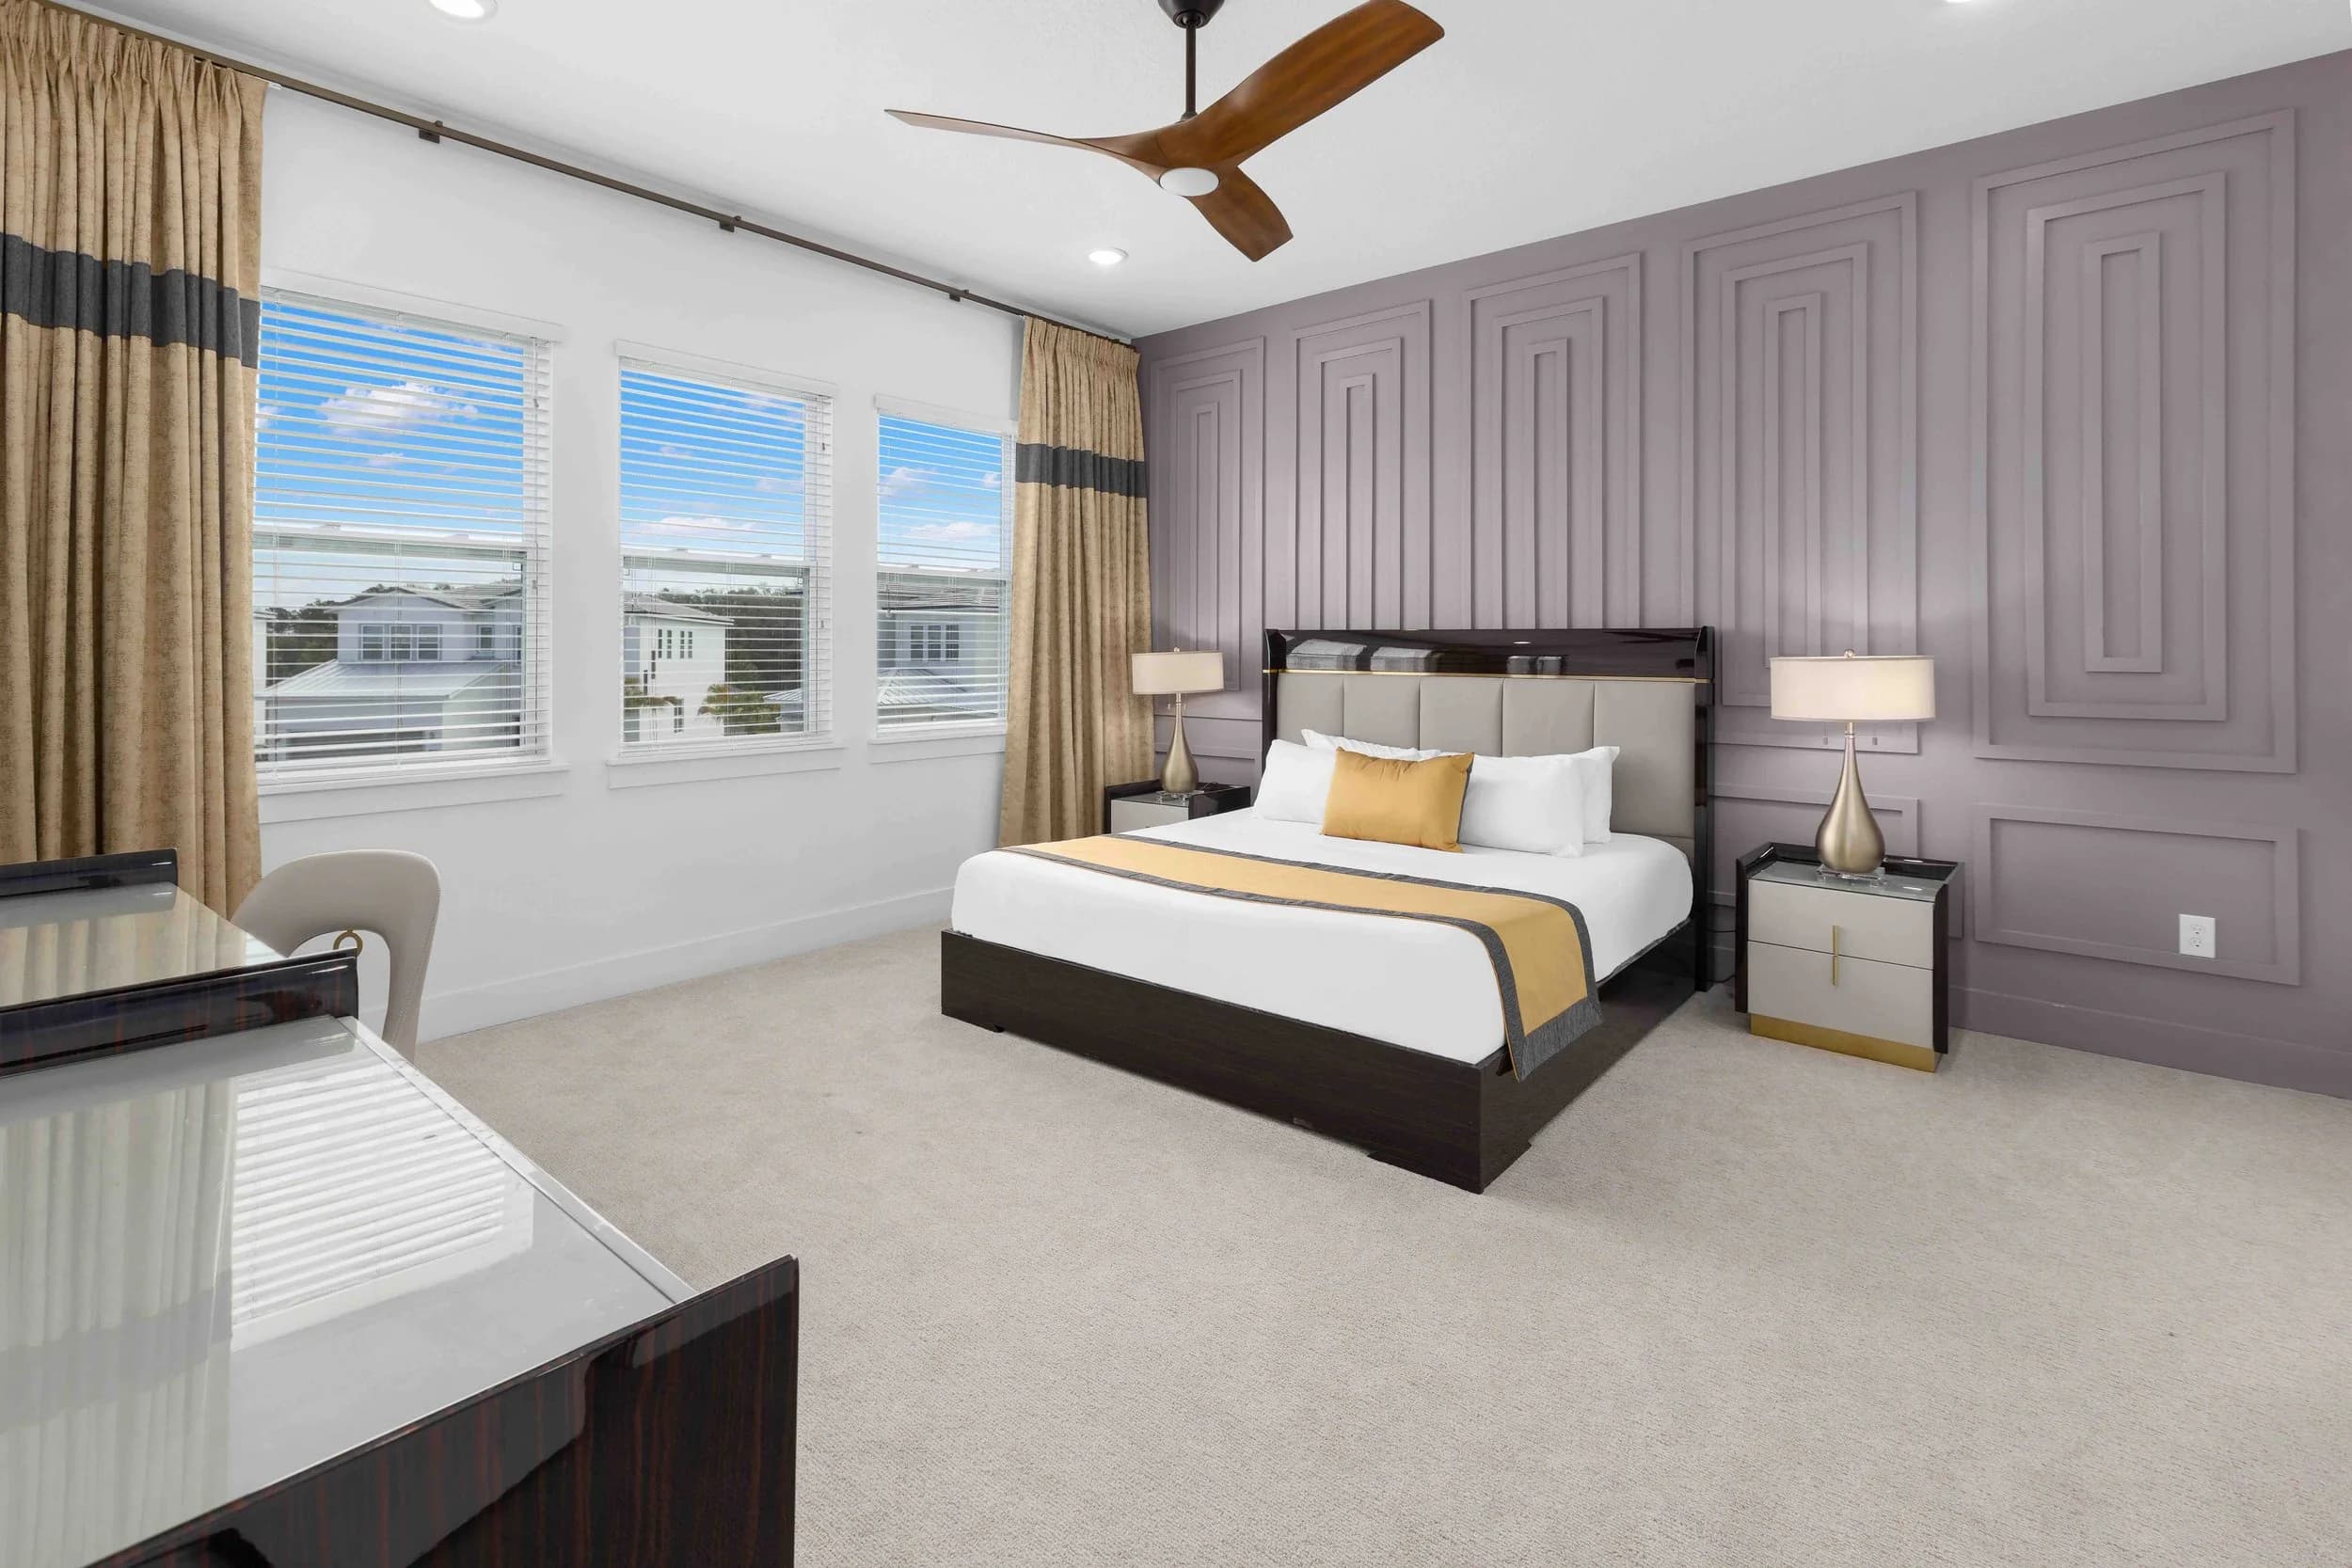
- Primary suite. The bedroom first, then the bathroom and closet.
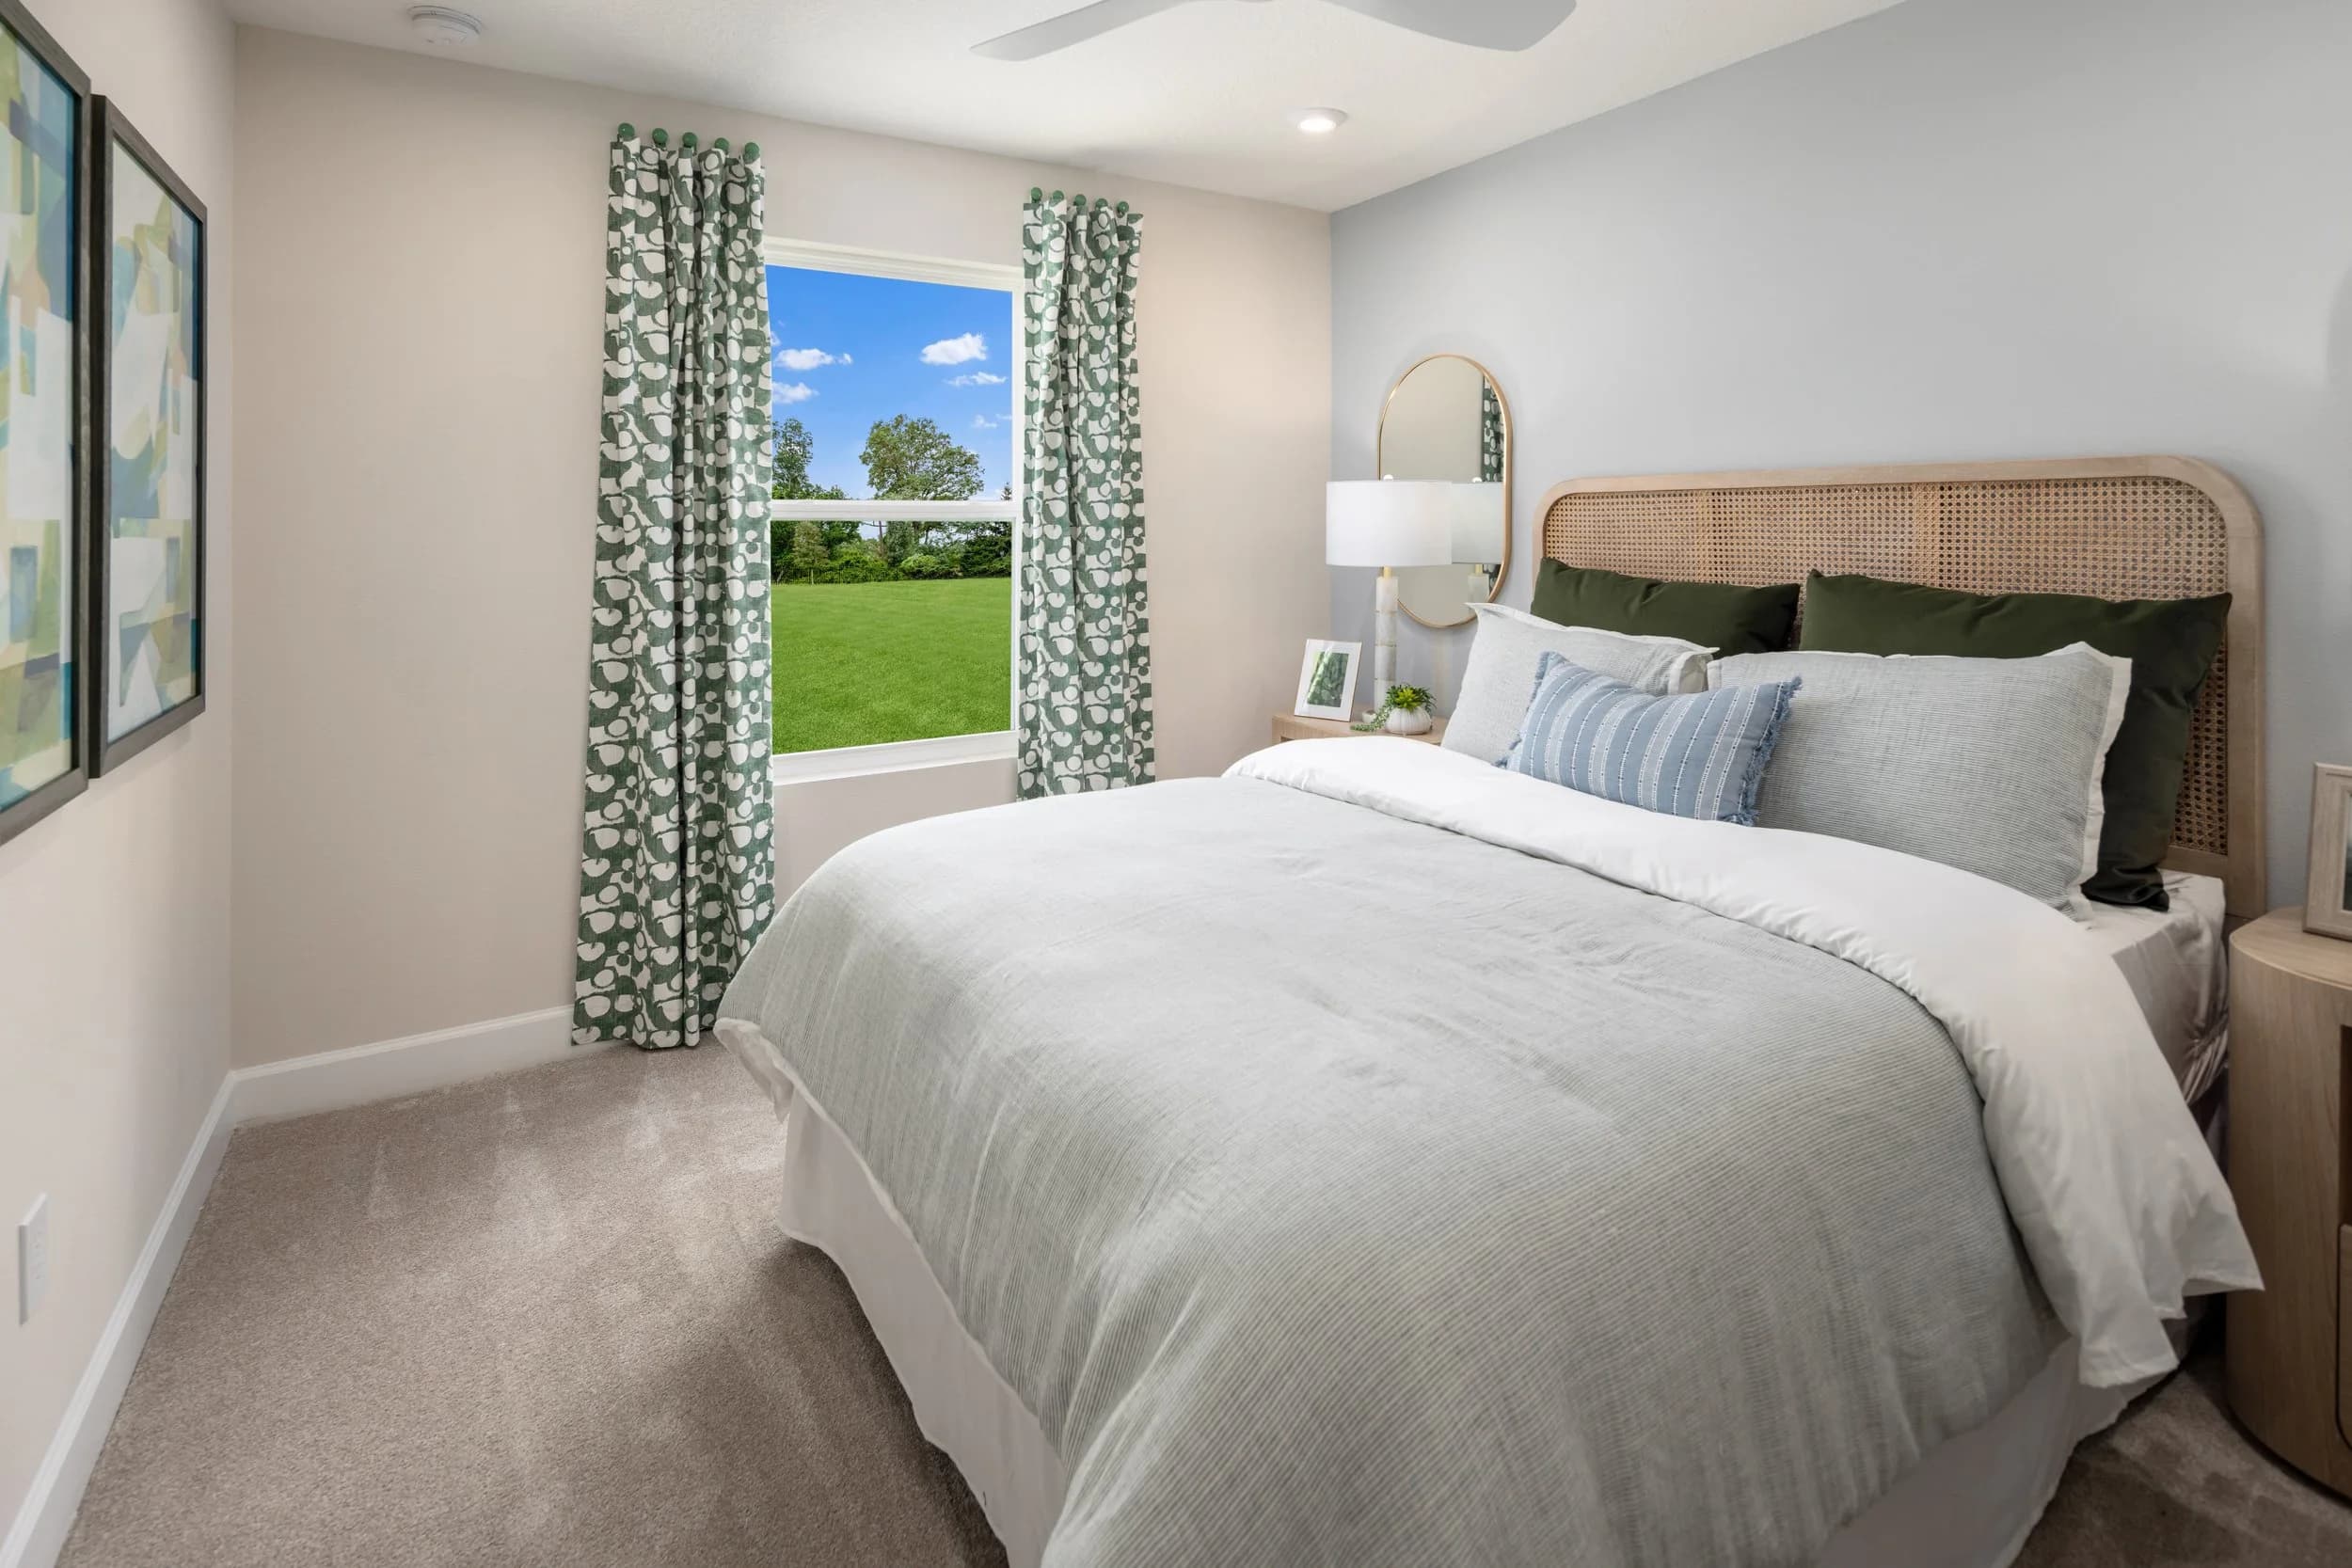
- Secondary rooms. Other bedrooms, baths, office, and bonus spaces.
- Outdoor living. Lanai, pool, yard, outdoor kitchen, and view.
- Details and extras. The small frames that support the story, plus a floor plan and any aerials.
The aim is simple: a viewer who sees the gallery in order should be able to describe the home afterward and roughly sketch the layout.
Gallery order also depends on the home. A property with a standout feature, such as a waterfront view or a resort-style pool, can bring that feature forward early, as long as the viewer still understands the layout afterward. A smaller home or condo benefits from a tighter sequence that shows how the spaces connect. The walk-through logic is a default, not a rigid rule, and the agent knows which feature the buyers in that price range care about most.
Which ordering mistakes lose buyers?
A few errors show up again and again:
- Burying the best room. If the kitchen or pool is image twenty-two, many buyers never see it.
- Jumping around. Moving from the primary bath to the front yard to a guest bedroom makes the floor plan impossible to follow.
- Repeating the same angle. Three near-identical living room frames in a row waste scroll space. Choose the strongest and move on.
- Leading with a weak frame. A dark hallway or a utility room as the second image tells buyers the rest may be the same.
- Putting the floor plan or aerials first. They help, but they belong after the home has made its case.
How many photos should the gallery have?
Enough to show every space that matters and no more. The question of count is covered in How Many Photos Does an MLS Listing Really Need, and the answer shapes the order: the fewer the frames, the more each one must earn its place.
When the photographer delivers a larger set than the portal will display, the agent decides what to cut. Cut duplicates and weaker angles first, and keep one strong frame for each room buyers care about.
It helps to review the order on a phone before publishing. Most buyers see the gallery as a vertical scroll or a swipe on a small screen, and a sequence that looks fine on a desktop grid can feel jumbled in that format. Scrolling through the gallery once as a buyer would is the simplest check available, and it often reveals a duplicate frame or a missing connection between rooms.
Where do the small detail photos go?
Detail frames work best as punctuation, not as the main narrative. A single image of a custom hood vent can follow the kitchen, and a close-up of tile work can follow the bath it belongs to. The role of these frames is covered in Detail Shots: The Small Photos That Do Real Work in a Listing Gallery. Keep them near the room they support, instead of collecting them in a block at the end.
How can agents plan the order before the shoot?
Gallery order starts with the shoot. A photographer who knows the intended sequence will make sure every step has a strong frame: a clean entry, a connected view between public rooms, and an outdoor image that closes the story. A shared list of must-have frames, like the one described in Real Estate Photographer Shot List, makes that conversation easy. This applies equally in Orlando, Tampa Bay, Central Florida, Austin, and San Antonio, where the details differ but the walk-through logic stays the same.
Ready to book? Call or text (689) 600-2131 or get in touch.