For pool builders and landscape designers, the finished project is the sales pitch. Homeowners shopping for a new pool or a full backyard redesign scroll through portfolios before they ever call, and they judge a company by how its best work looks on a phone screen. A pool that looked stunning in person can fall flat in a quick snapshot: the water looks murky, the plantings look thin and the scale disappears.
This guide is for pool contractors, landscape architects and outdoor living designers working in Orlando, Tampa Bay, Central Florida, Austin and San Antonio. It covers when to photograph a finished project, what to capture, how light and water behave on camera, and how to build a portfolio that keeps selling for years.
Timing the shoot after the build
The day the crew packs up is rarely the best day to photograph the project. A few things are worth waiting for:
- Water chemistry. A newly filled pool often needs time before the water is fully clear and the color settles. Clear, balanced water is the single biggest factor in how a pool photographs.
- Plantings. New sod needs to knit, and shrubs and grasses look better once they have filled in a little. In Florida that can be a matter of weeks; in Central Texas it depends heavily on the season.
- Furniture and styling. A bare deck reads as a construction photo. Ask the homeowner to set out their loungers, cushions and planters, or bring a few simple pieces.
- The homeowner's permission. Get written consent to photograph and publish, and agree on whether the address or neighborhood can be named.
Some contractors photograph every project twice: once at completion for the record and a second time after the landscape matures, which becomes the portfolio set.
What to capture on a finished project
A strong portfolio set tells the story of the whole backyard, not only the water. A typical shot list includes:
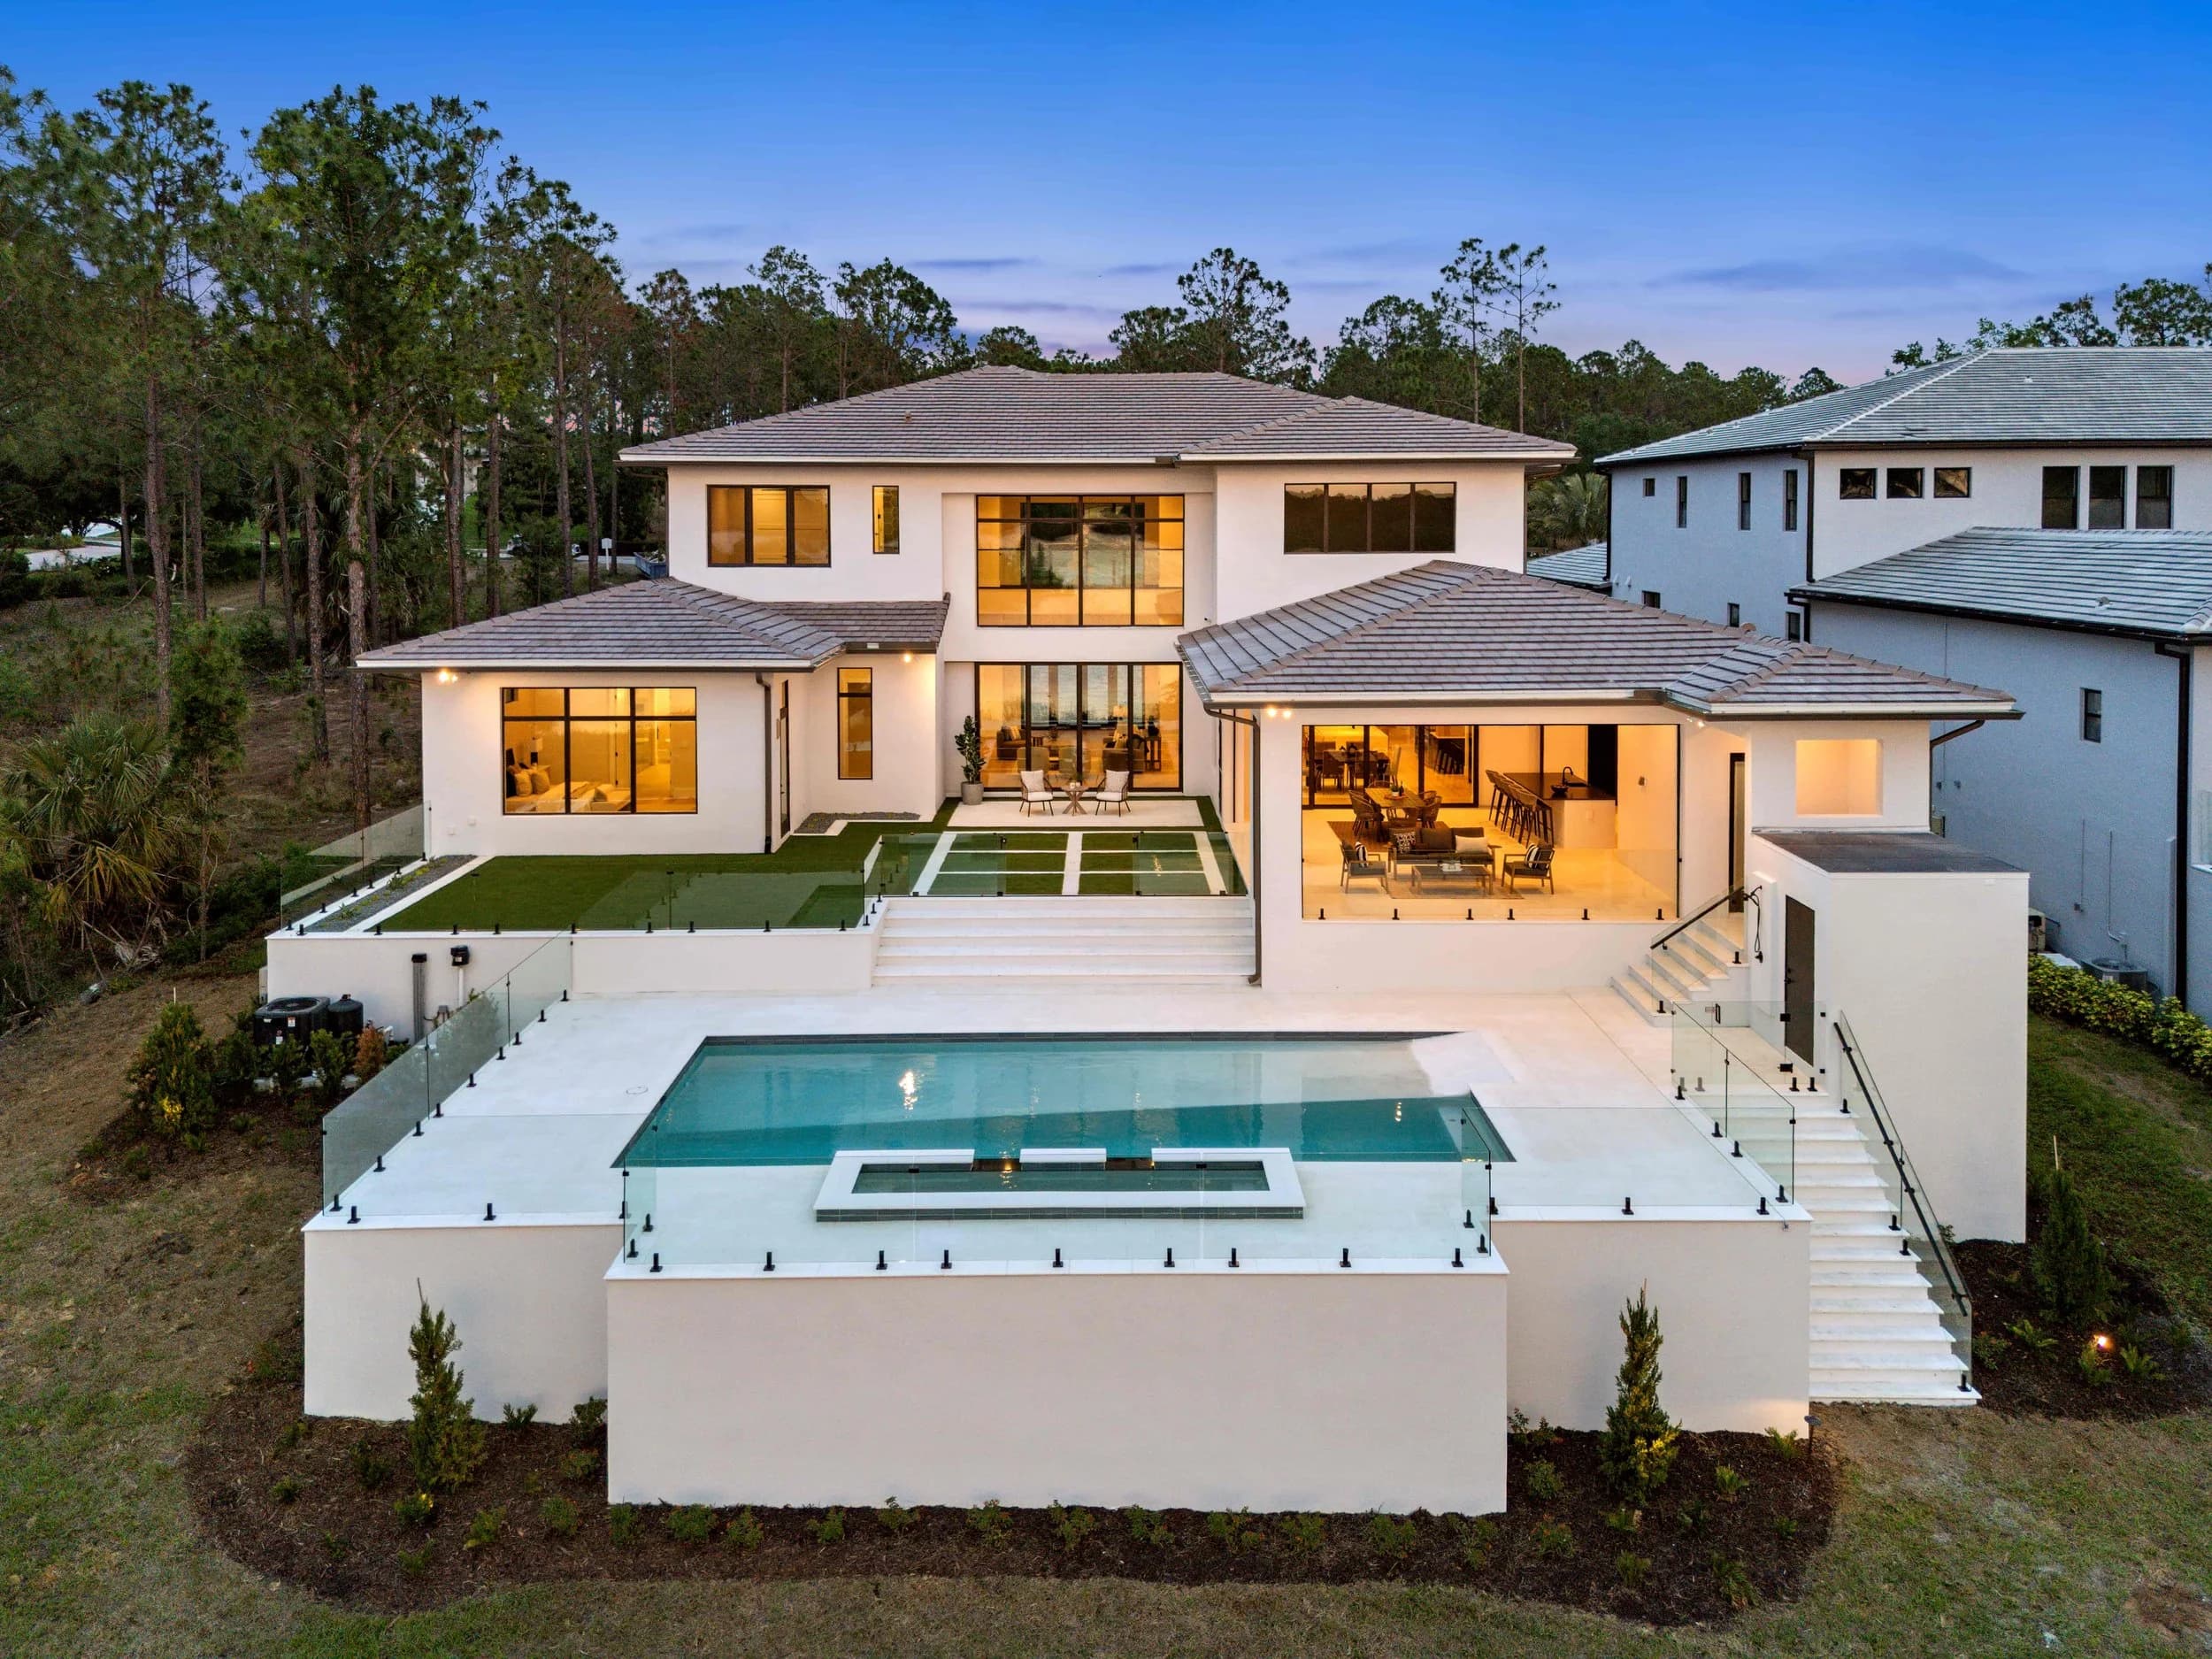
- The overall view. The pool and landscape as a single composition, usually from the back of the house or a raised position looking out.
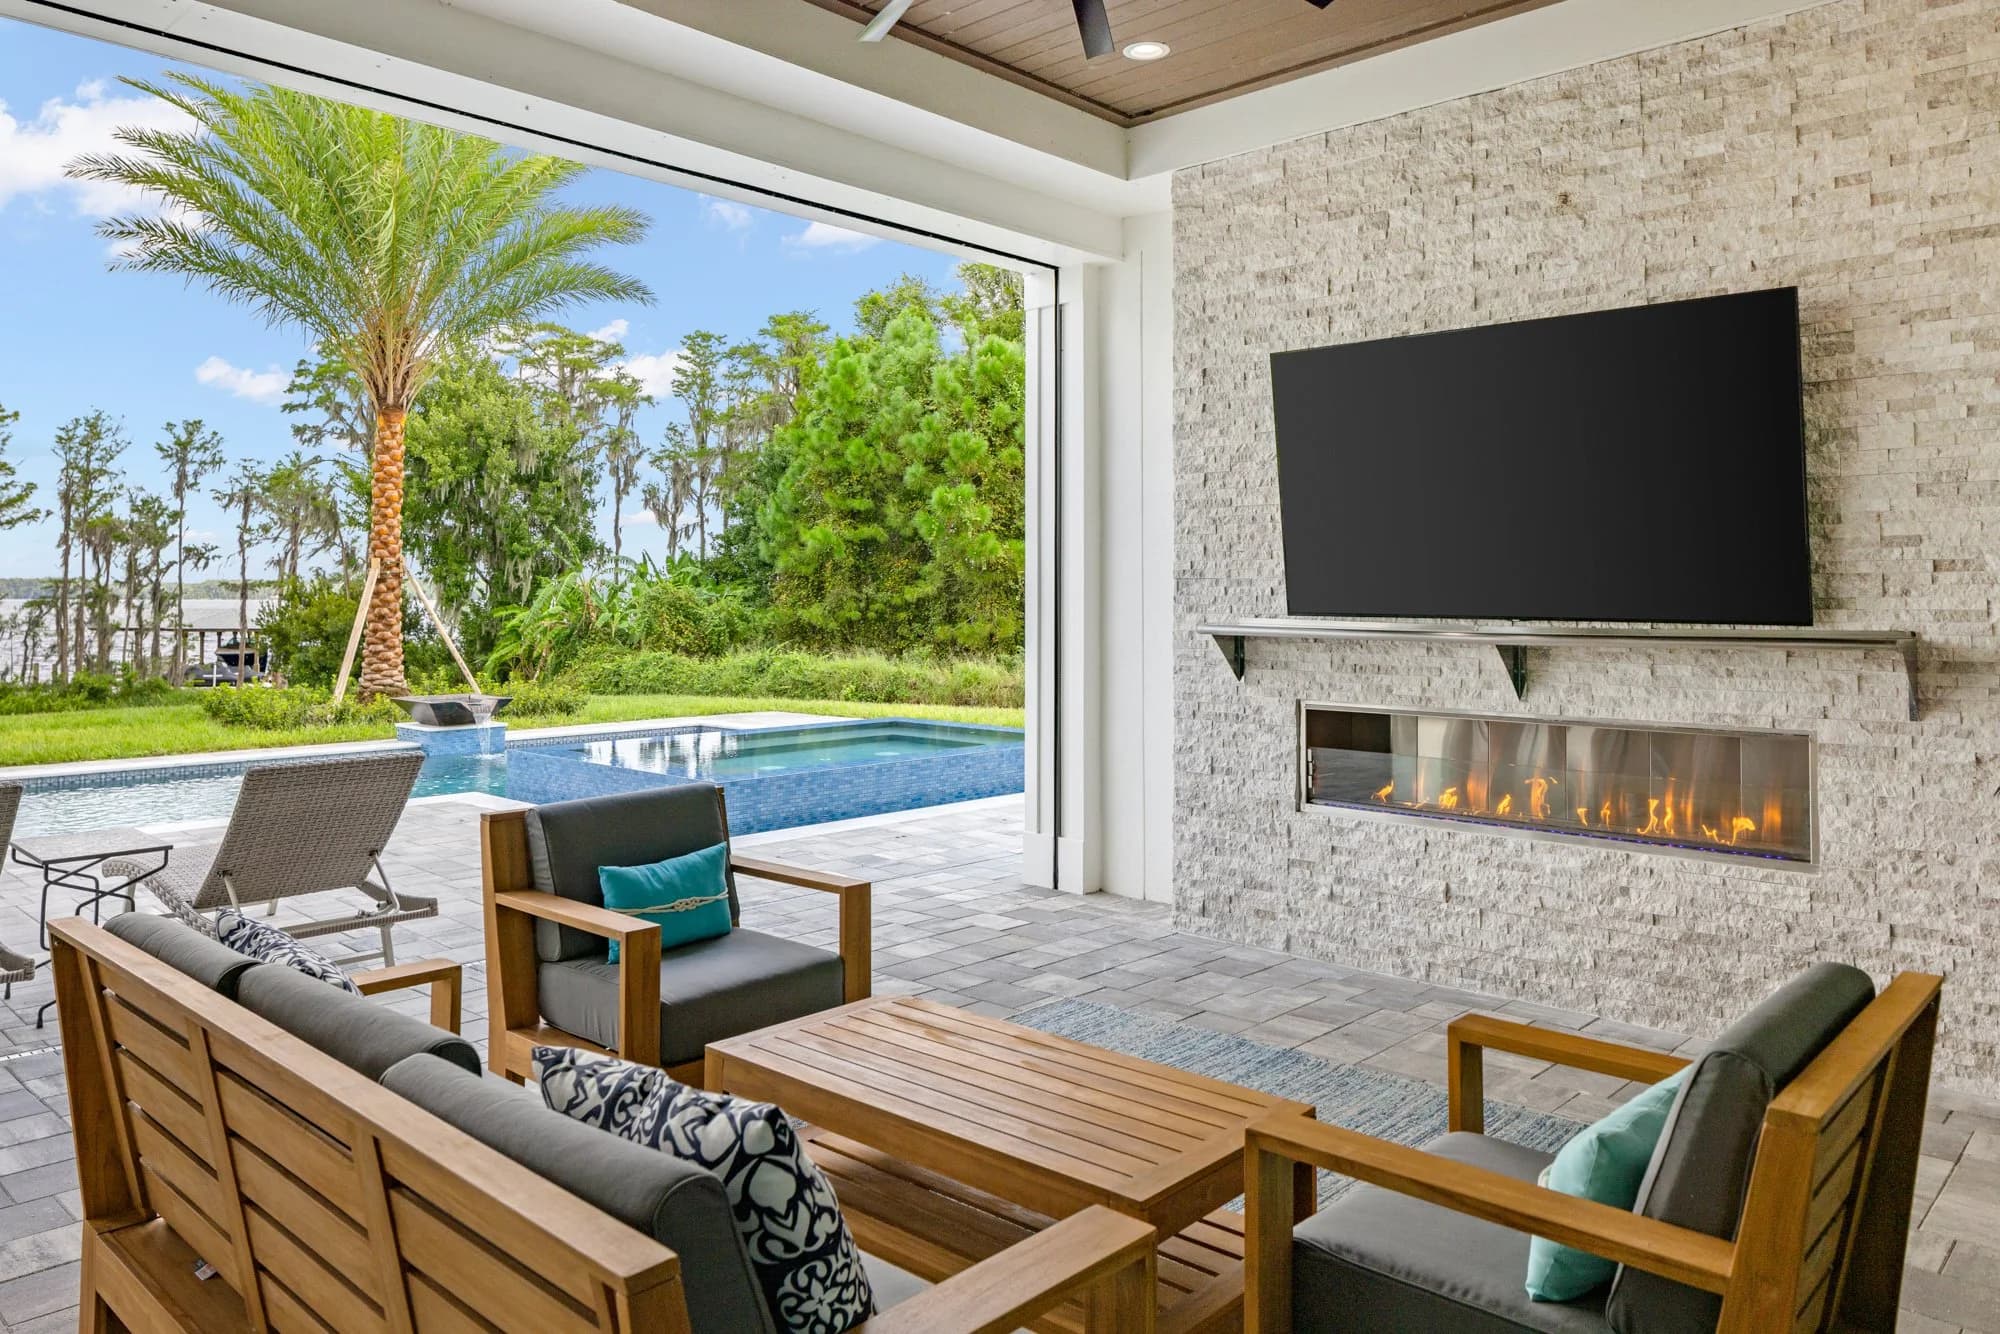
- The view from inside. How the project looks through the sliding doors or from the kitchen, since that is the view the homeowner lives with every day.
- Features up close. Water features, spillways, fire bowls, sun shelves, tile lines, coping and the transition between hardscape and planting beds.
- Materials. Pavers, natural stone, decking and edging, photographed so the texture and color are true to life.
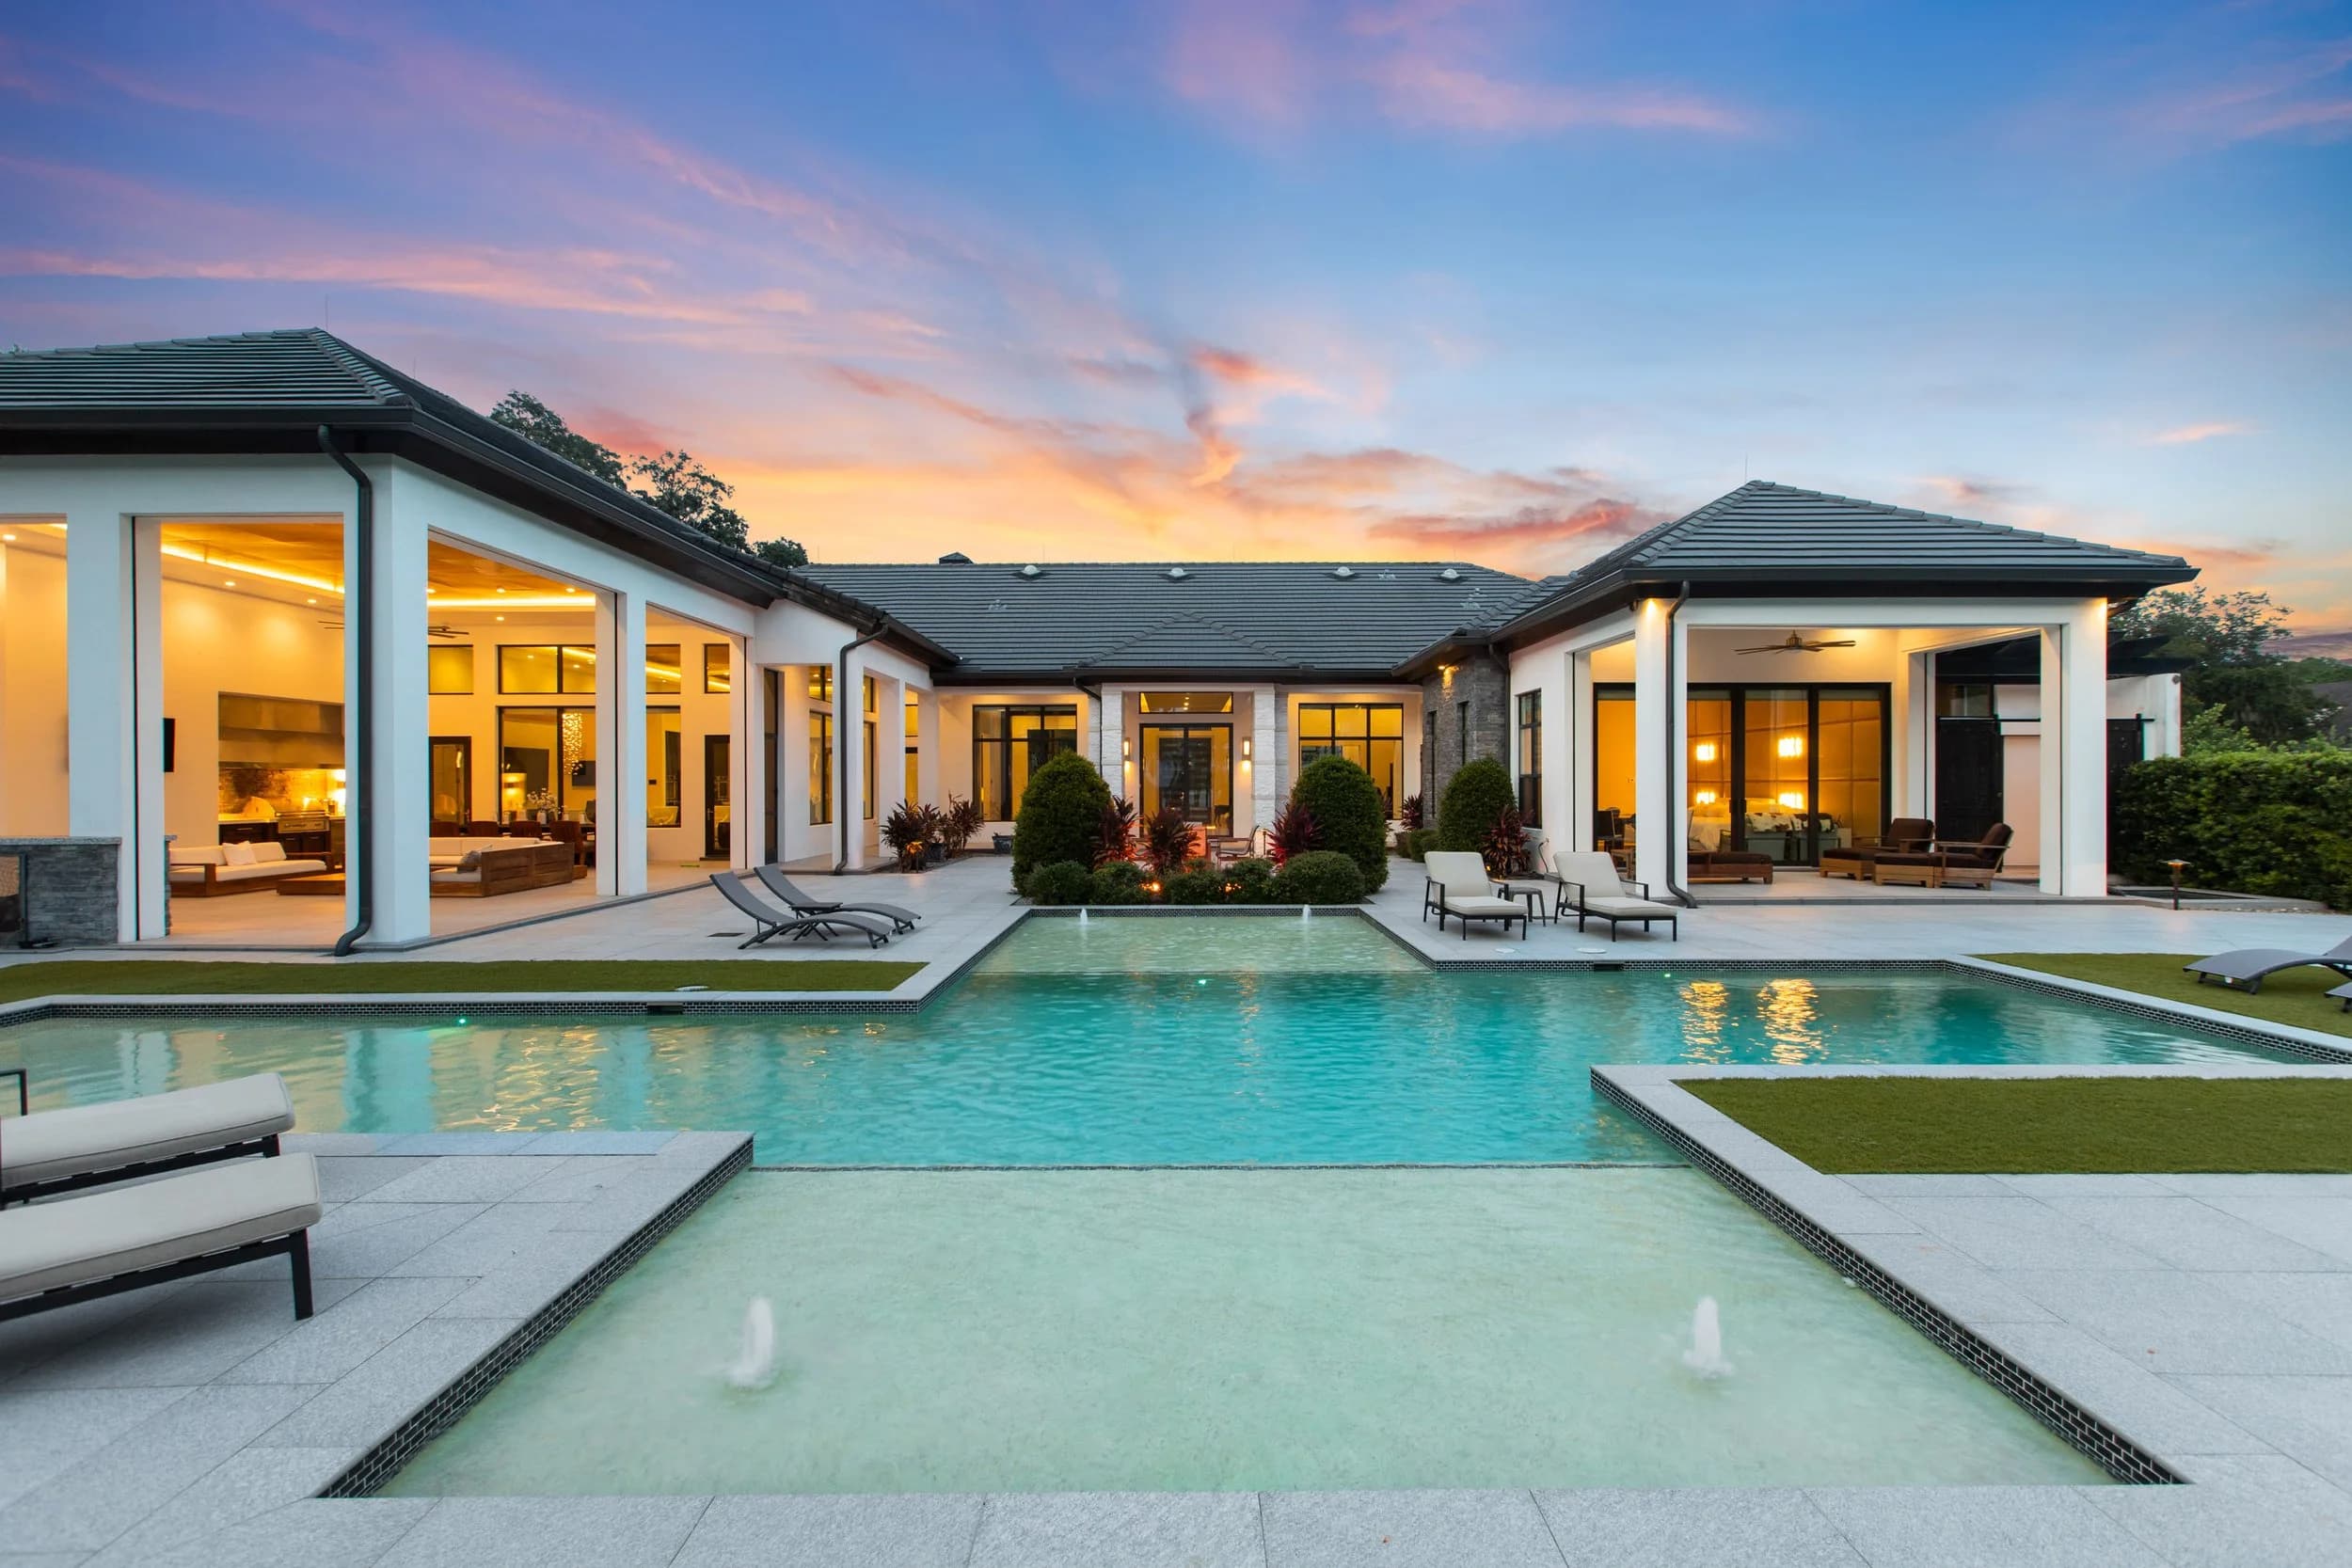
- Lighting. Pool lights, path lights and uplighting on trees, which only show their value after dark.
- An aerial. A drone frame shows the shape of a freeform pool, the layout of the beds and how the project fits the lot, where airspace allows it.
If the project includes a cooking area or fire feature, our post on outdoor kitchen and fire feature photography covers how to show those spaces as places people gather.
Water, light and color on camera
Water is the hardest surface in a backyard to photograph well. It reflects the sky, picks up glare at the wrong angle and shifts color through the day. A few principles help:
- Sun position matters. Mid-morning and late afternoon light usually shows water color better than harsh overhead sun, which creates glare and hard shadows on the deck.
- Calm water reads as clear. Turn off waterfalls and jets for the overall frames so the surface is still, then turn them on for the feature shots.
- Clean everything. Skim the surface, brush the steps, blow off the deck and coil away hoses and equipment covers.
- Dusk is its own session. Pool lights, fire features and landscape lighting come alive just after sunset, when there is still color in the sky. Our guide to photographing landscape and outdoor lighting at dusk explains how to plan that window.
Edit for accuracy, not drama. A pool that looks electric blue online and teal in person sets up a disappointing first site visit with the next client.
Building a portfolio that keeps selling
The best contractor portfolios are organized the way homeowners shop. Group projects by style, size or feature, so a buyer looking for a compact plunge pool or a natural stone patio can find something close to their own yard. A few more habits help:
- Pair before and after images from the same angle when you have them. They prove the scope of the work better than any caption.
- Write a short project description with the main features and materials, without naming the homeowner.
- Use the same images across the website, social media, award entries and your Google Business Profile so the brand looks consistent.
- Reshoot standout projects when the landscape matures, and retire older work that no longer reflects your current design.
JRP offers architectural photography for builders, designers and contractors across Florida and Central Texas, with drone and video available on the same visit. Delivery timing is confirmed at booking.
Ready to book? Call or text (689) 600-2131 or get in touch.