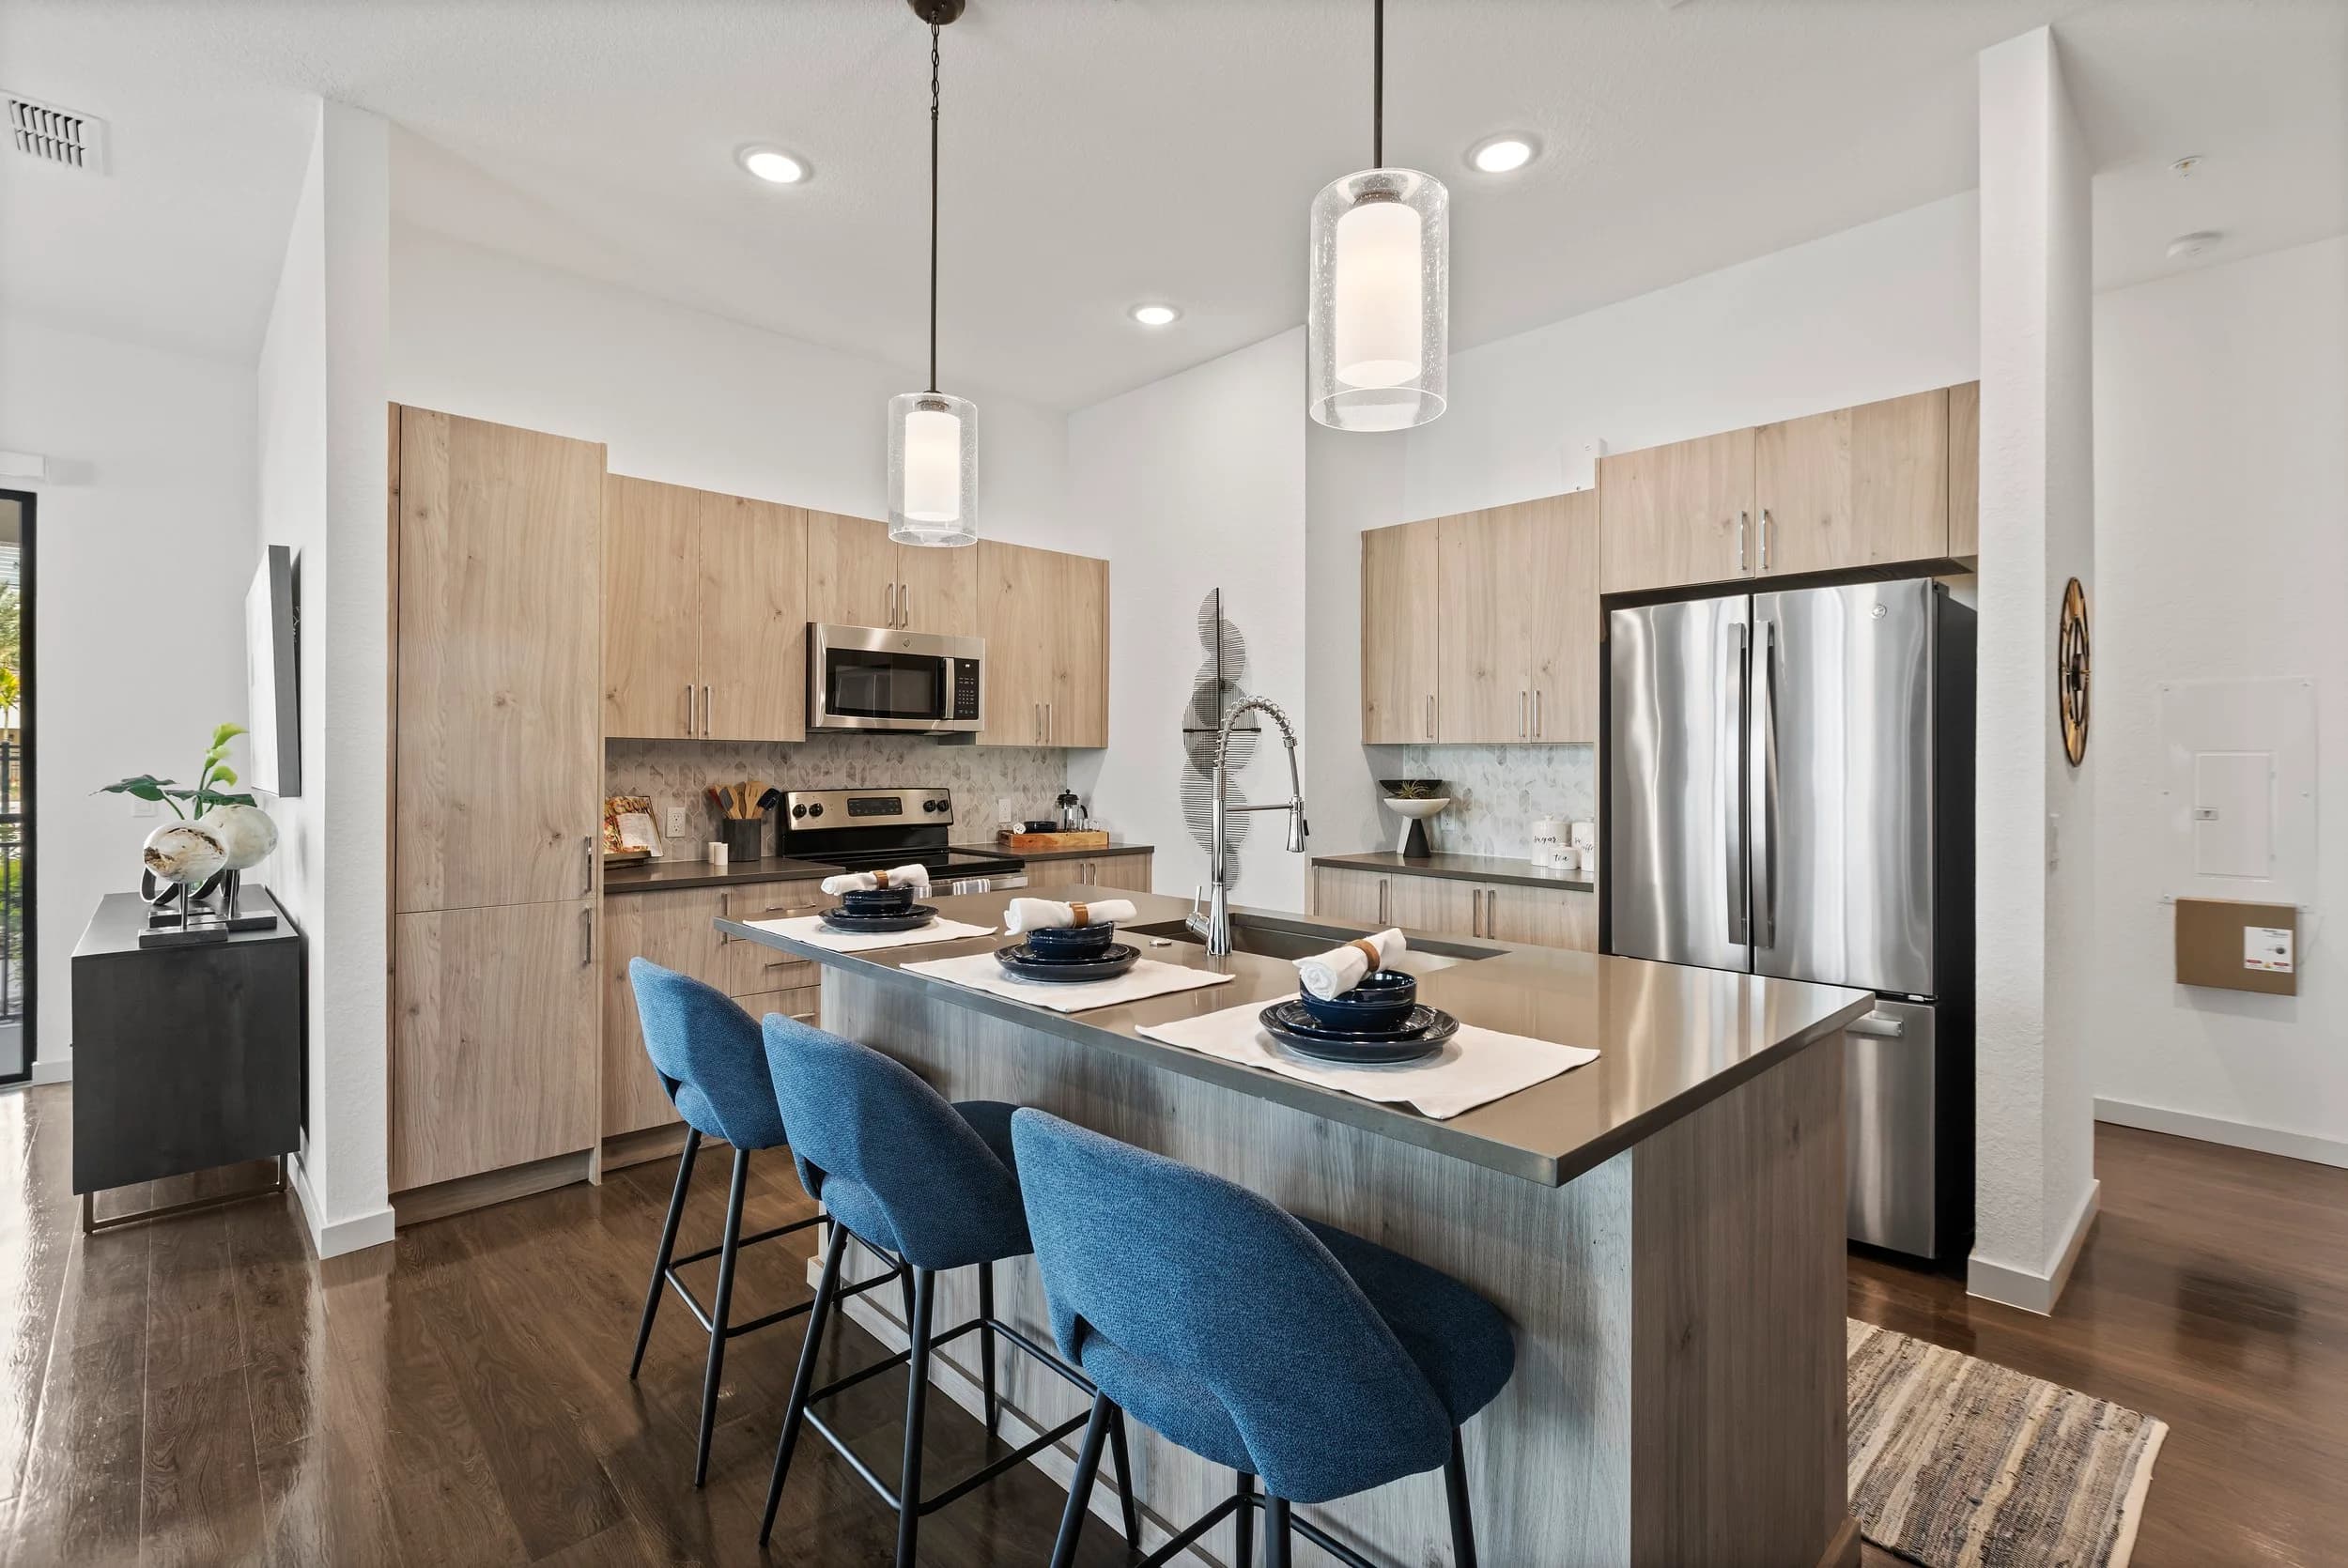
Value-add apartment renovations create a marketing puzzle that new construction never has. A single community may offer classic units that are original, renovated units with new finishes, and some in between, all on the same floor plans. If every listing uses the same few photographs, prospects either overestimate the classic unit or underestimate the renovated one.
This guide is for owners, asset managers and property management teams in Orlando, Tampa Bay, Austin and San Antonio who are repositioning older communities. It deals with the classic-versus-renovated question specifically. The broader topic of showing a model that differs from the unit someone will lease is covered in the post on model units versus actual units.
Why do renovated and classic units need separate photo sets?
They need separate sets because the renovation is the product. Renewed cabinets, new flooring, updated lighting and fresh fixtures are the reasons a renovated unit is priced differently, and a prospect cannot appreciate that difference unless they can compare. Mixing the two in one gallery creates confusion and complaints at move-in.
Separate sets also protect the leasing team. When each listing is clearly tied to the unit type it represents, a leasing consultant is never forced to explain why the kitchen on the tour does not match the pictures.
How do you keep the two sets comparable?
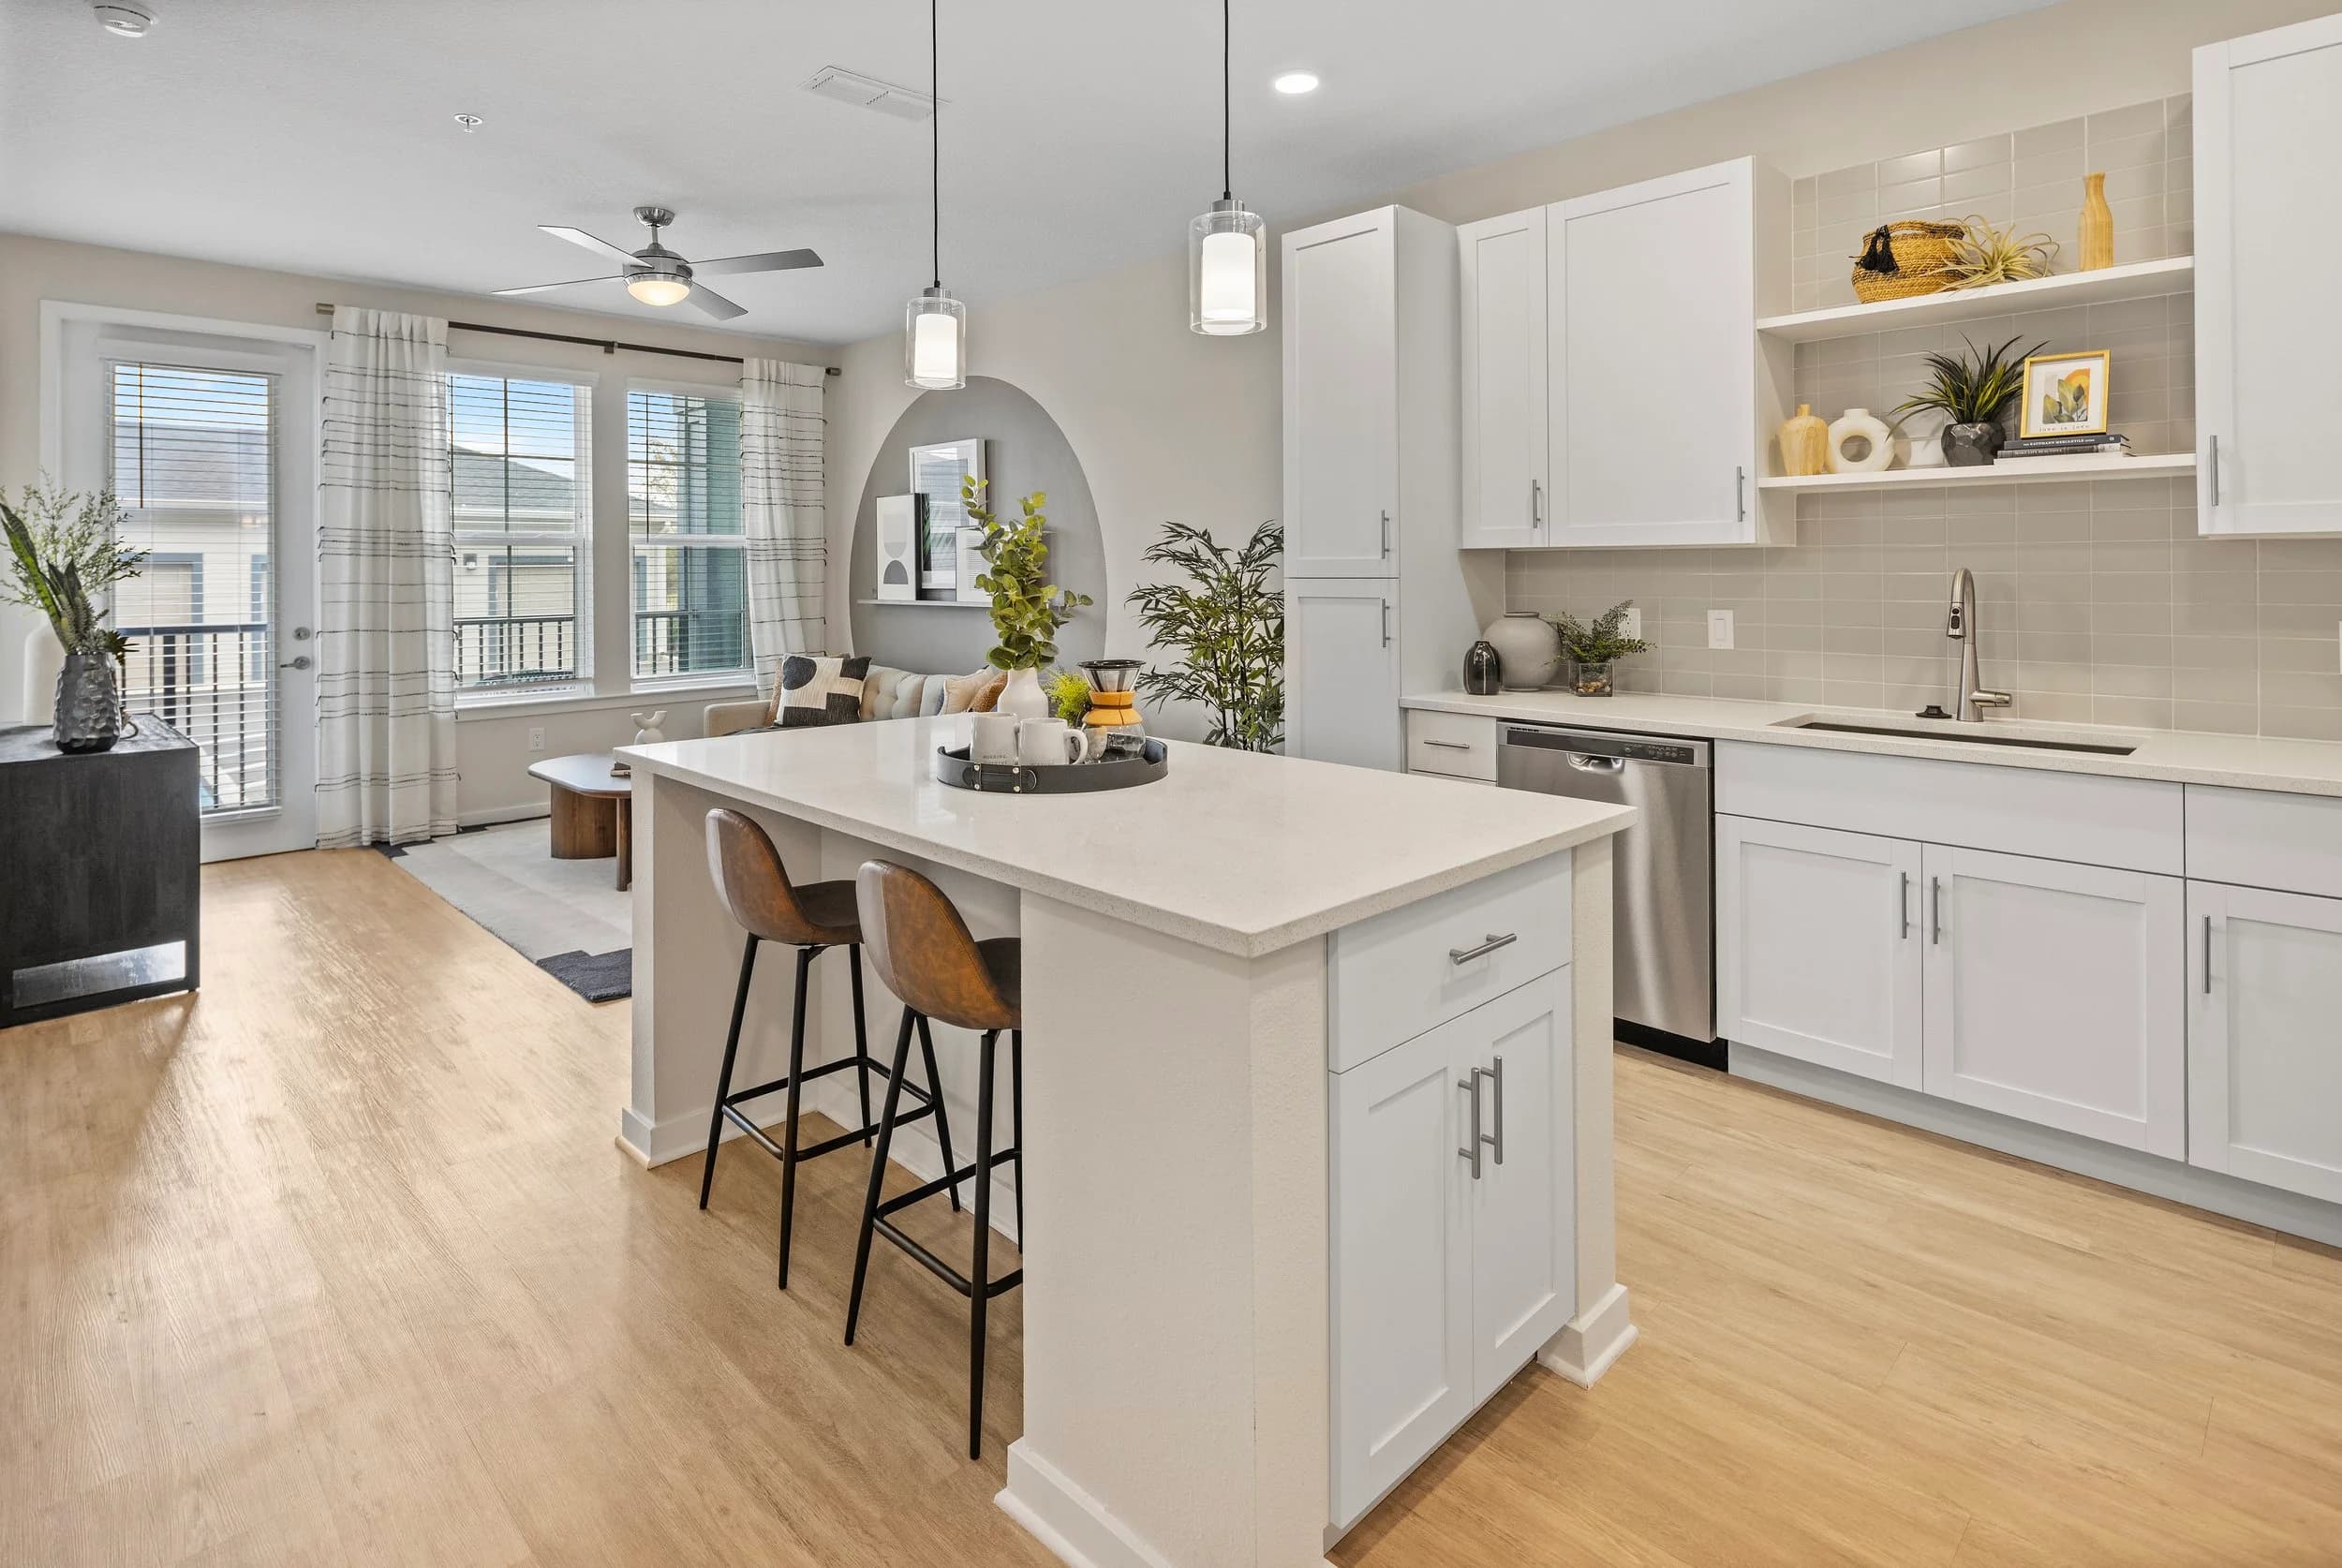
Shoot the same rooms from the same positions in both unit types. If the renovated kitchen is photographed from the doorway at counter height, photograph the classic kitchen the same way. A matched pair of frames lets a prospect see exactly what changed, and it makes the upgrade feel concrete instead of promotional.
- Pick a representative classic unit that is clean and in good condition, since it should represent the standard you will deliver at move-in.
- Pick a renovated unit with finishes you will actually install across the program, not a one-off showpiece.
- Match the furniture and styling level so the finishes, not the decor, are the point of comparison.
- Capture the details that define the package, such as hardware, backsplash, flooring and lighting.
If you plan to renovate in phases, return to the same units after each phase. This builds a consistent library that follows the program from its first completed building through the last.
Consistency should extend to captions and file names too. Label each set with the unit type, floor plan name and renovation level, so leasing teams, property websites and listing sites always pull the right image for the right unit. A simple naming system saved at the start of the project prevents mix-ups when hundreds of images are in circulation across several platforms.
What about units that are only partly renovated?
Be careful and plain. Occupied or in-progress units should be photographed only when they truly match the offering, and any listing that uses a model should say so. The goal is that a prospect who tours a unit sees something recognizably similar to the photographs. Honest labeling also reduces the chance of disputes later and builds trust with residents.
For communities that are leasing during construction, a 3D tour can help bridge the gap. The post on Matterport 3D tours for apartment and multifamily leasing explains how a scan lets remote prospects walk a representative unit, which is especially useful for relocating residents and students.
How should the amenity and exterior story change?
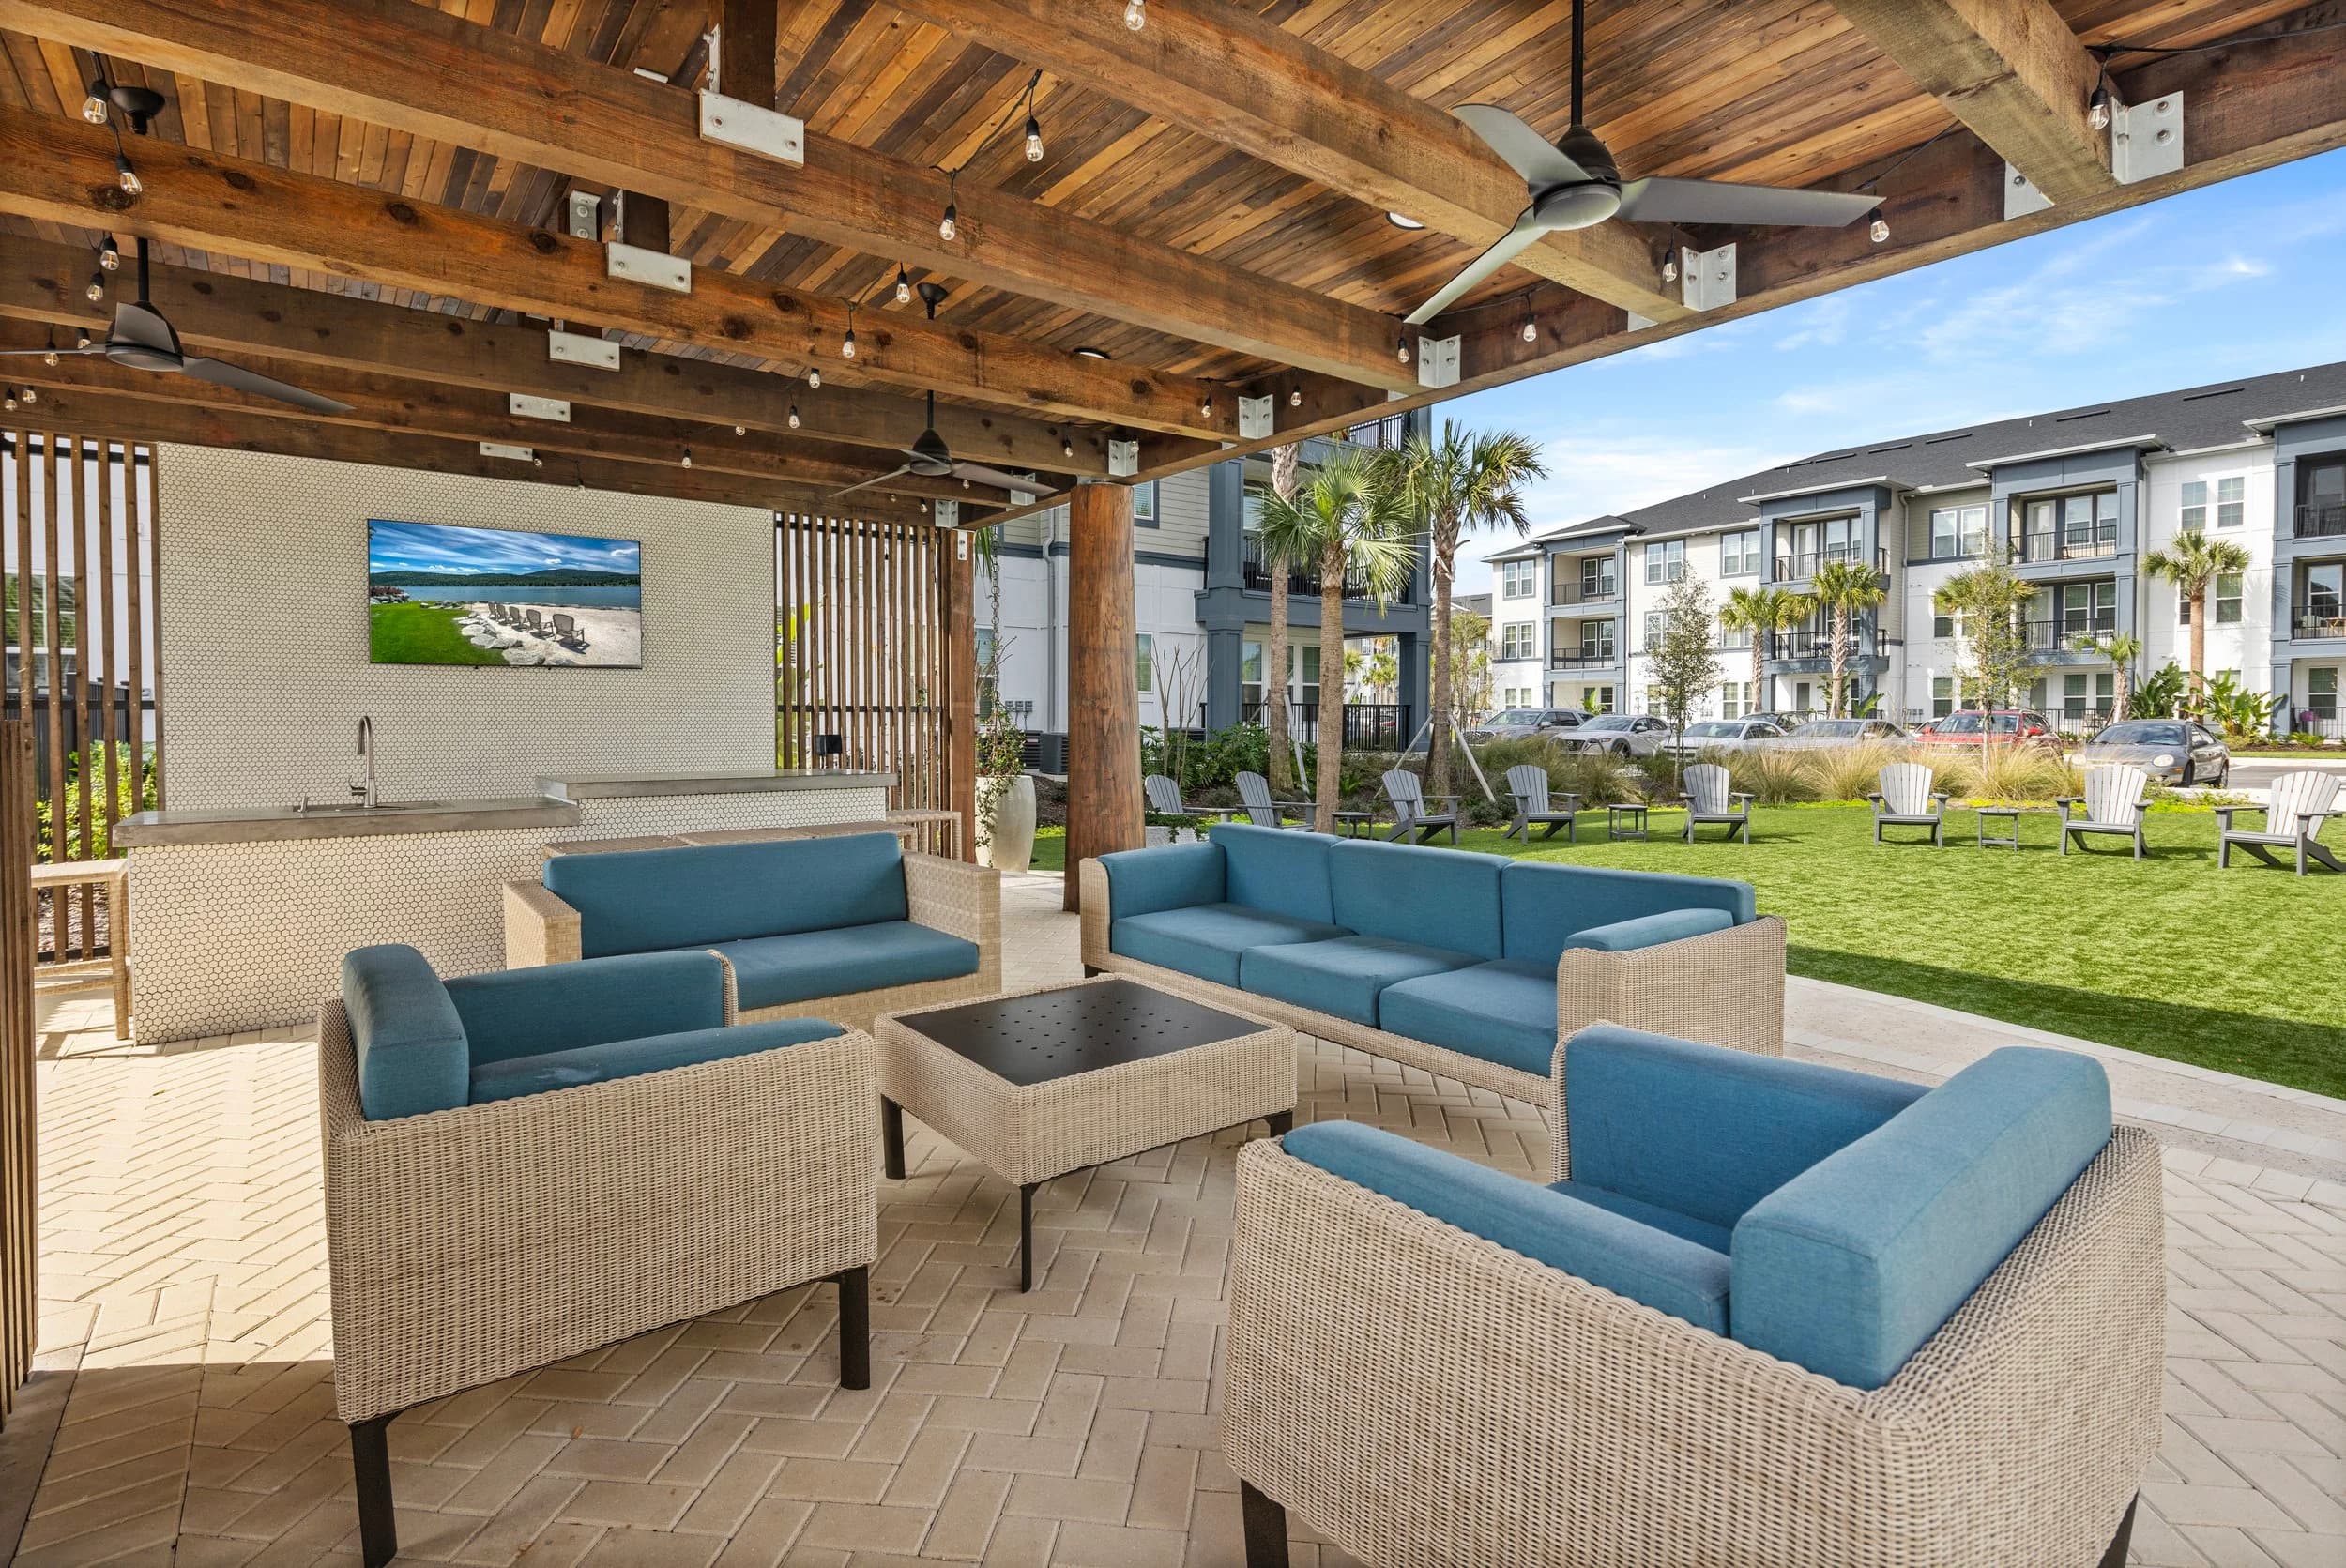
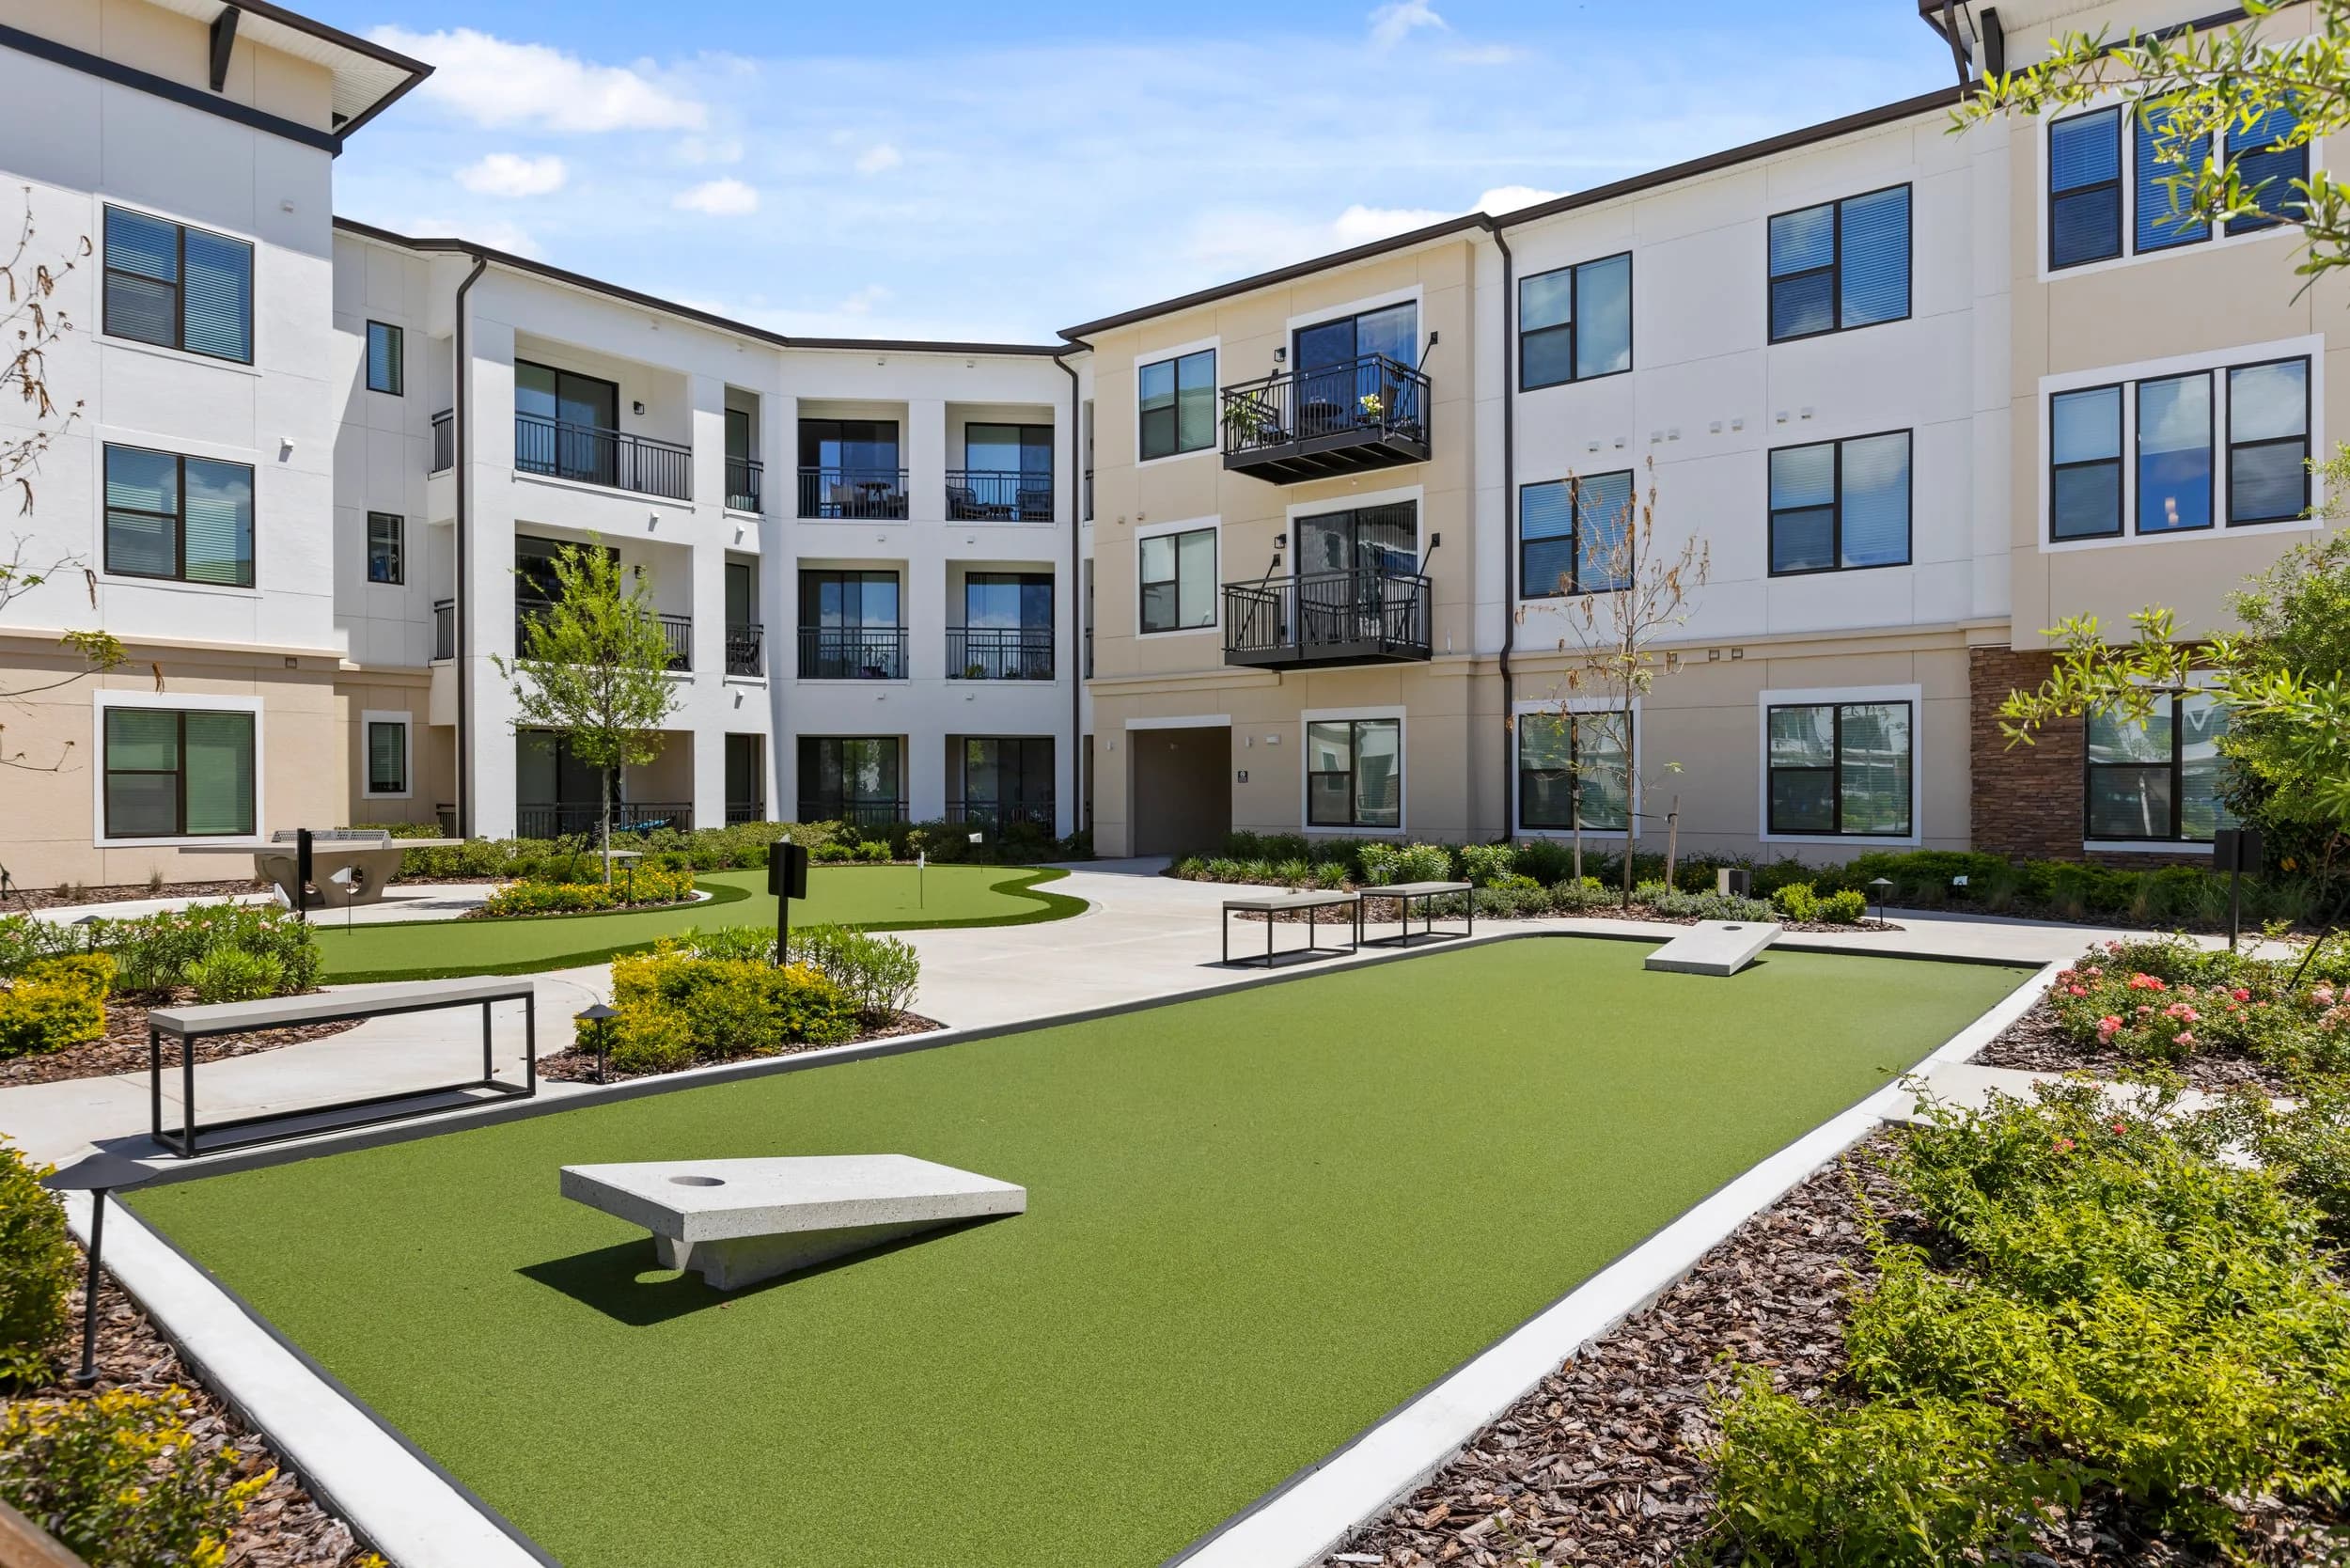
Renovation programs often include the clubhouse, fitness room, pool and landscaping, and those spaces deserve fresh images once the work is complete. Exterior photographs taken before upgraded landscaping, paint or signage will undersell the community, so schedule exterior and drone images after those items are done. For a look at who handles this kind of project in the region, see who photographs apartment communities for lease-up in Orlando and Tampa.
It also helps to keep a record for the owner. Photographs of the community before the renovation, taken from fixed positions, give asset managers a clear visual history that supports investor updates. The thinking is similar to the approach in before-and-after photography for investors and renovators, scaled up to a full property.
When classic and renovated units are shown honestly and side by side, the upgrade sells itself, and the leasing team spends less time managing surprises. Every multifamily project is scoped individually, so send the community details and the units you want covered. Ready to book? Call or text (689) 600-2131 or get in touch.