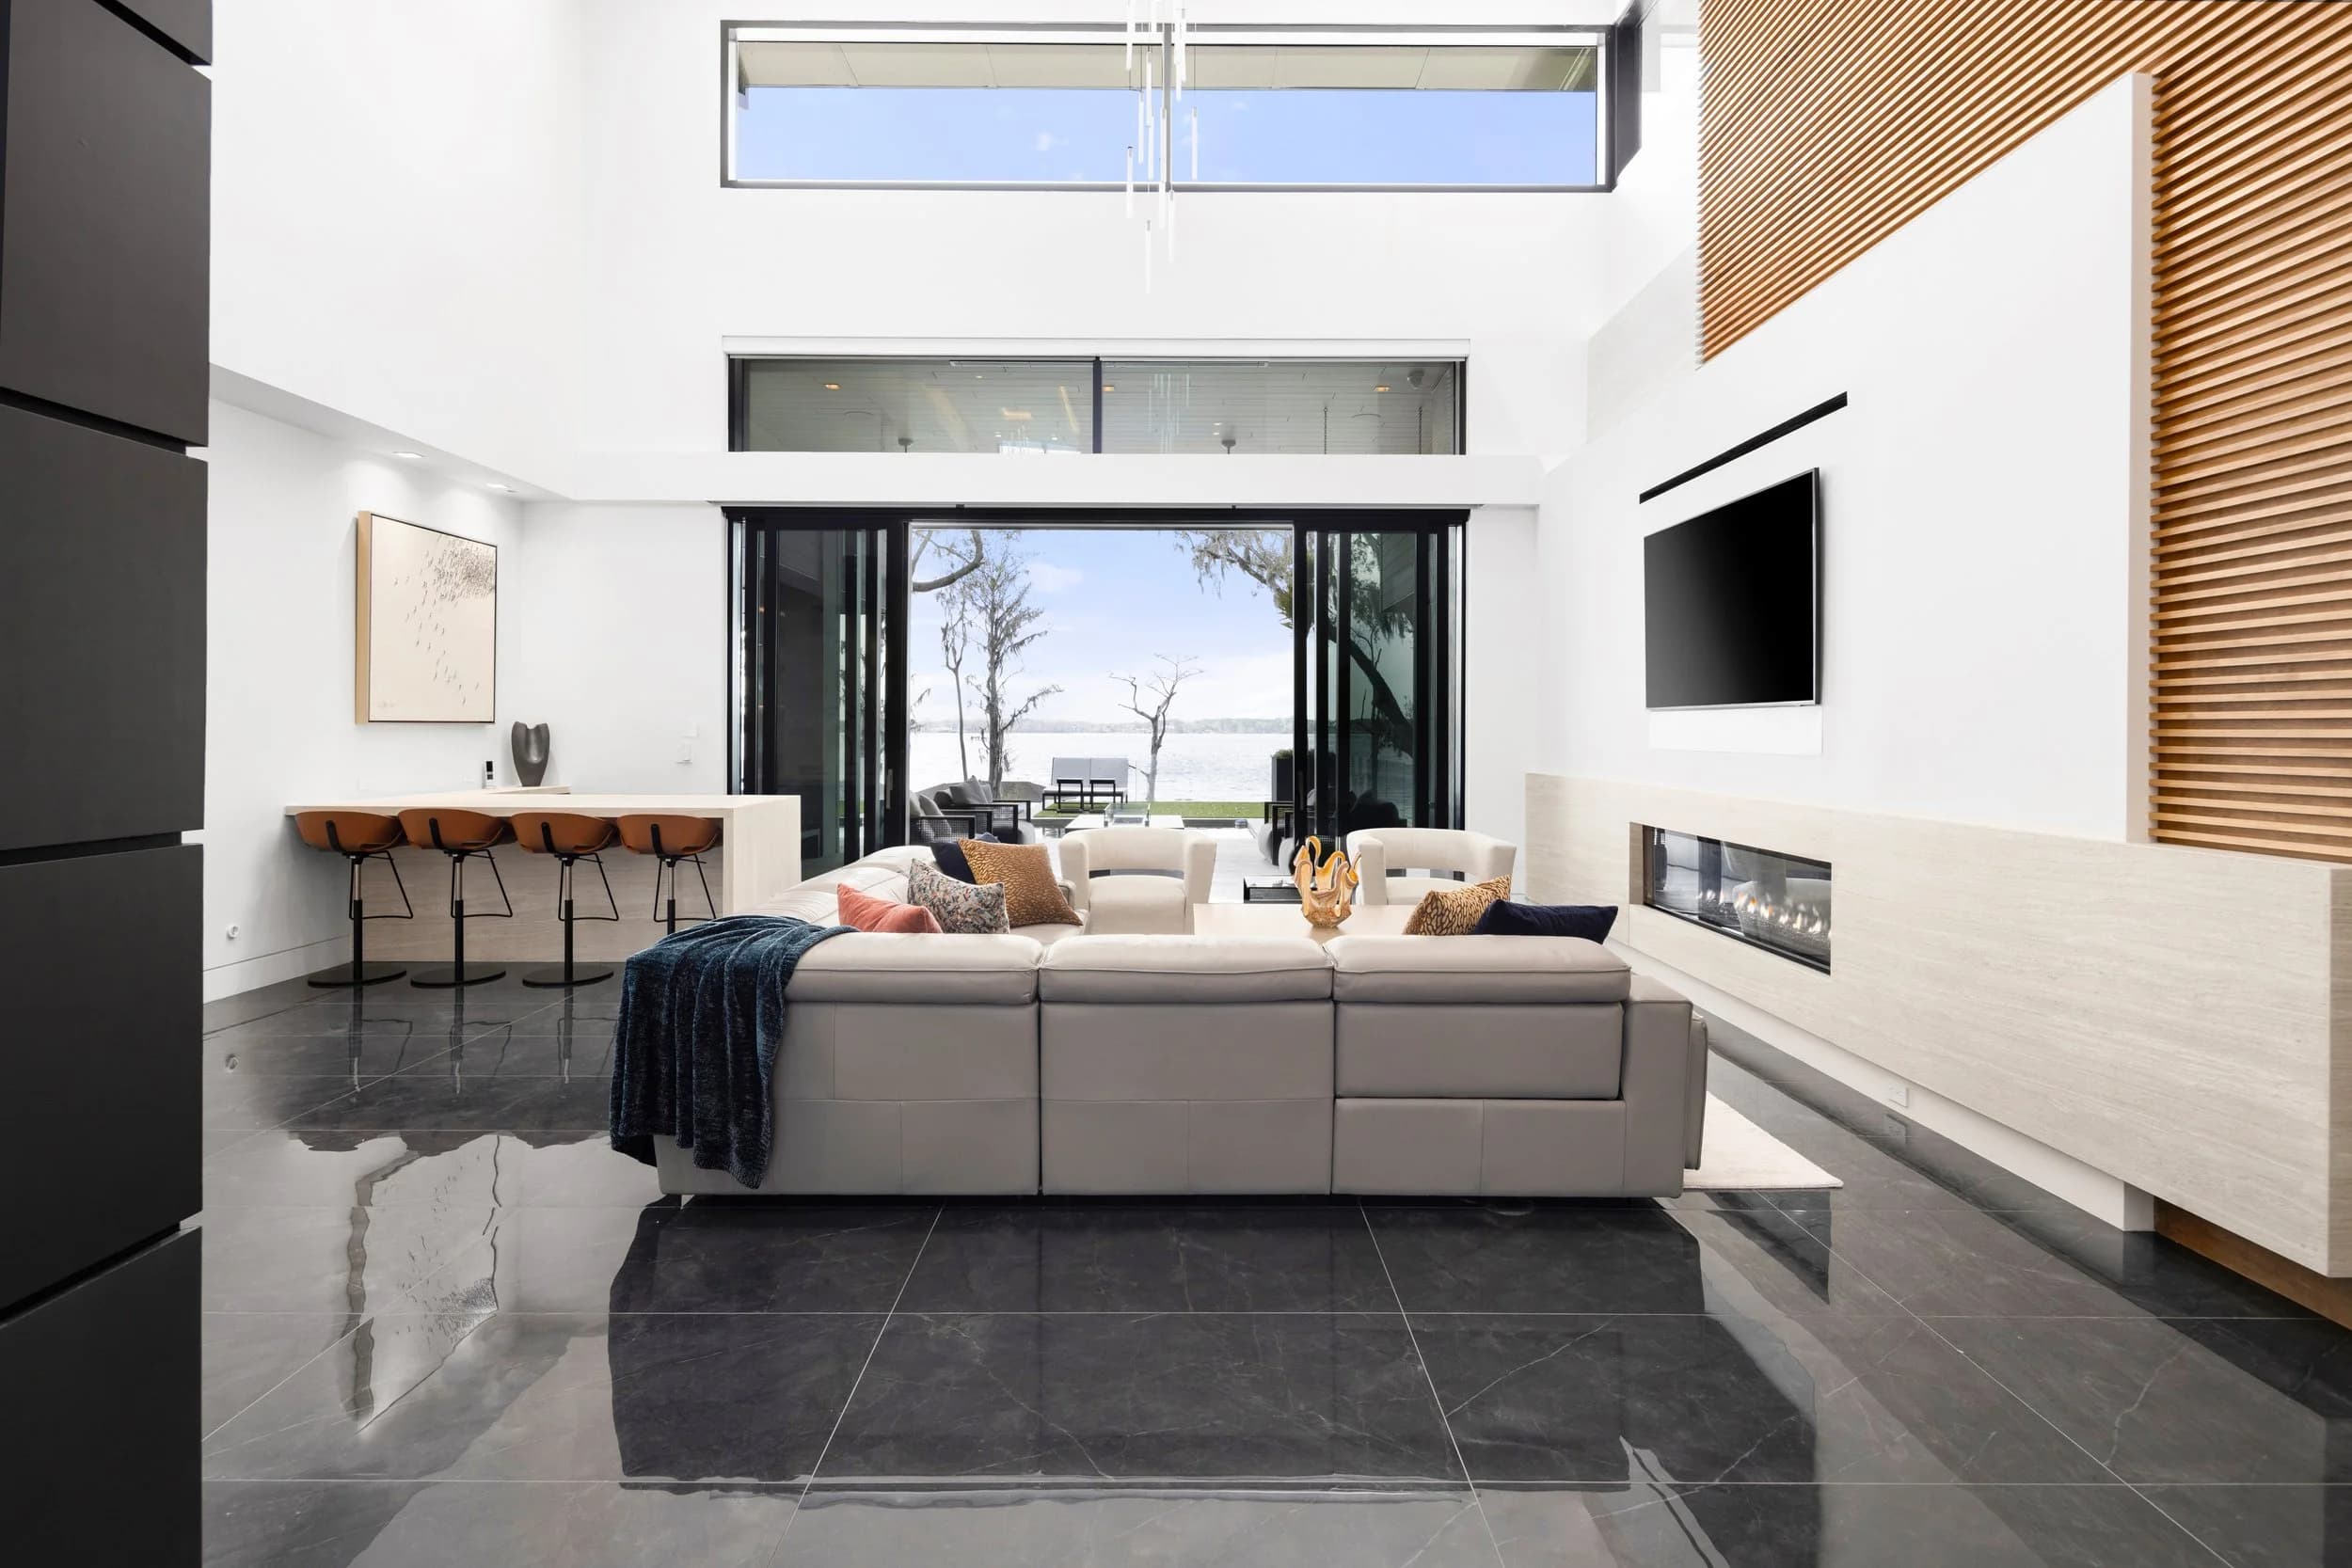
Renovators are usually excellent at the "after" and terrible at the "before." Six months later, when the project is the centerpiece of a pitch deck or a listing, the only record of the original condition is a handful of blurry phone photos taken in bad light with a contractor's truck in the driveway.
That's a missed asset. Before-and-after pairs are among the most effective marketing content a flipper, investor, builder, or design-build contractor can own — and they cost almost nothing to capture if you plan for them.
Who Actually Needs This
Fix-and-flip investors justifying the after-repair value to buyers, agents, and appraisers
Design-build remodelers whose entire portfolio is transformation
Interior designers demonstrating scope on a whole-home project
Home builders documenting a teardown-and-rebuild or a major renovation of an older home
Investors raising capital, where a proven pair of images does more than a spreadsheet
Agents marketing a recently renovated listing where buyers can't otherwise appreciate the scope
The Rule That Makes It Work: Match the Frame
A before-and-after only lands when the two images are shot from the same position. Same corner of the room, same height, same focal length, same orientation. When the frames match, the eye compares the change instantly. When they don't, the viewer spends their attention re-orienting and the impact evaporates.
Practical ways to hit that:
Note the shooting position for each frame — which corner, roughly how far from each wall, and camera height.
Photograph from corners, which gives the widest, most repeatable view of a room.
Keep the camera level. A tilted "before" against a level "after" reads as sloppy, not dramatic.
Use the same focal length in both. A wider "after" makes the room look bigger for the wrong reason, and savvy buyers notice.
Shoot at a similar time of day so the light through the windows is comparable.
Capture more angles than you think you need. You can't go back once demo starts.
That last point is the one people regret. Demolition is irreversible. Ten extra minutes before the first wall comes down is the cheapest insurance in the project.
What to Capture Before Work Starts
Shoot the "before" the day before demo, not two weeks in when the space is already half torn out:
Every room getting touched, from at least two corners
Wide shots that establish the full layout and flow
The exterior, front and rear, plus any roofline or elevation changes planned
Existing kitchen and bath in full, since those carry the most visible transformation
Problem areas being addressed — dated finishes, damage, awkward layouts
An aerial if the lot, roof, or footprint is changing
Don't clean up first. The honest "before" is more persuasive than a tidied one, and buyers and investors can tell the difference.
Documenting the Middle
Progress photos during the work are useful for more than marketing. They create a visual record of what's behind the drywall — framing, rough plumbing, electrical, insulation, and any structural work. That documentation has resolved more than one dispute months after closing, and it reassures buyers who want to know the renovation was done properly rather than cosmetically.
A reasonable cadence for a typical residential renovation is a visit at demo, one at rough-in, one at drywall, and the final. Larger or longer projects justify more.
Shooting the "After"
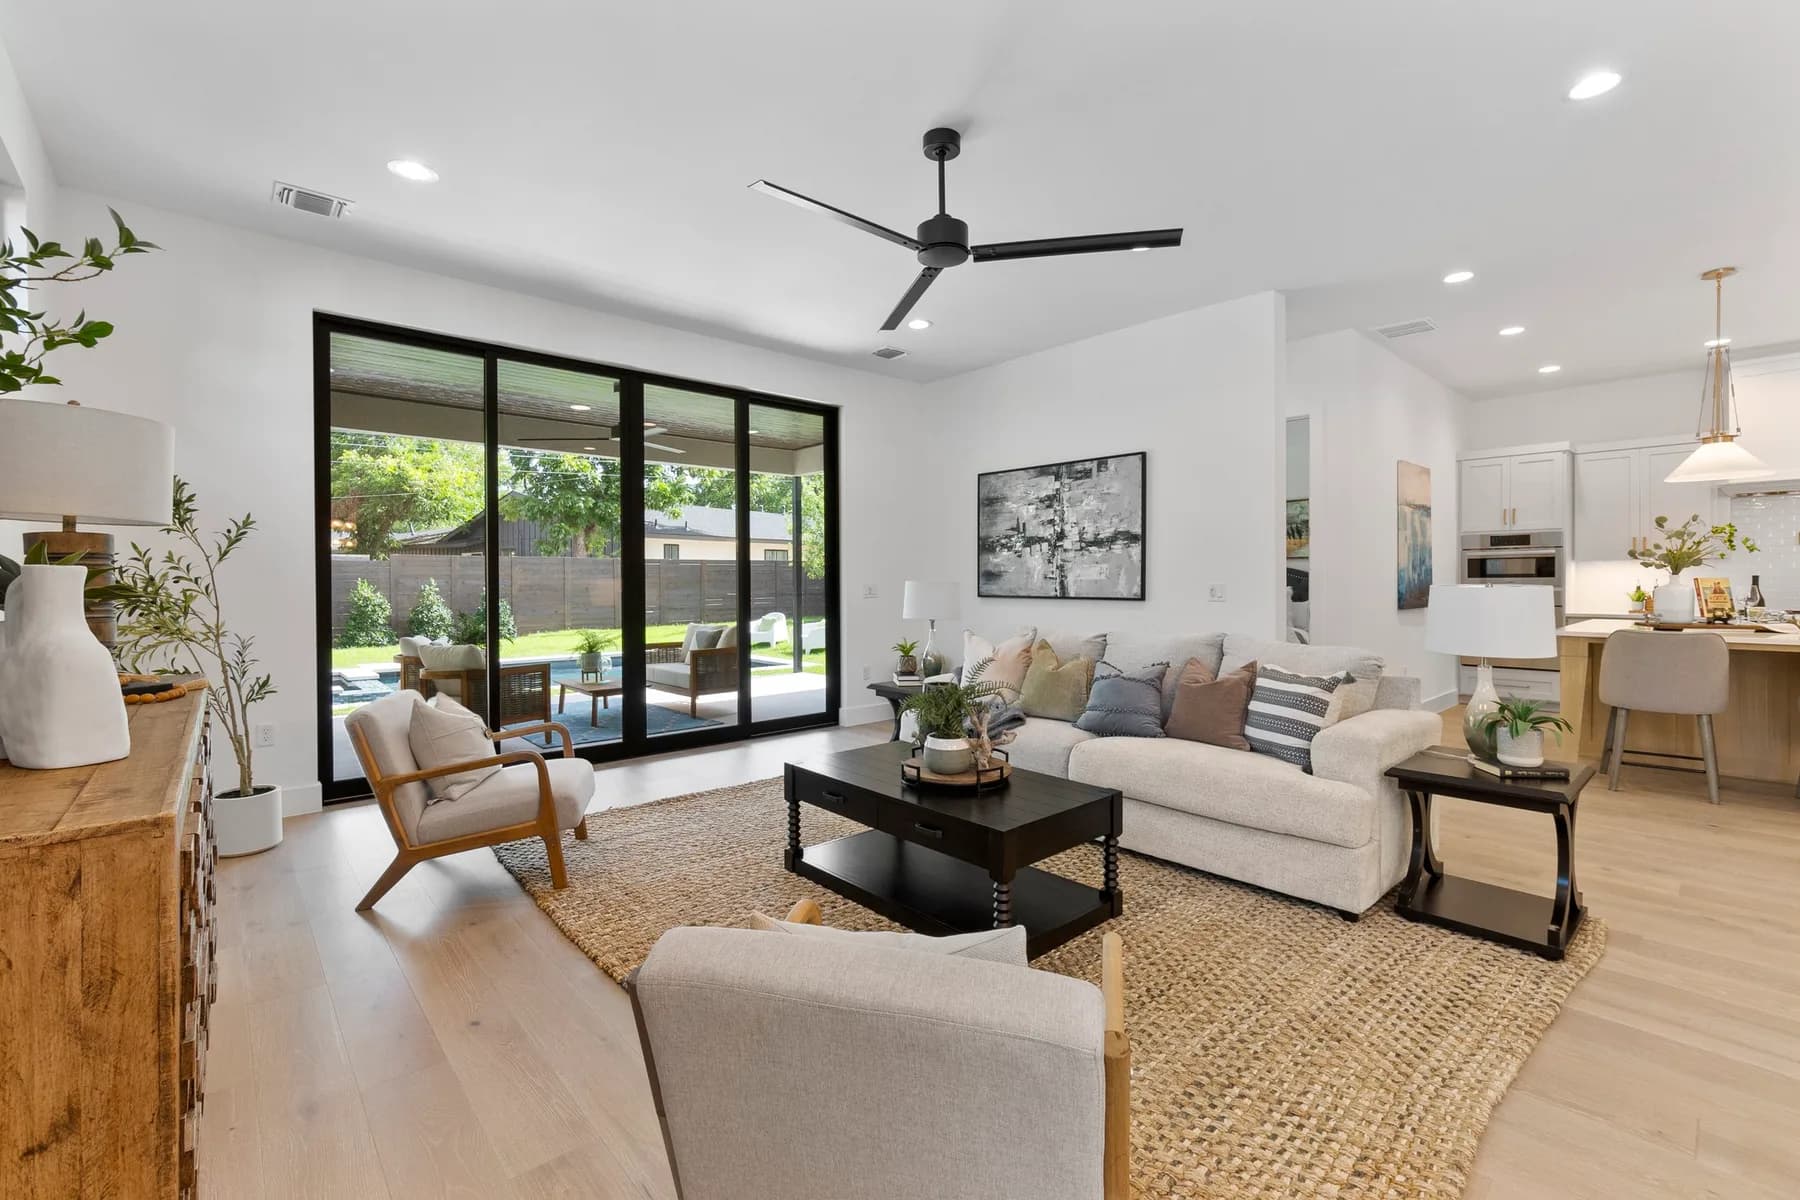
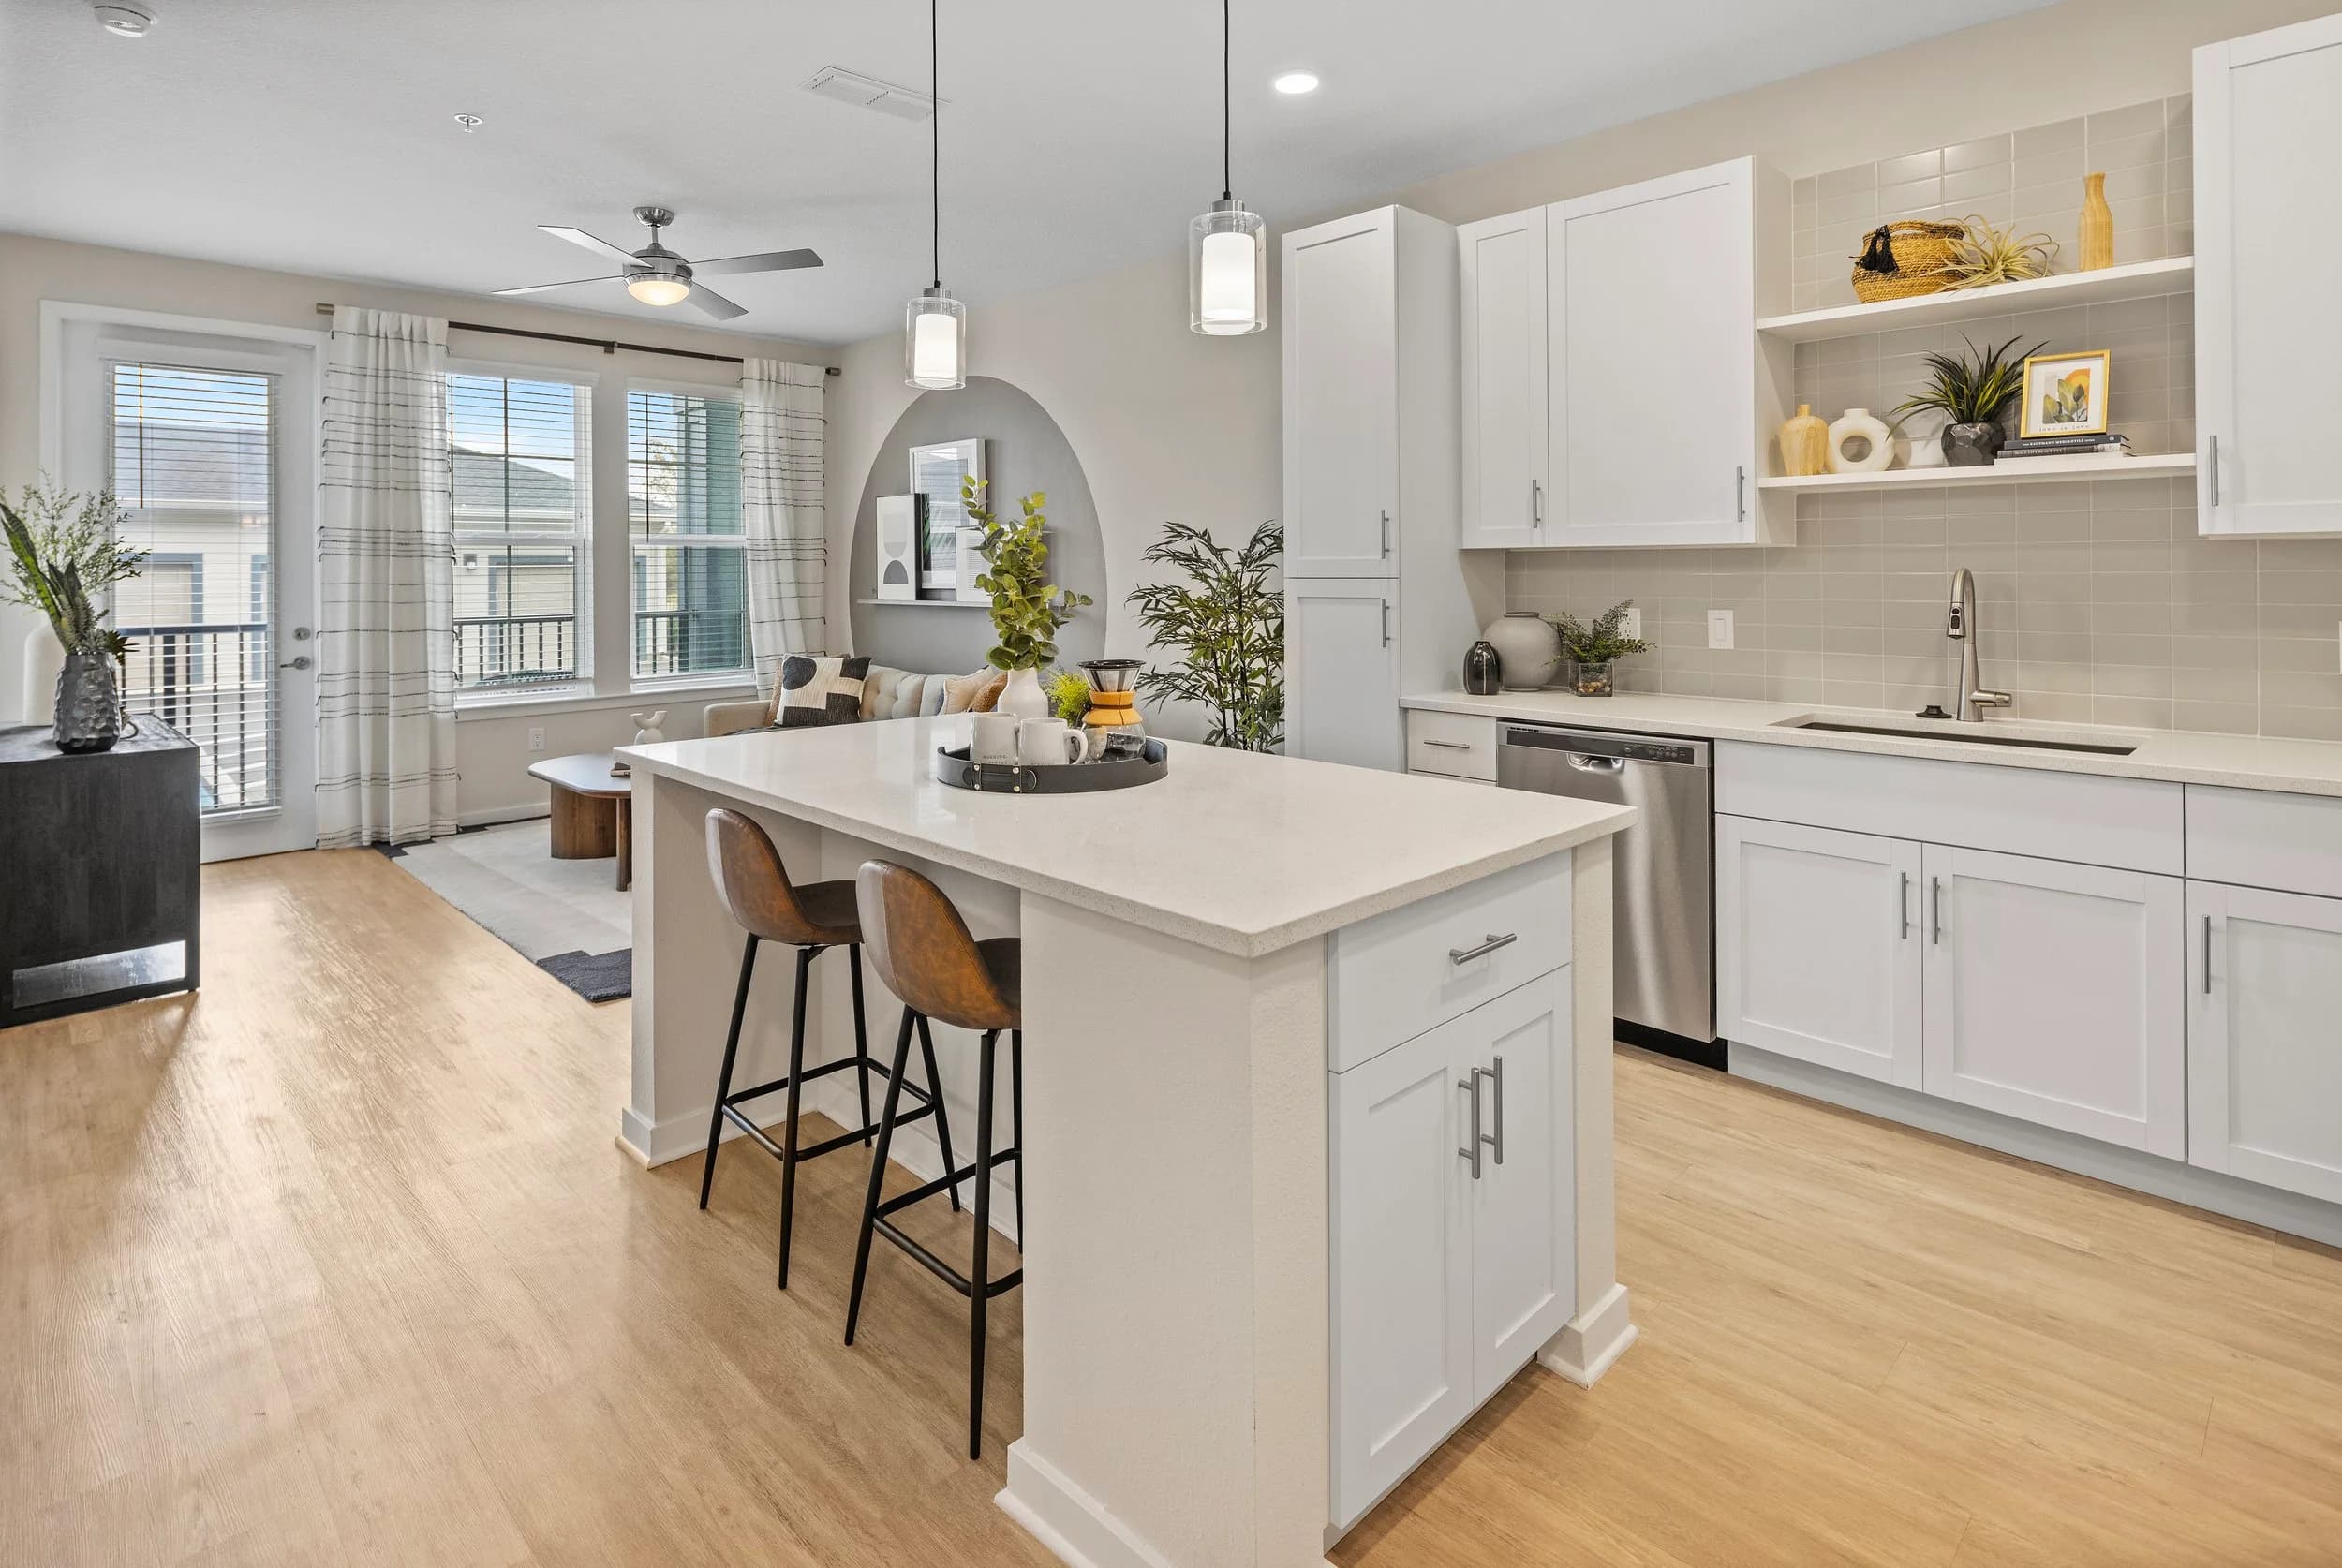
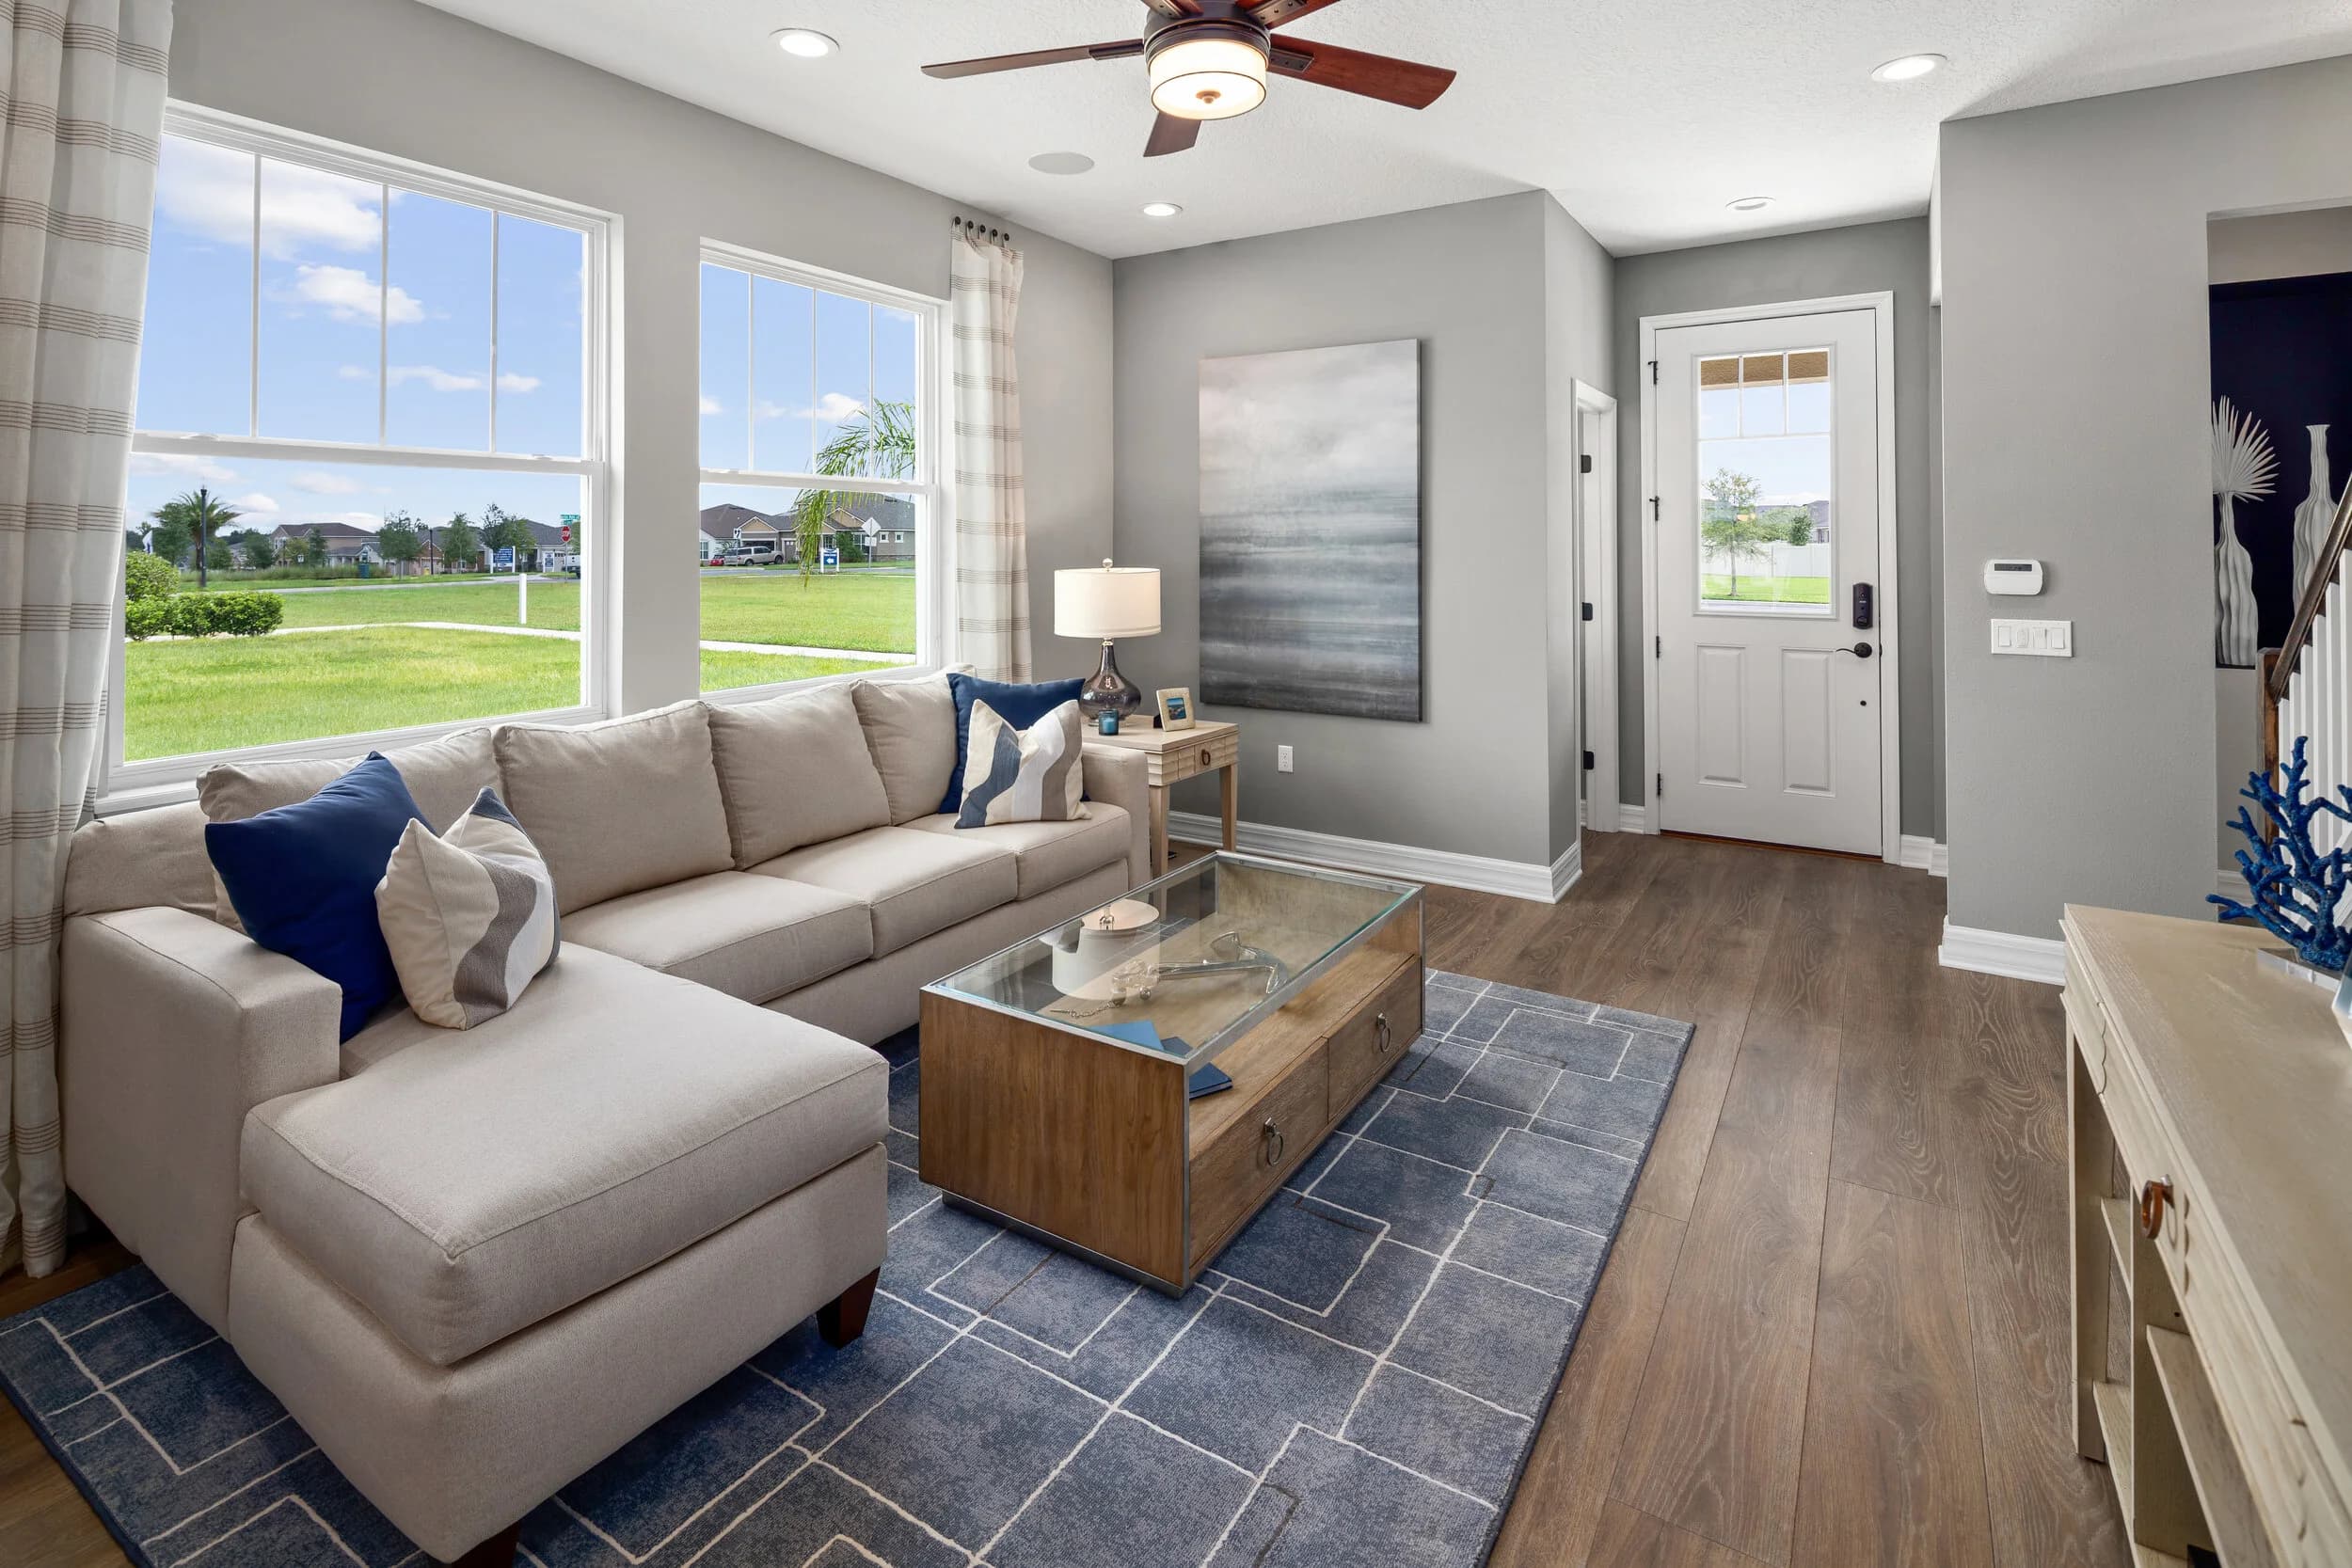
The final shoot is a full listing or portfolio shoot, and the standards are the same as any professional interior work: proper exposure, correct verticals, controlled color, and windows that show the view rather than glowing white. A few additions specific to renovation work:
Photograph the details you paid for — tile transitions, cabinet hardware, trim work, lighting fixtures. These are what a design-build audience judges.
Get the same wide frames as the "before," even if you also shoot tighter, prettier compositions for the portfolio.
Include the exterior if curb appeal changed. Roof, paint, landscaping, and driveway changes are often the most dramatic pair in the set.
Consider twilight for the exterior after, particularly if new exterior lighting was part of the scope.
Using the Pairs
Once you have matched pairs, they work across almost every channel: side-by-side images in a listing gallery, slider comparisons on a project page, before-and-after reels that consistently outperform single-image posts on social, investor decks, and contractor portfolios. For agents marketing a renovated Orlando or Tampa listing, a single well-matched pair in the marketing remarks explains scope faster than a paragraph of description.
Ready to Book?
If you have a project heading into demo, the time to plan the photography is now — not after the walls are gone. Ready to book? Get in touch or call us — we serve Orlando, Tampa Bay, and Central Texas.