Open floor plans are standard in new and renovated homes across Orlando, Tampa Bay, Austin and San Antonio, and buyers expect them. But an open plan is surprisingly hard to show in still photos. When the kitchen, living room and dining area share one large space, a gallery can easily become a set of overlapping wide shots that leave buyers unsure where one area ends and the next begins.
The goal is simple: by the time a buyer has scrolled past the main living images, they should be able to sketch the layout in their head. This post covers how to frame, connect and order open-plan images so that happens. Gallery order in general is covered in our post on sequencing a listing gallery, so here the focus is on the open-plan area itself.
Why open plans are hard to read in photos
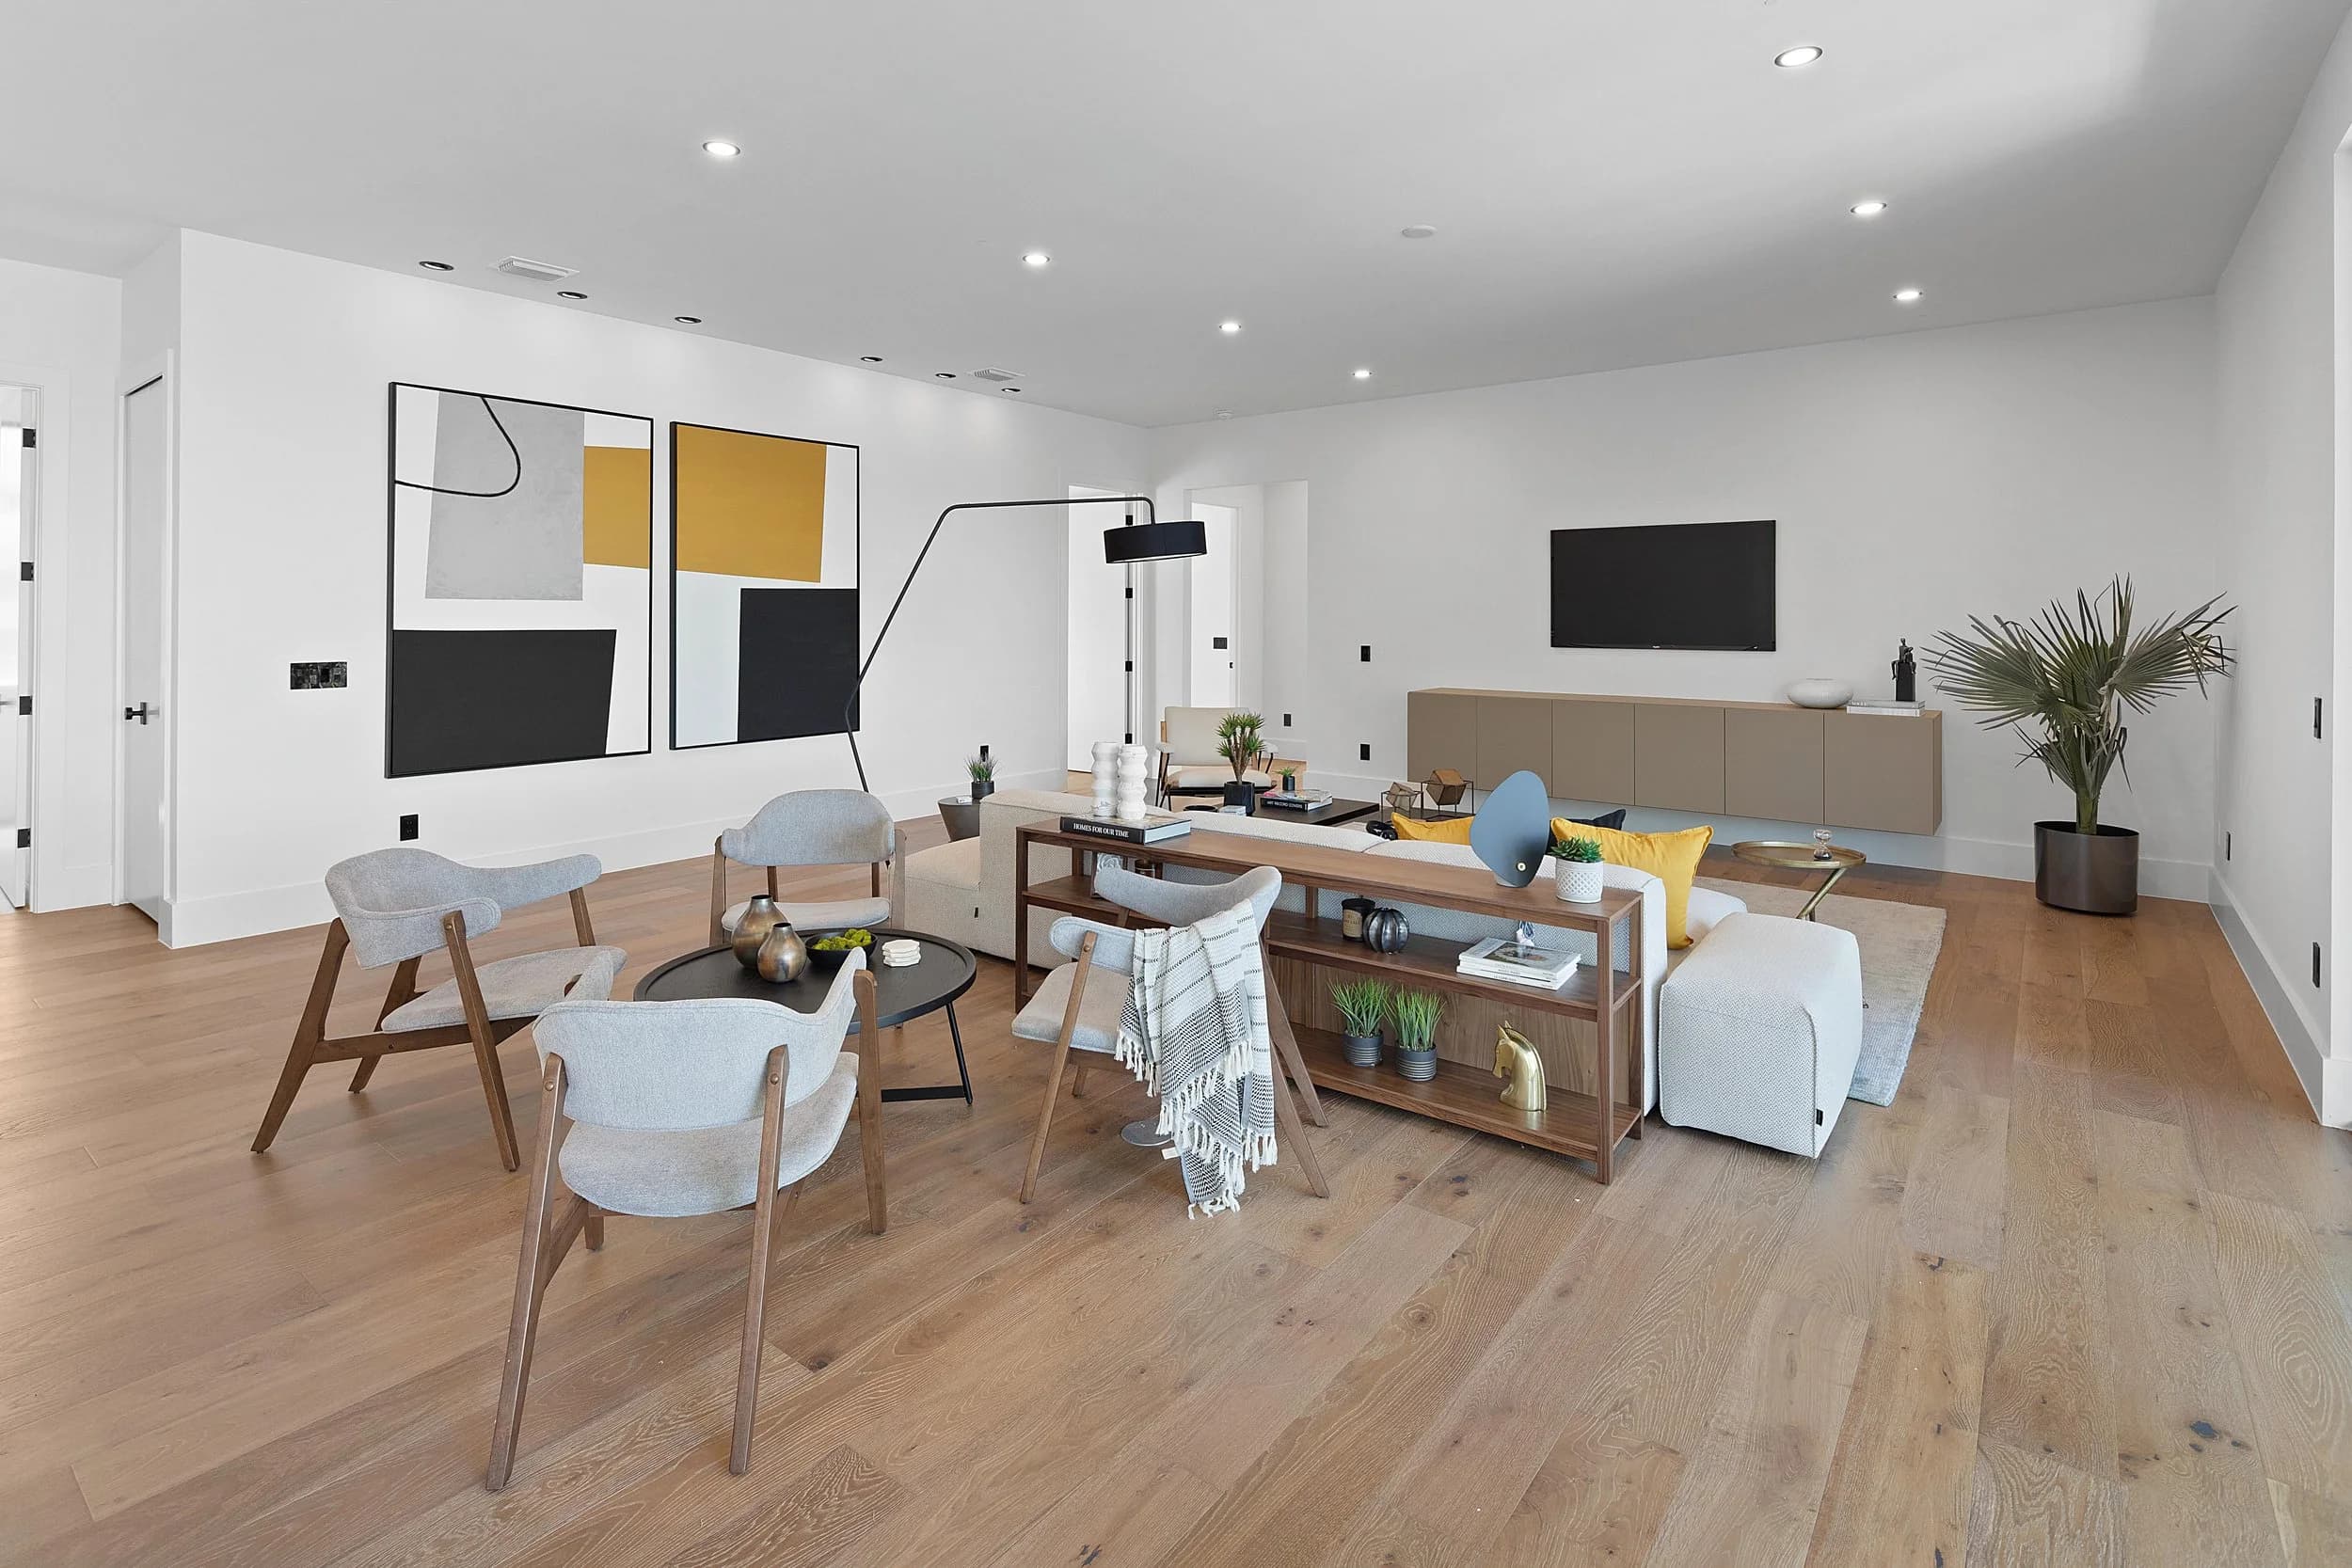
In a traditional layout, each room has walls and a doorway, and every photo is clearly "the dining room" or "the den." In an open plan, the boundaries are furniture, rugs, light fixtures and changes in flooring or ceiling. Photos lose depth, so those cues get weaker. Three common problems:
- Every image looks the same. Several wide shots of one big room, taken from slightly different spots, read as repeats.
- Buyers can't place the kitchen. They see the island and the sofa, but not how they relate.
- The space feels bigger or smaller than it is. Too wide a lens stretches the room; too tight a crop chops it into pieces.
Shoot along sightlines, from the edges
The strongest open-plan images are taken from the edges of the space, looking along its longest sightline. A few positions do most of the work:
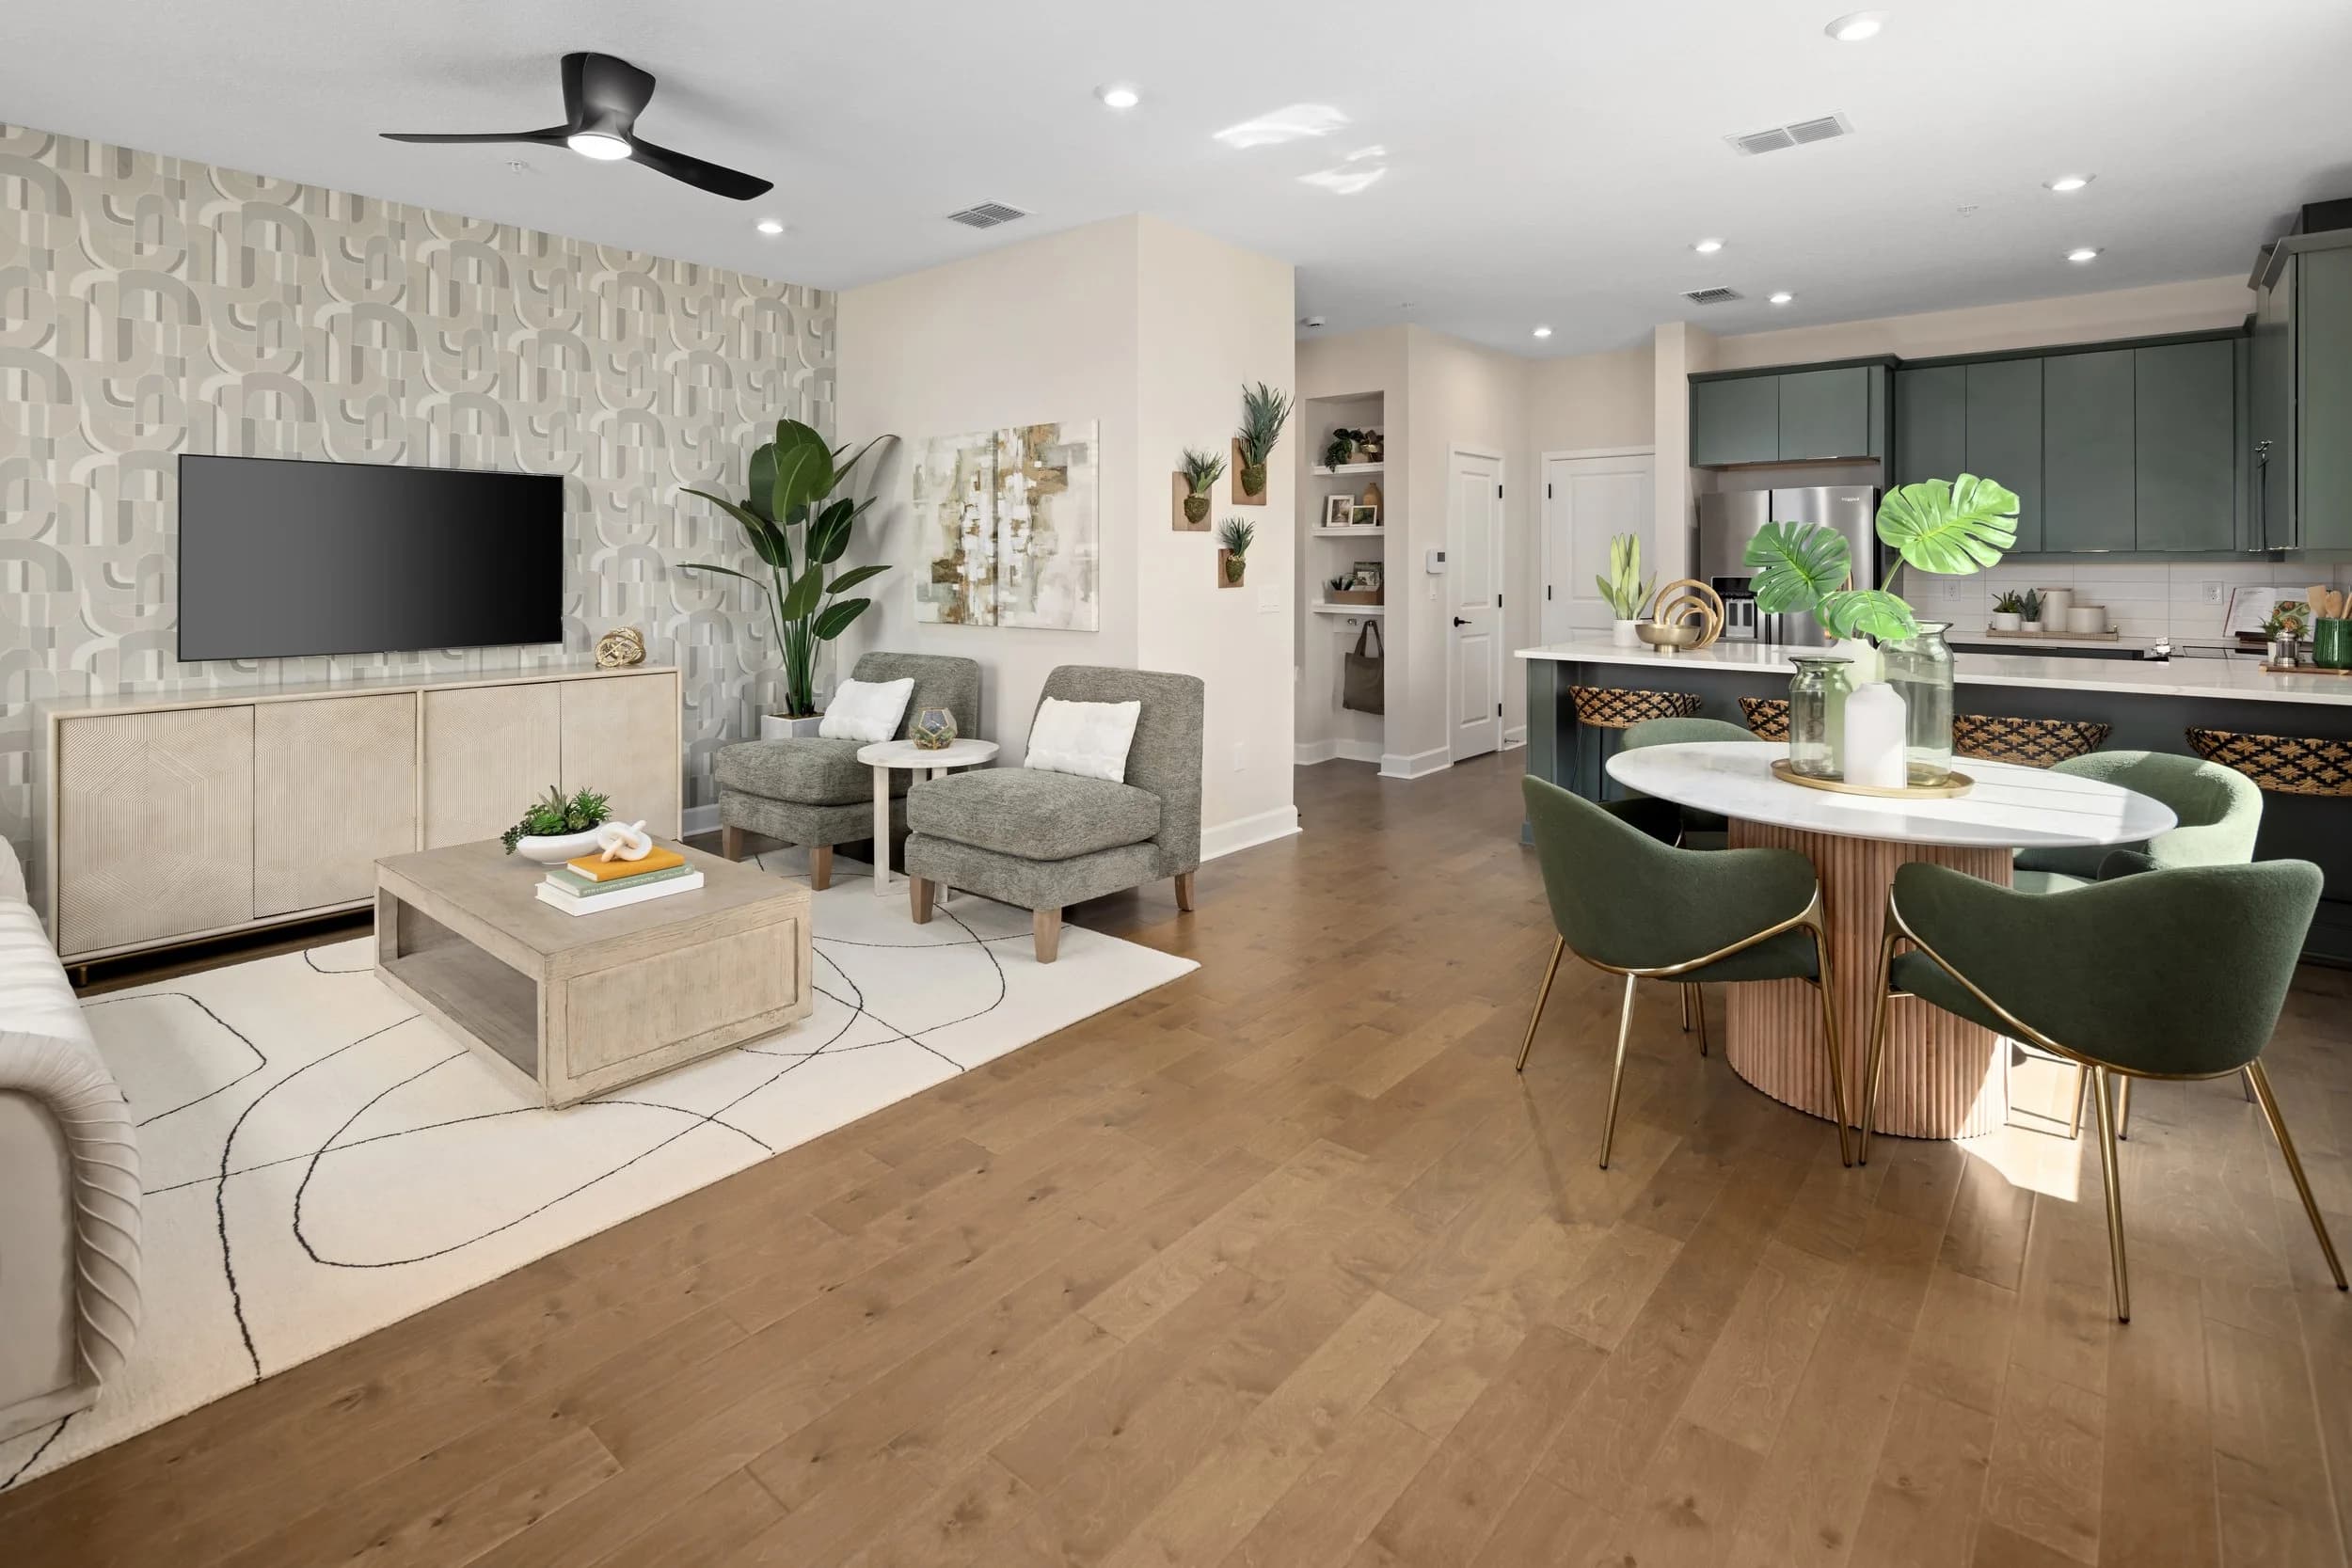
- From the kitchen toward the living area. This is the view the homeowner will see every day while cooking, and buyers look for it.
- From the living area back toward the kitchen. The reverse angle shows the island, cabinetry and how the kitchen opens to the room.
- From the entry or main hallway. This shows the first impression and how the whole space unfolds.
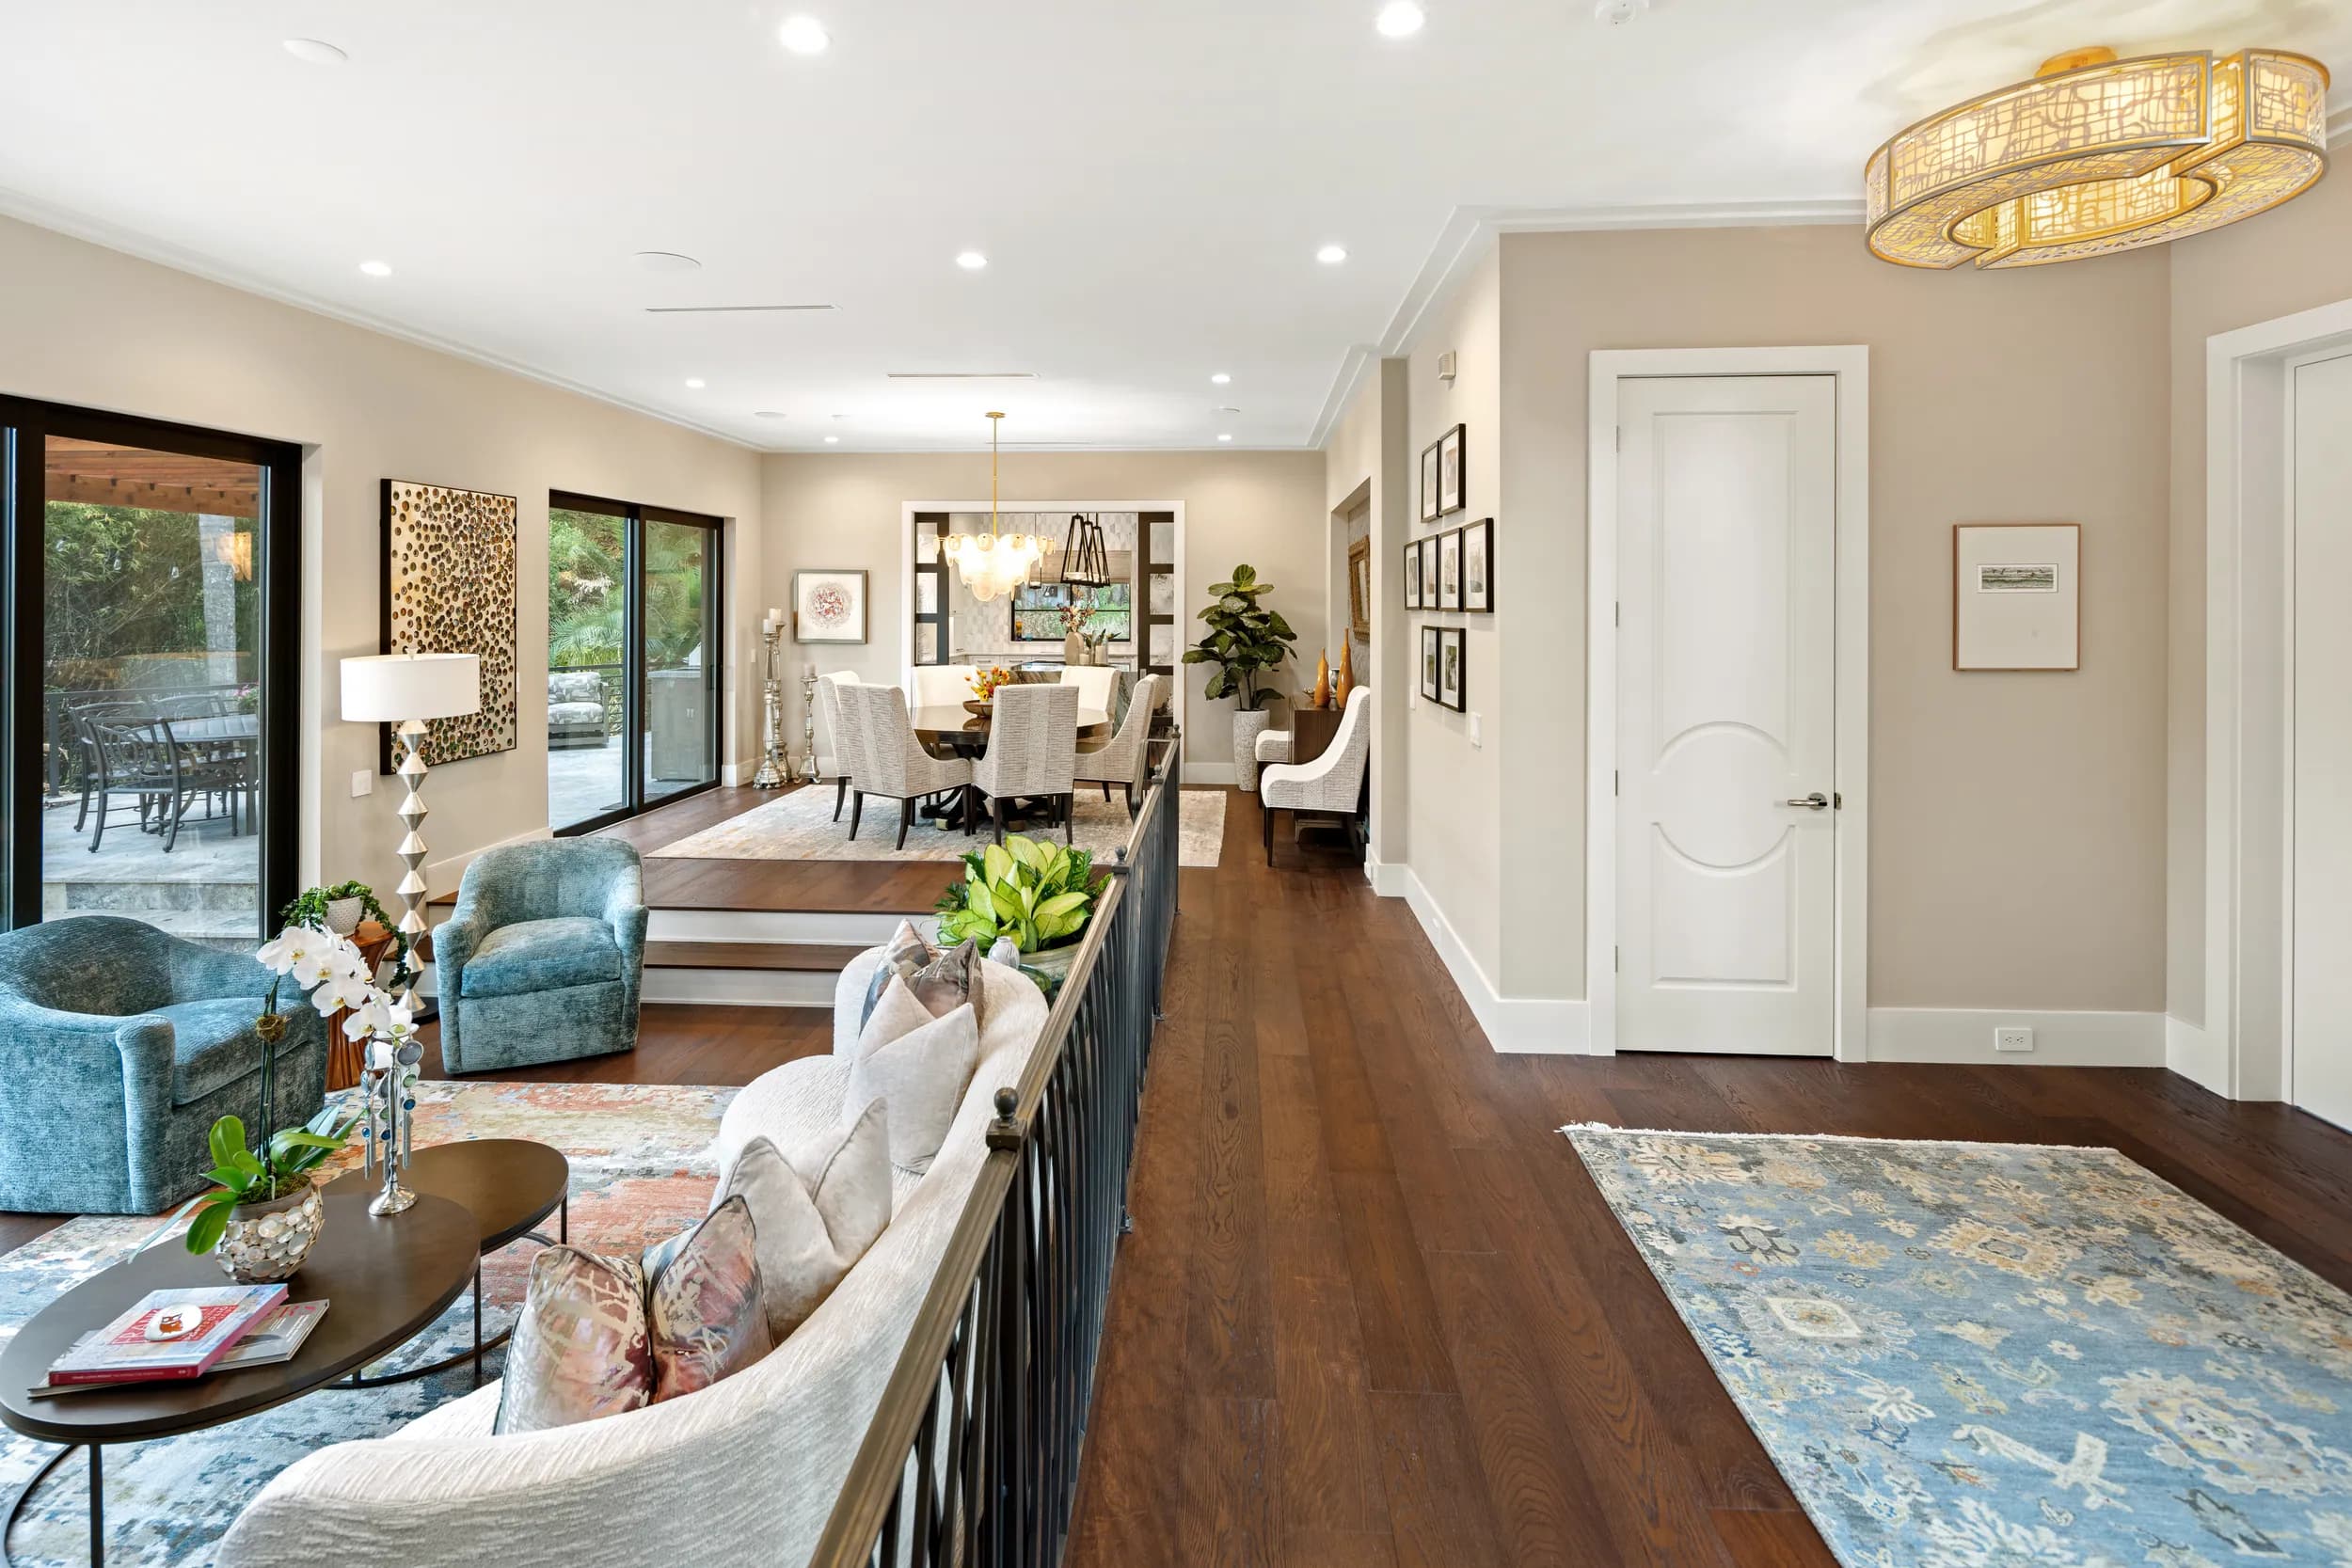
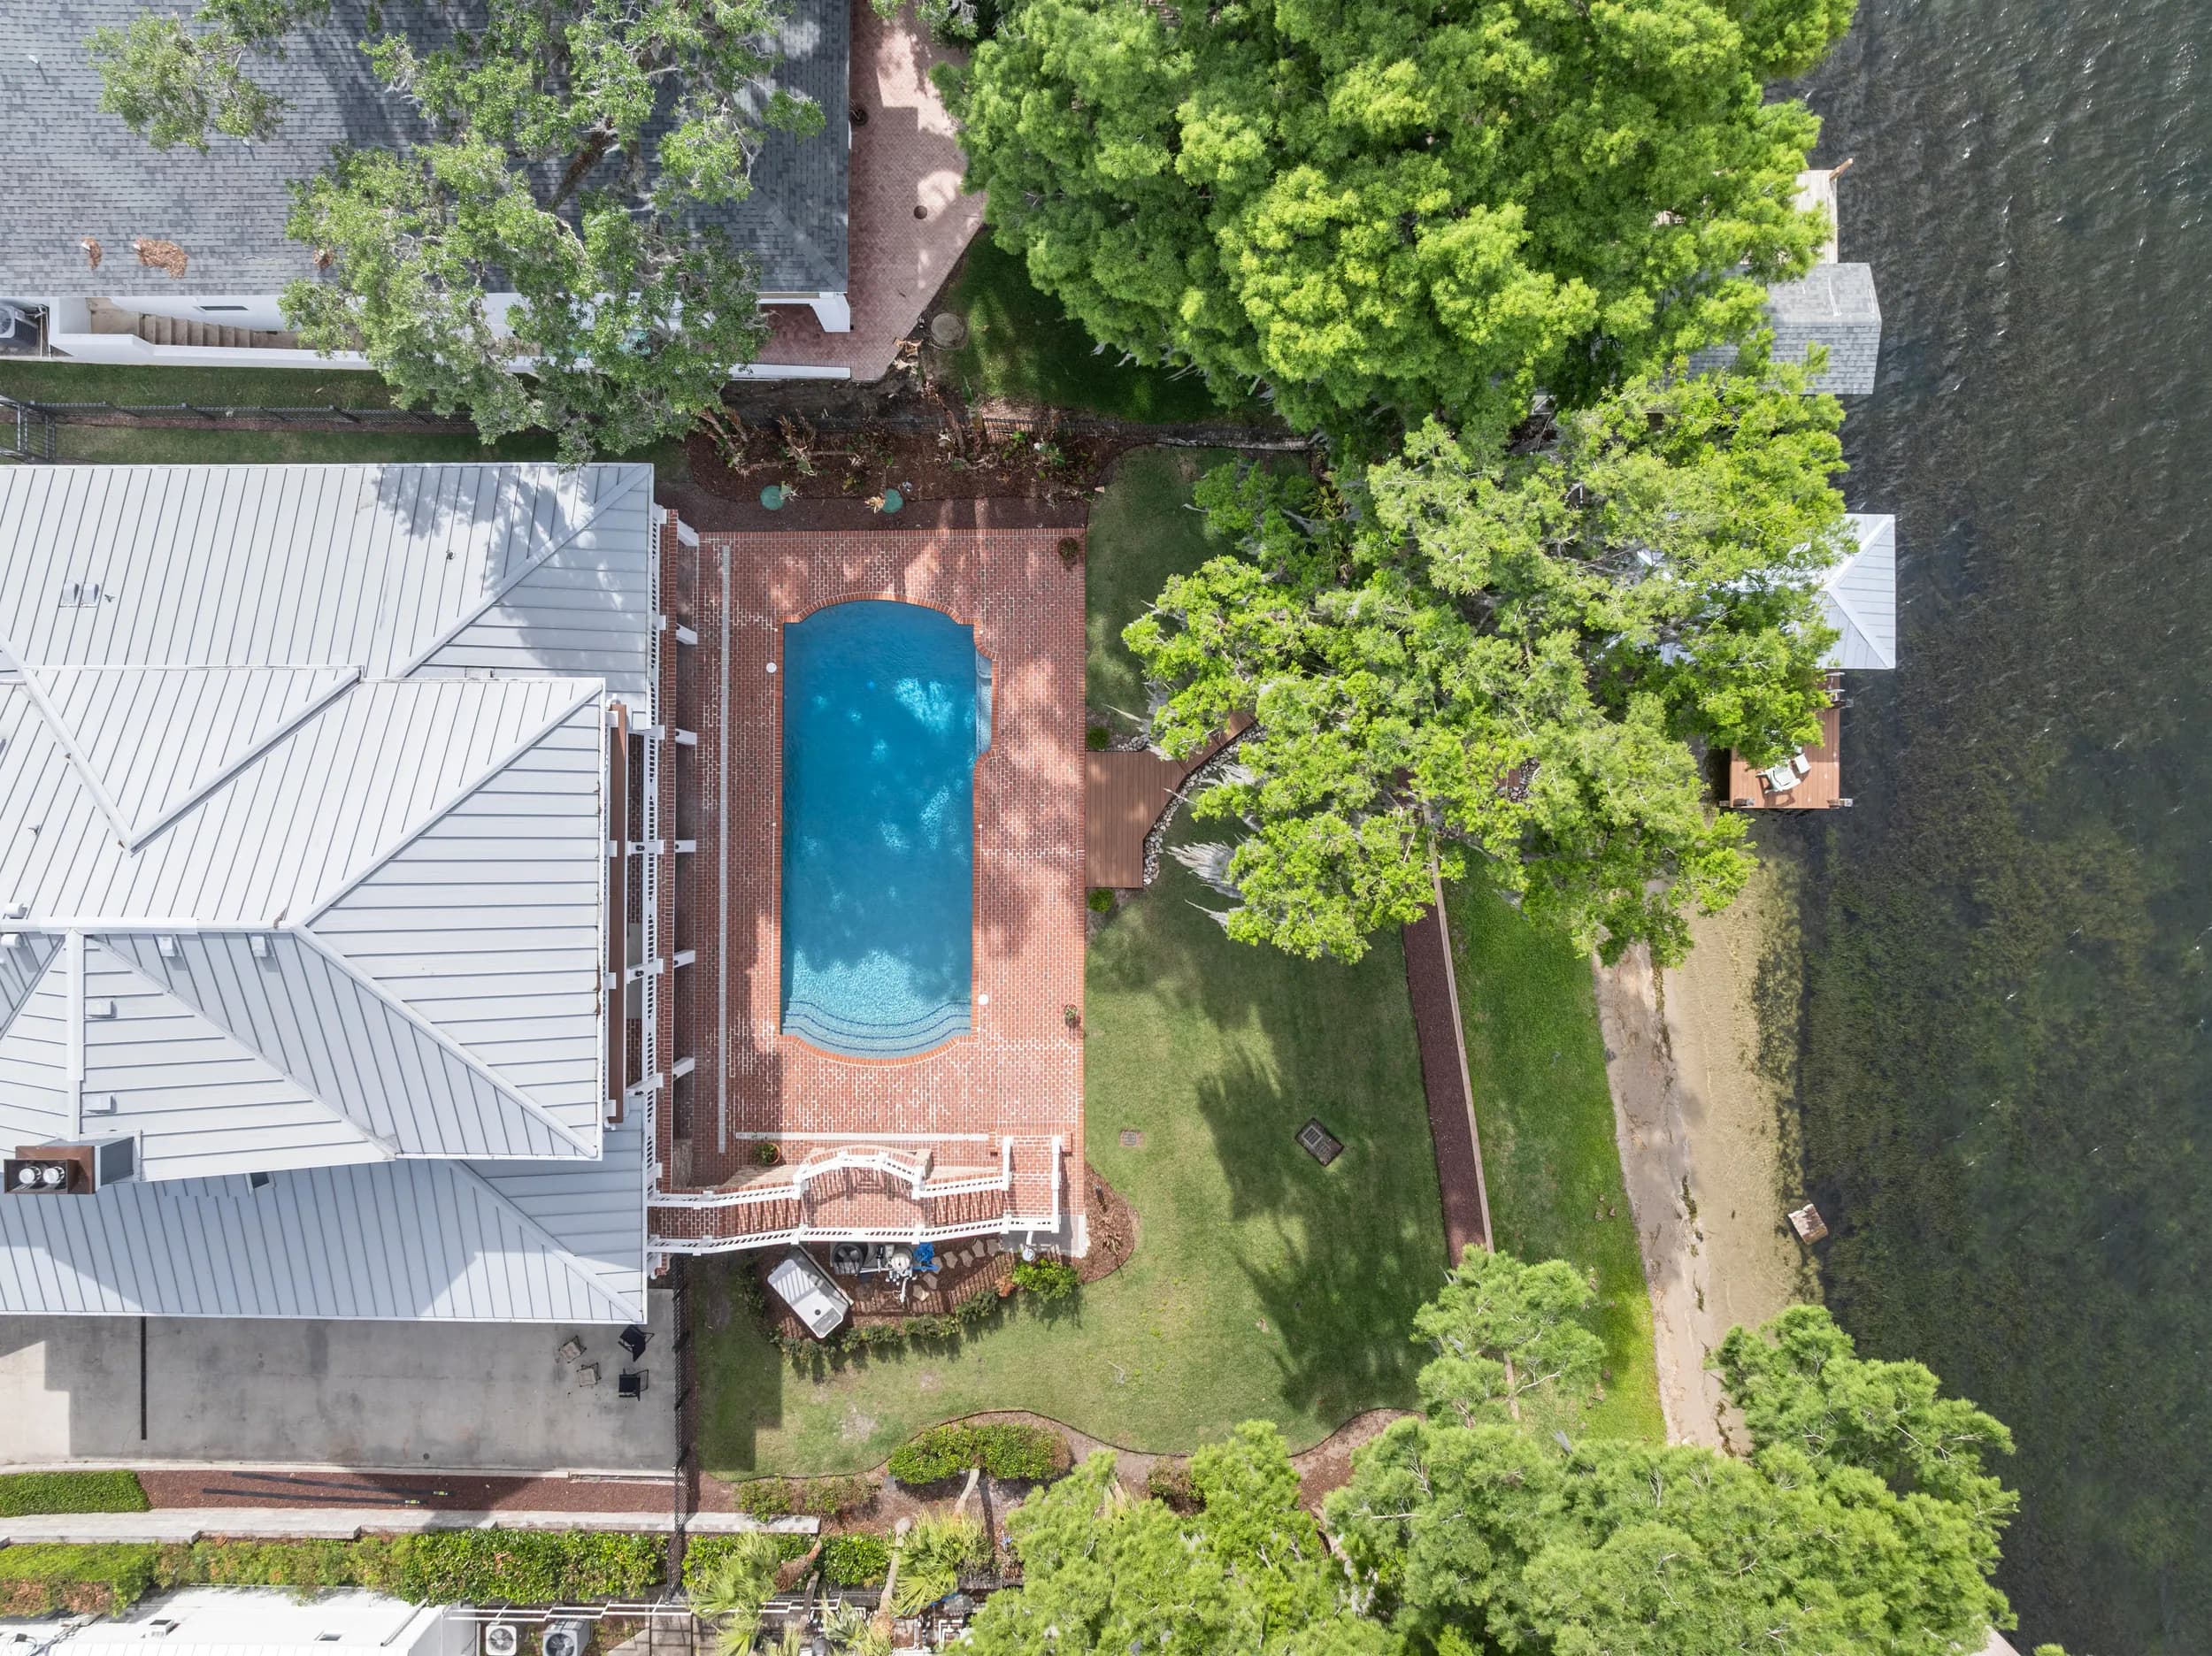
- Toward the outdoor connection. In Florida that is often the sliders to the lanai and pool; in Central Texas, a covered patio or the backyard. Showing that link is a selling point on its own.
Corner positions tend to show two or three zones at once, which is exactly what an open plan needs. Centered, straight-on frames usually show one wall and lose the depth.
Use anchor objects to connect images
The trick that makes an open-plan gallery readable is overlap. Each image should share at least one recognizable object with the next: the island, a pendant light, a dining table, a fireplace. When the buyer sees the same island from the living room and then from the dining area, their brain stitches the space together.
A few practical points:
- Keep anchors consistent. Don't move the dining chairs or rearrange the island décor between frames.
- Light the whole space evenly. If the kitchen is bright and the living area dim, they read as separate rooms.
- Use the ceiling and floor as guides. A change in ceiling height or flooring helps show where one zone ends, so keep those lines visible rather than cropping them out.
- Treat volume carefully. Homes with a two-story great room or open stair need extra thought about height. Our post on two-story great rooms and open stairwells goes into that.
Lens and staging choices that keep it honest
Open plans tempt photographers to go as wide as possible to fit everything in. The result can look impressive but feels wrong at the showing, and buyers notice. A moderate wide angle, with straight verticals, keeps proportions believable. Our post on wide-angle vs fisheye lenses explains where the line is.
Staging helps define zones, too. A rug under the living-area furniture, a set dining table and a cleared island tell buyers what each part of the room is for. In a vacant home, a few staged pieces in the living and dining zones make the scale easier to judge than a bare floor.
Back it up with a floor plan or 3D tour
Even well-connected photos only go so far. A 2D floor plan settles any doubt about how the space fits together, and a 3D tour lets buyers walk it themselves. If you are deciding which to add, see our guide on floor plans, Matterport or both.
In the gallery itself, group the open-plan images together, starting from the entry view and moving through the space in the order a visitor would walk it, then on to bedrooms and outdoor areas. Put the strongest sightline image early, since it often makes a better second photo than a kitchen close-up.
An open floor plan is usually one of a home's best features. With deliberate framing, shared anchors and a sensible order, buyers understand it before they ever step inside. Ready to book? Call or text (689) 600-2131 or get in touch.