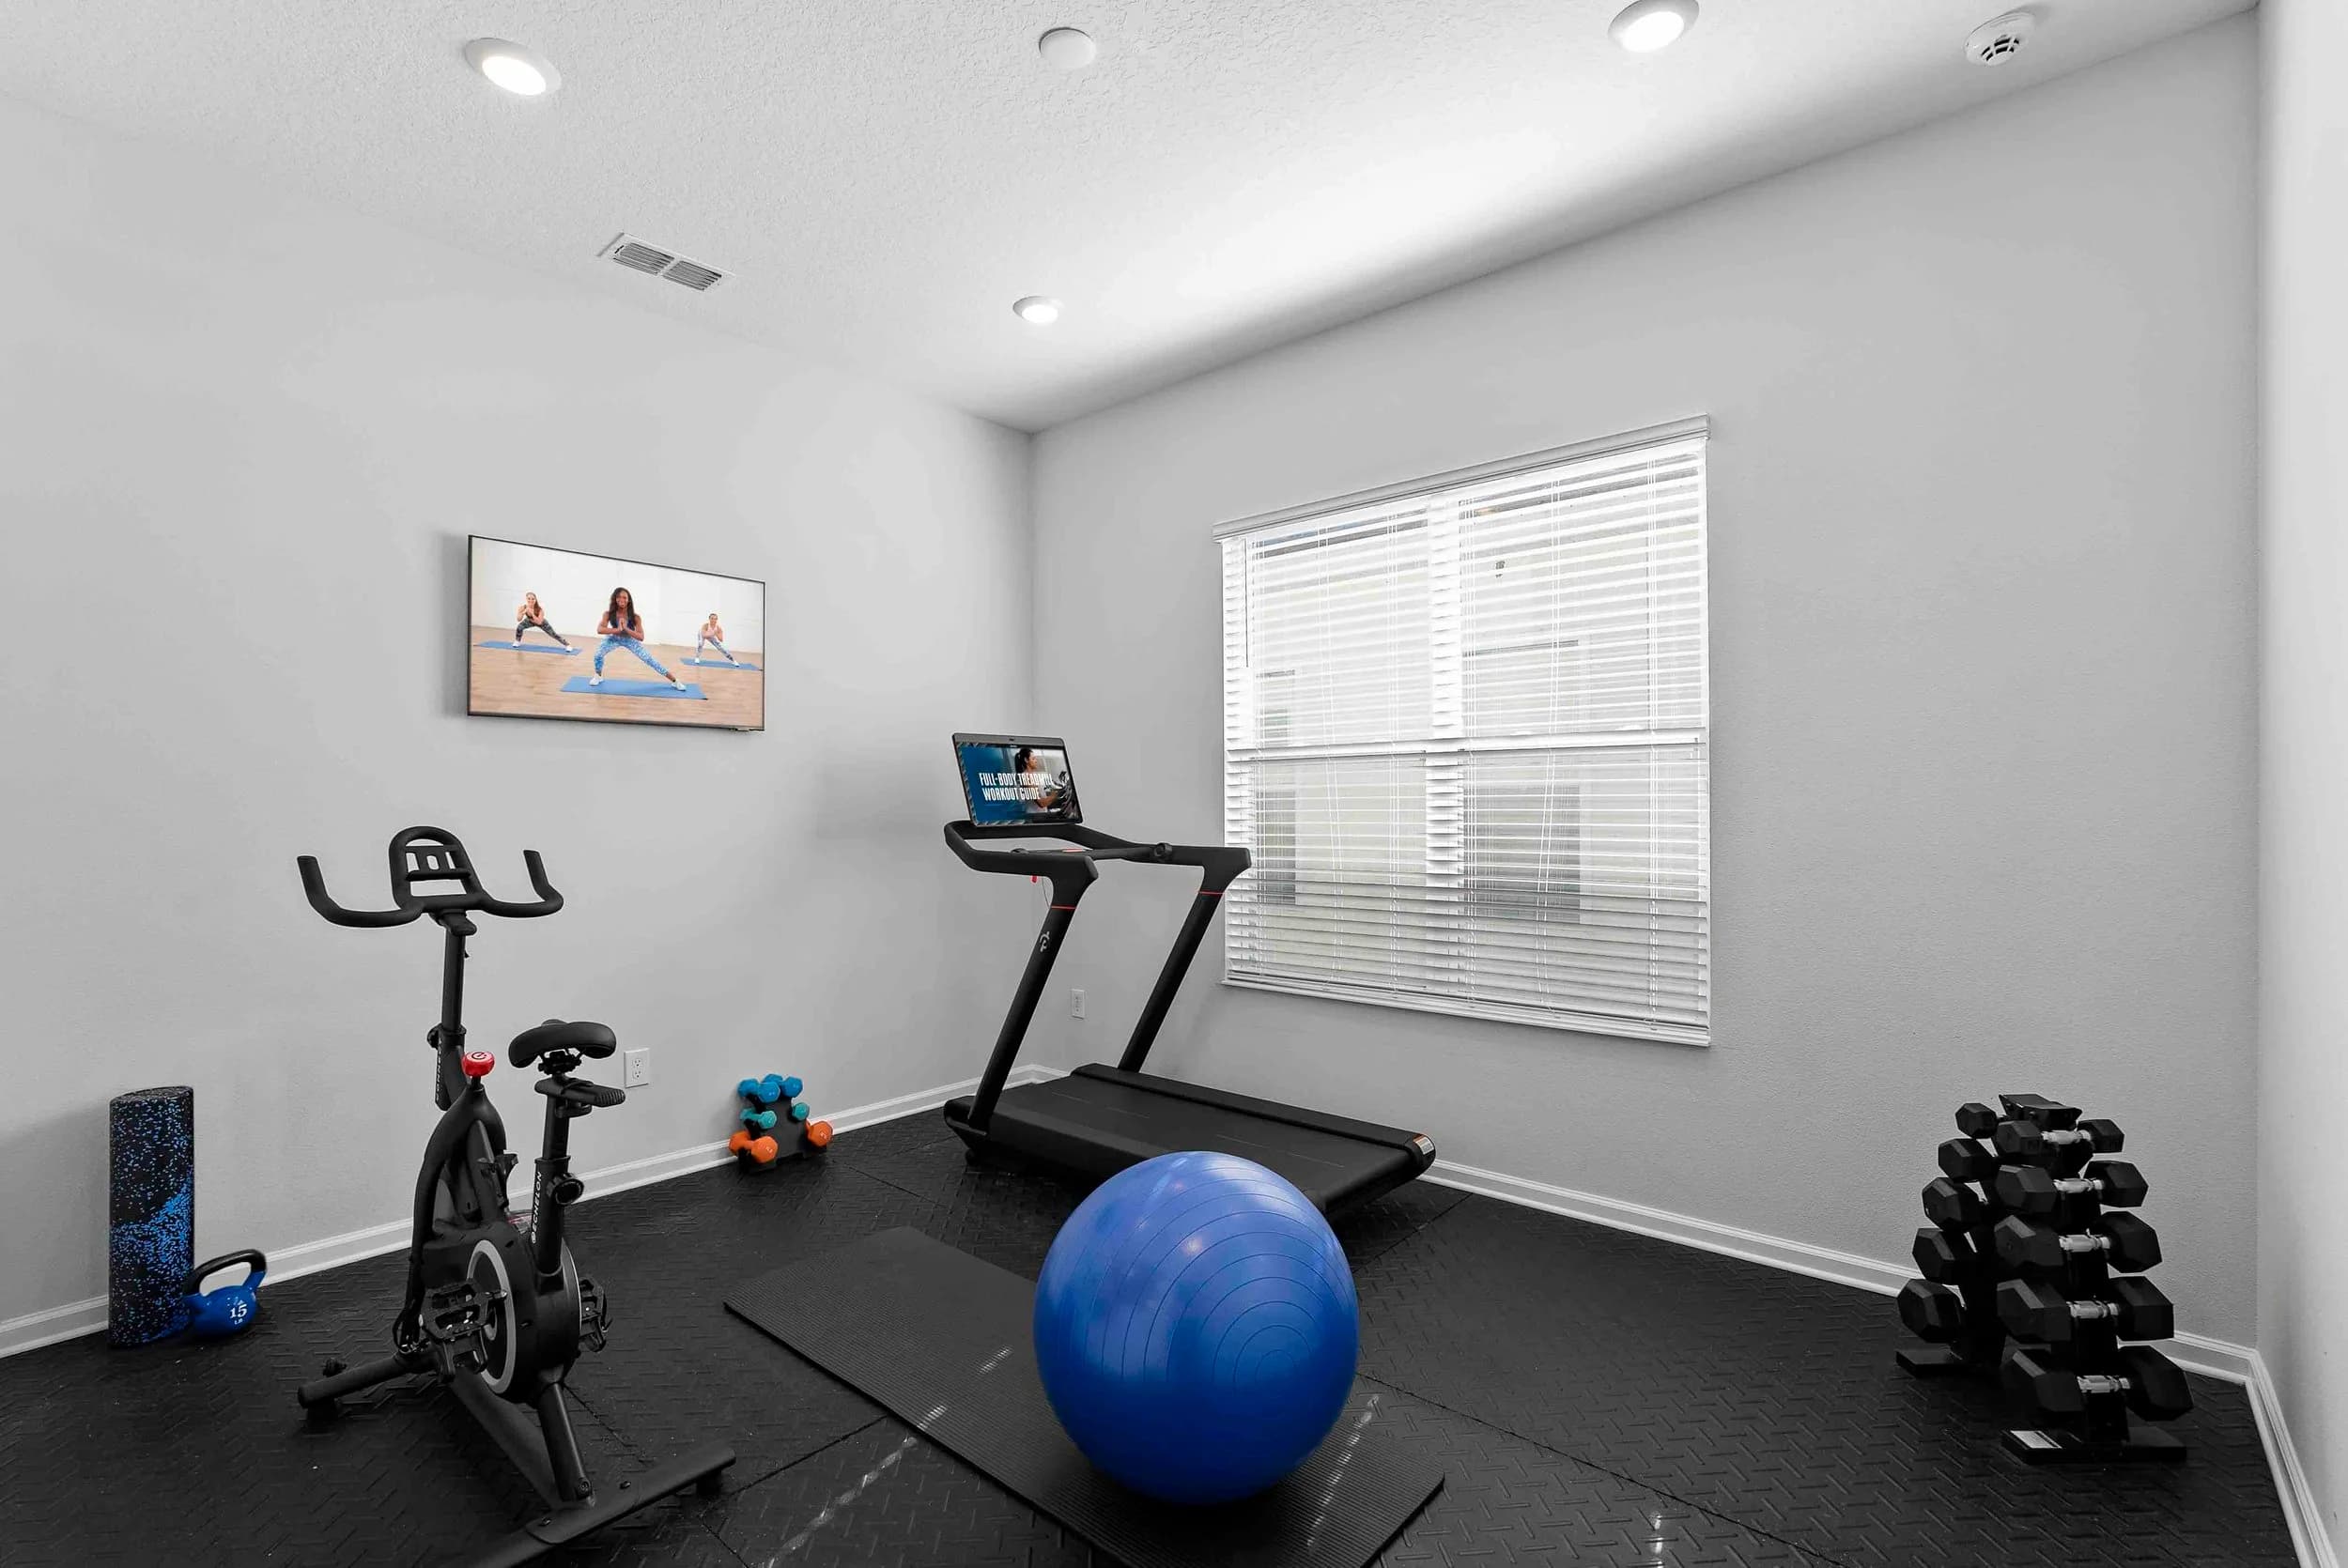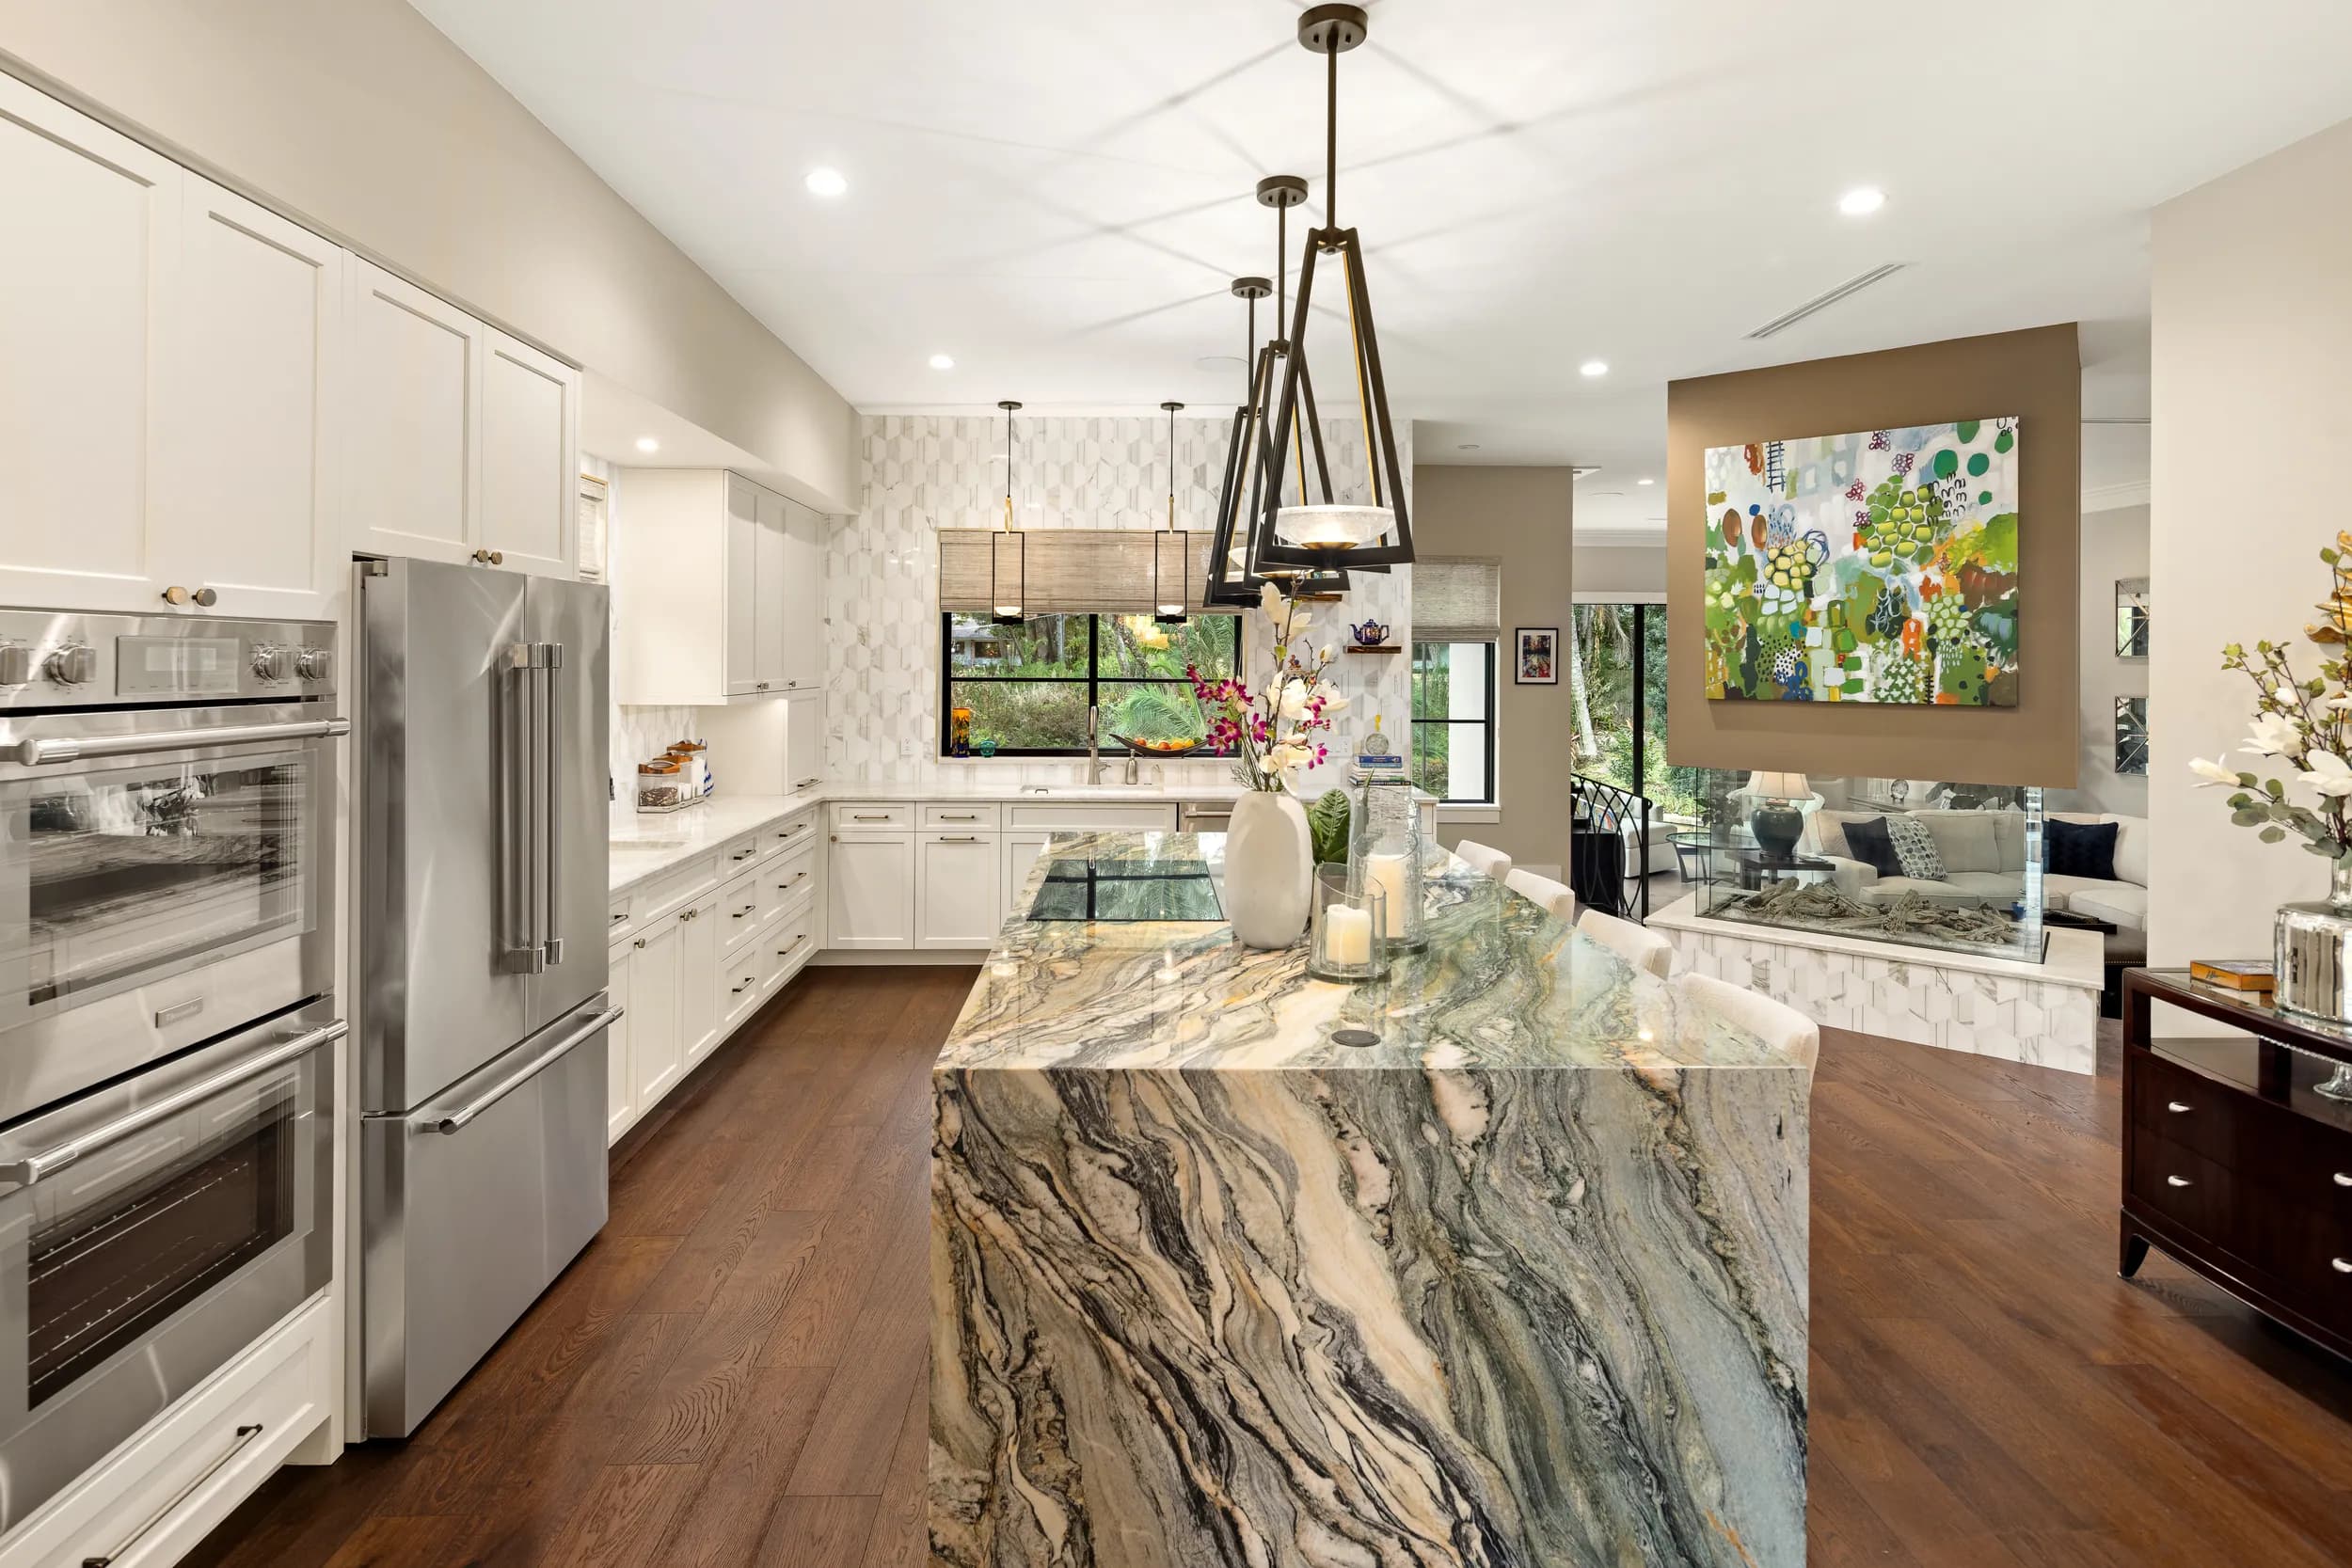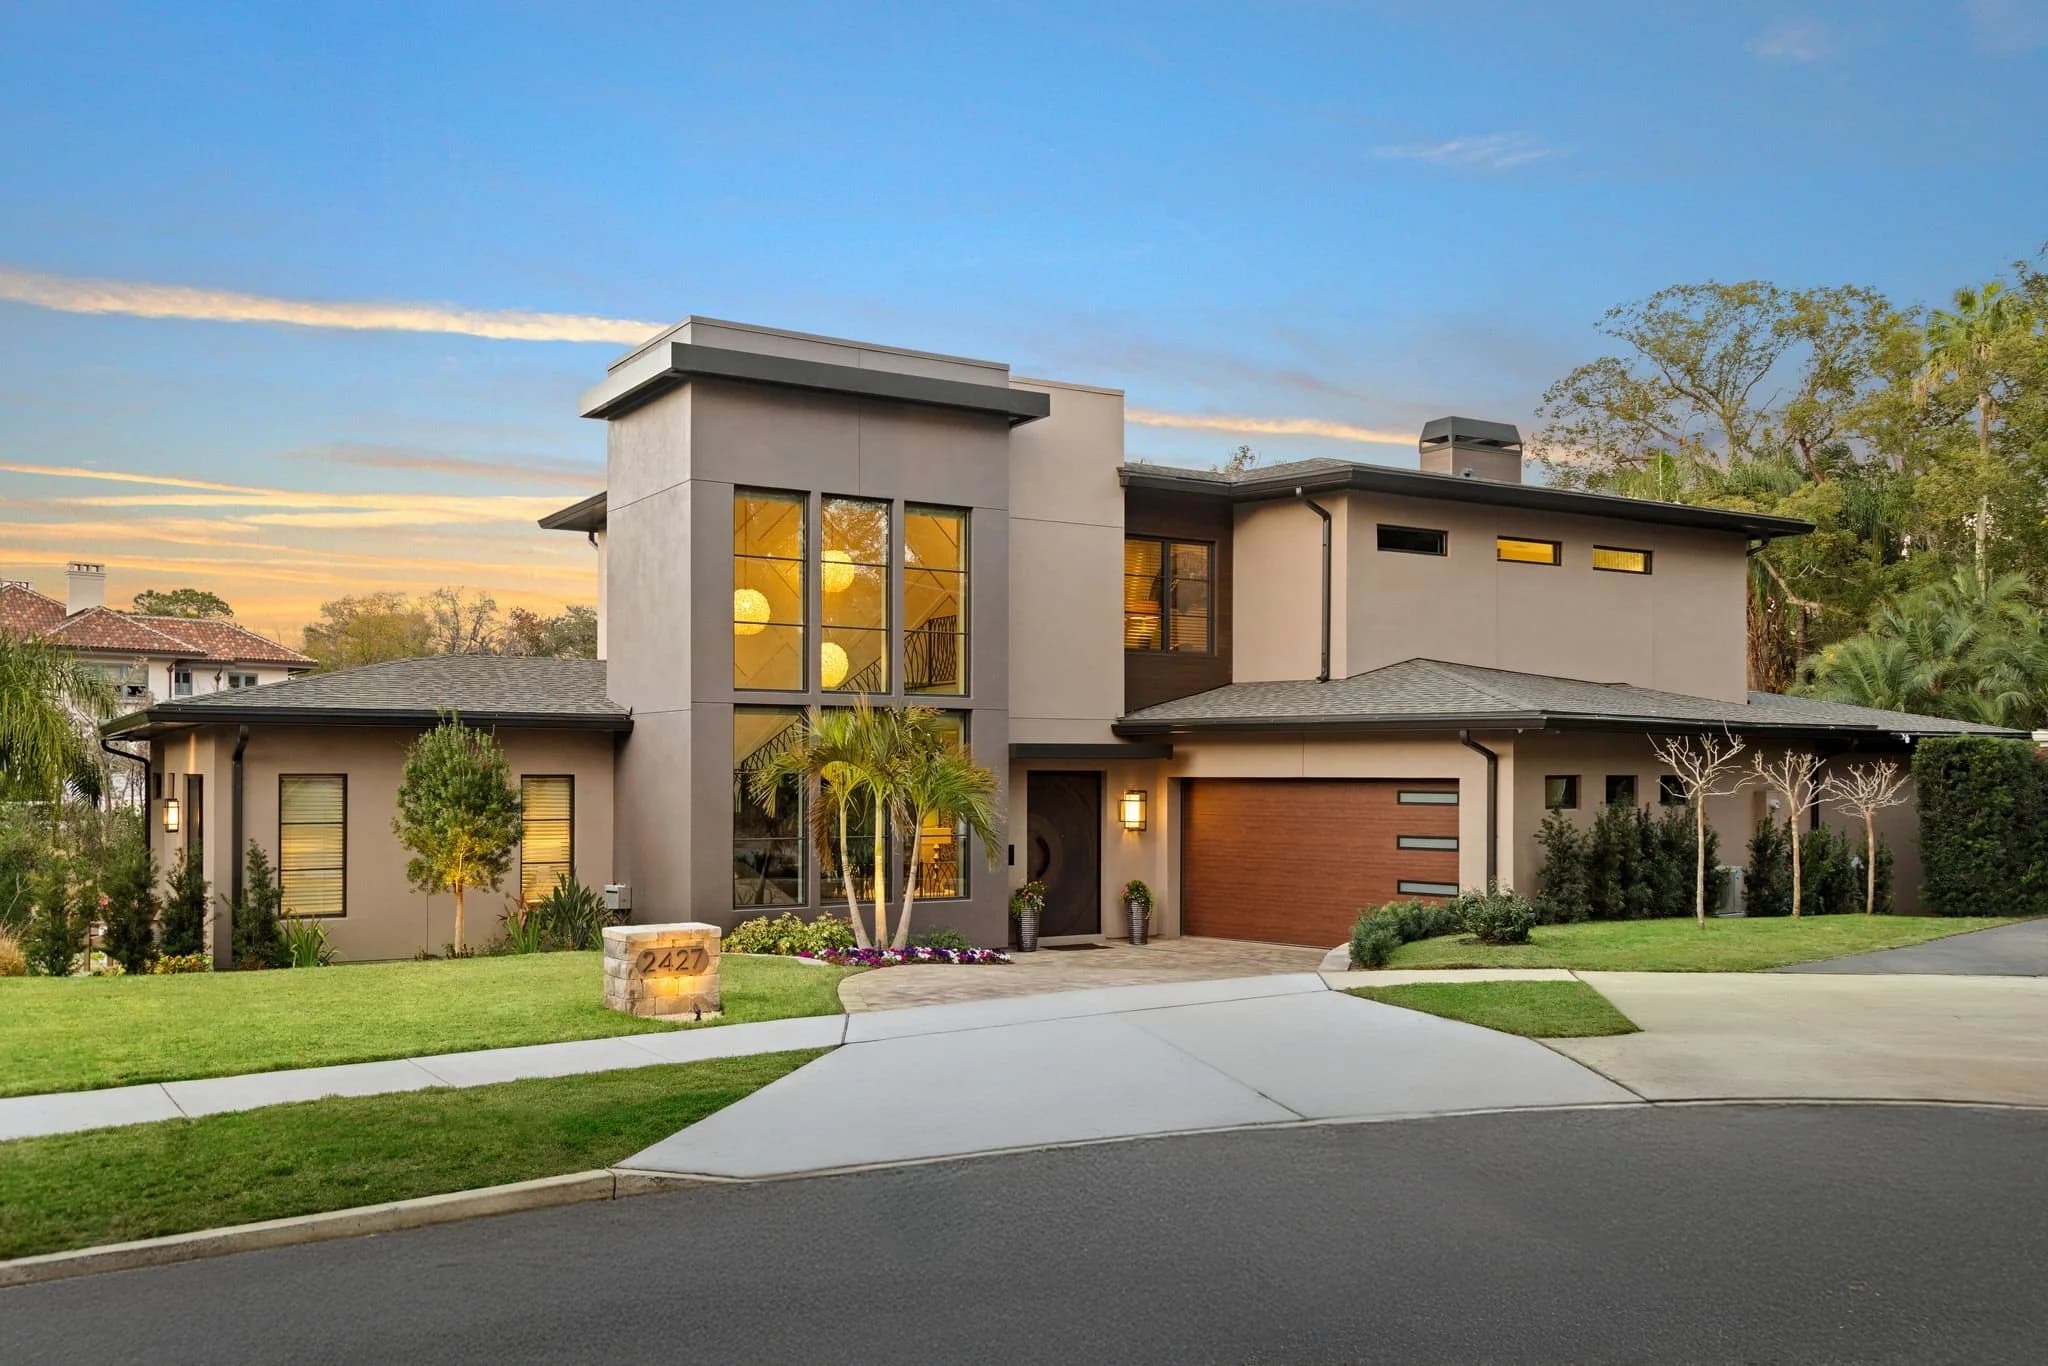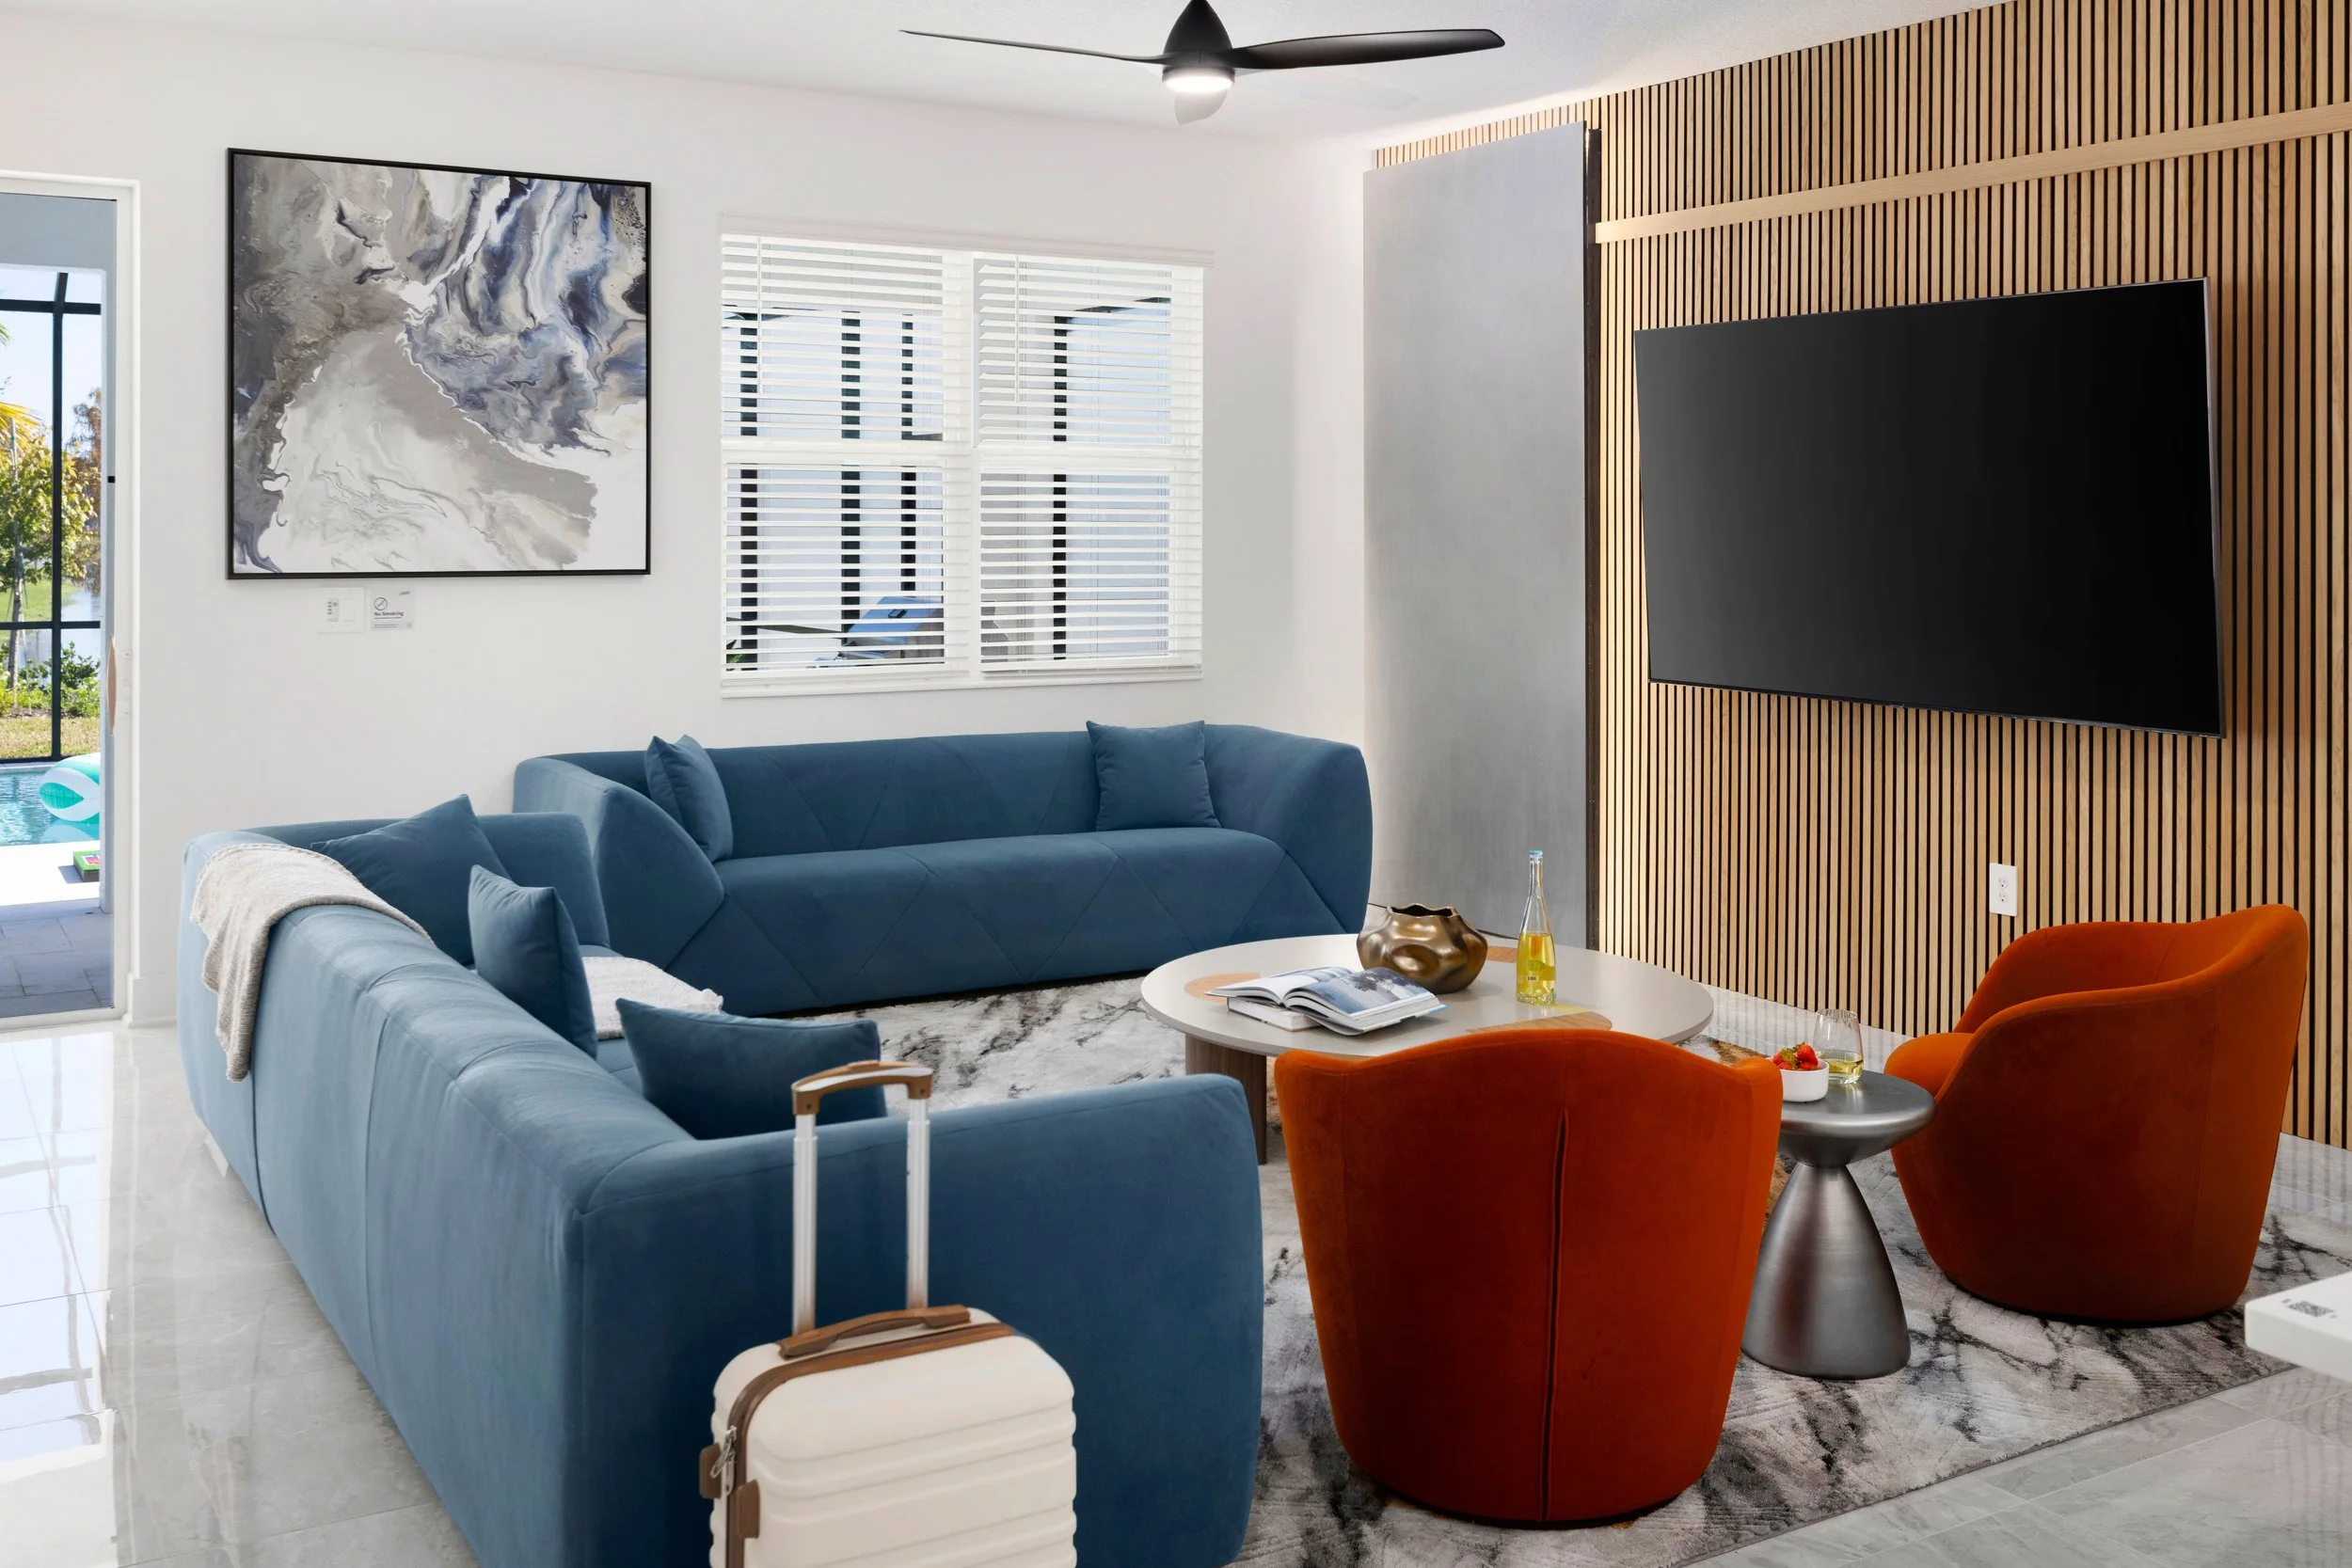
You've seen it: a kitchen that photographs the color of weak tea, a bedroom that comes out faintly green, a living room where the walls are three different shades of white in the same frame. That's a color cast, and it's one of the most common things separating amateur listing photos from professional ones.
What a Color Cast Actually Is
Human eyes are extraordinary at ignoring the color of light. Walk from a sunlit driveway into a lamp-lit den and your brain instantly re-calibrates — white walls read as white in both rooms. A camera has no such ability. It records the light that's actually there.
Household light sources are not neutral. Old incandescent and warm LED bulbs are strongly orange. Daylight through a window is blue-ish, and much more so in open shade. Fluorescent tubes in a garage or laundry room skew green. Point a camera at a room lit by any of those, and the photo comes out tinted.
If a photo has one light source, it's easy to correct. The problem is that almost no room has one light source.
Why Florida and Texas Homes Are Especially Prone to It
A few regional realities make color casts worse here than in most markets:
Big windows, bright sun. Cool daylight floods in and meets warm interior bulbs head-on. The half of the room near the window goes blue; the half near the lamp goes orange.
Lush green lawns and landscaping. Sunlight bounces off St. Augustine grass and palm foliage and comes back through the sliders as green light. It lands on ceilings and walls, and it's the tint sellers most often can't name but can feel.
Pools. A pool just outside a lanai reflects a strong blue-cyan into the whole back of the house.
Screen enclosures. Lanai screening tints and darkens everything behind it, and colors the light passing into the room.
Mixed bulbs. In a typical home, the can lights, the pendants over the island, and the lamp in the corner are three different color temperatures, often from three different purchases.
The result is a room where no single correction fixes everything. Warm up the shadows and the windows go orange; cool the whole frame and the lamps turn gray.
What Gets Fixed in Editing, and What Doesn't
Professional editing handles more than people assume, but it isn't unlimited.
Reliably fixable: a single overall cast, blown or blue window views, moderate mixed lighting, slightly off whites, and inconsistency from photo to photo across a gallery. Consistency is a bigger deal than most agents realize — a gallery where the walls change color from room to room reads as sloppy even when each individual frame looks fine.
Difficult and expensive: severe mixed lighting, where different areas of one frame need opposite corrections. It's done by masking regions selectively, and it's slow.
Not really fixable: a color cast that has landed on a large neutral surface at full strength. Once a white ceiling is genuinely green in the file, neutralizing it starts pulling the color out of the plants, the countertops, and the rug too. At that point you're not correcting, you're repainting.
This is why the capture technique matters more than the editing software. Photographers who work with flash are effectively overpowering the room's mixed light with one known, neutral source, which is a large part of why flash-based work tends to have cleaner color than straight HDR bracketing in a difficult room.
The Ten-Minute Fix Sellers Can Do Before the Shoot
Almost all of this is preventable, and it costs nothing:
Match the bulbs. Walk the house and put the same color temperature in every visible fixture in a given room. 2700K–3000K throughout is the easy answer; the important thing is that they match.
Replace anything dead or flickering. A burned-out bulb in a three-light fixture creates an uneven, oddly tinted frame.
Open the blinds fully and evenly. Half-open slats create banded light and inconsistent color.
Clean the windows and the lanai screen. Dirty glass tints and scatters light.
Turn off ceiling fans. Not color, but they blur, and their shadows complicate the lighting.
Say something about the pool light and the landscape lighting if a twilight shoot is planned — those two sources define the color of a dusk photo.
The bulb-matching step alone eliminates most of the problem. It's the highest-return fifteen dollars a seller can spend before a shoot.
How to Spot It Before You Publish
When your gallery comes back, check three things:
Look at the whites. Find a white surface you know is white — trim, cabinets, a countertop, a duvet. If it isn't white in the photo, there's a cast.
Scroll the gallery quickly. Casts hide in individual photos and jump out in sequence. If the walls shift color between rooms, ask about consistency.
Check the ceilings. Ceilings are large, flat, and usually white, which makes them the most honest place in the frame. A green or orange ceiling is a cast you'll notice on a phone screen even if you didn't on your laptop.
If something looks off, tell your photographer. Color correction is routine revision work, not a reshoot — and a gallery that's consistently, believably neutral is one of the quiet reasons professional listing photos simply look more expensive.
Ready to book? Get in touch or call us — we serve Orlando, Tampa Bay, and Central Texas.