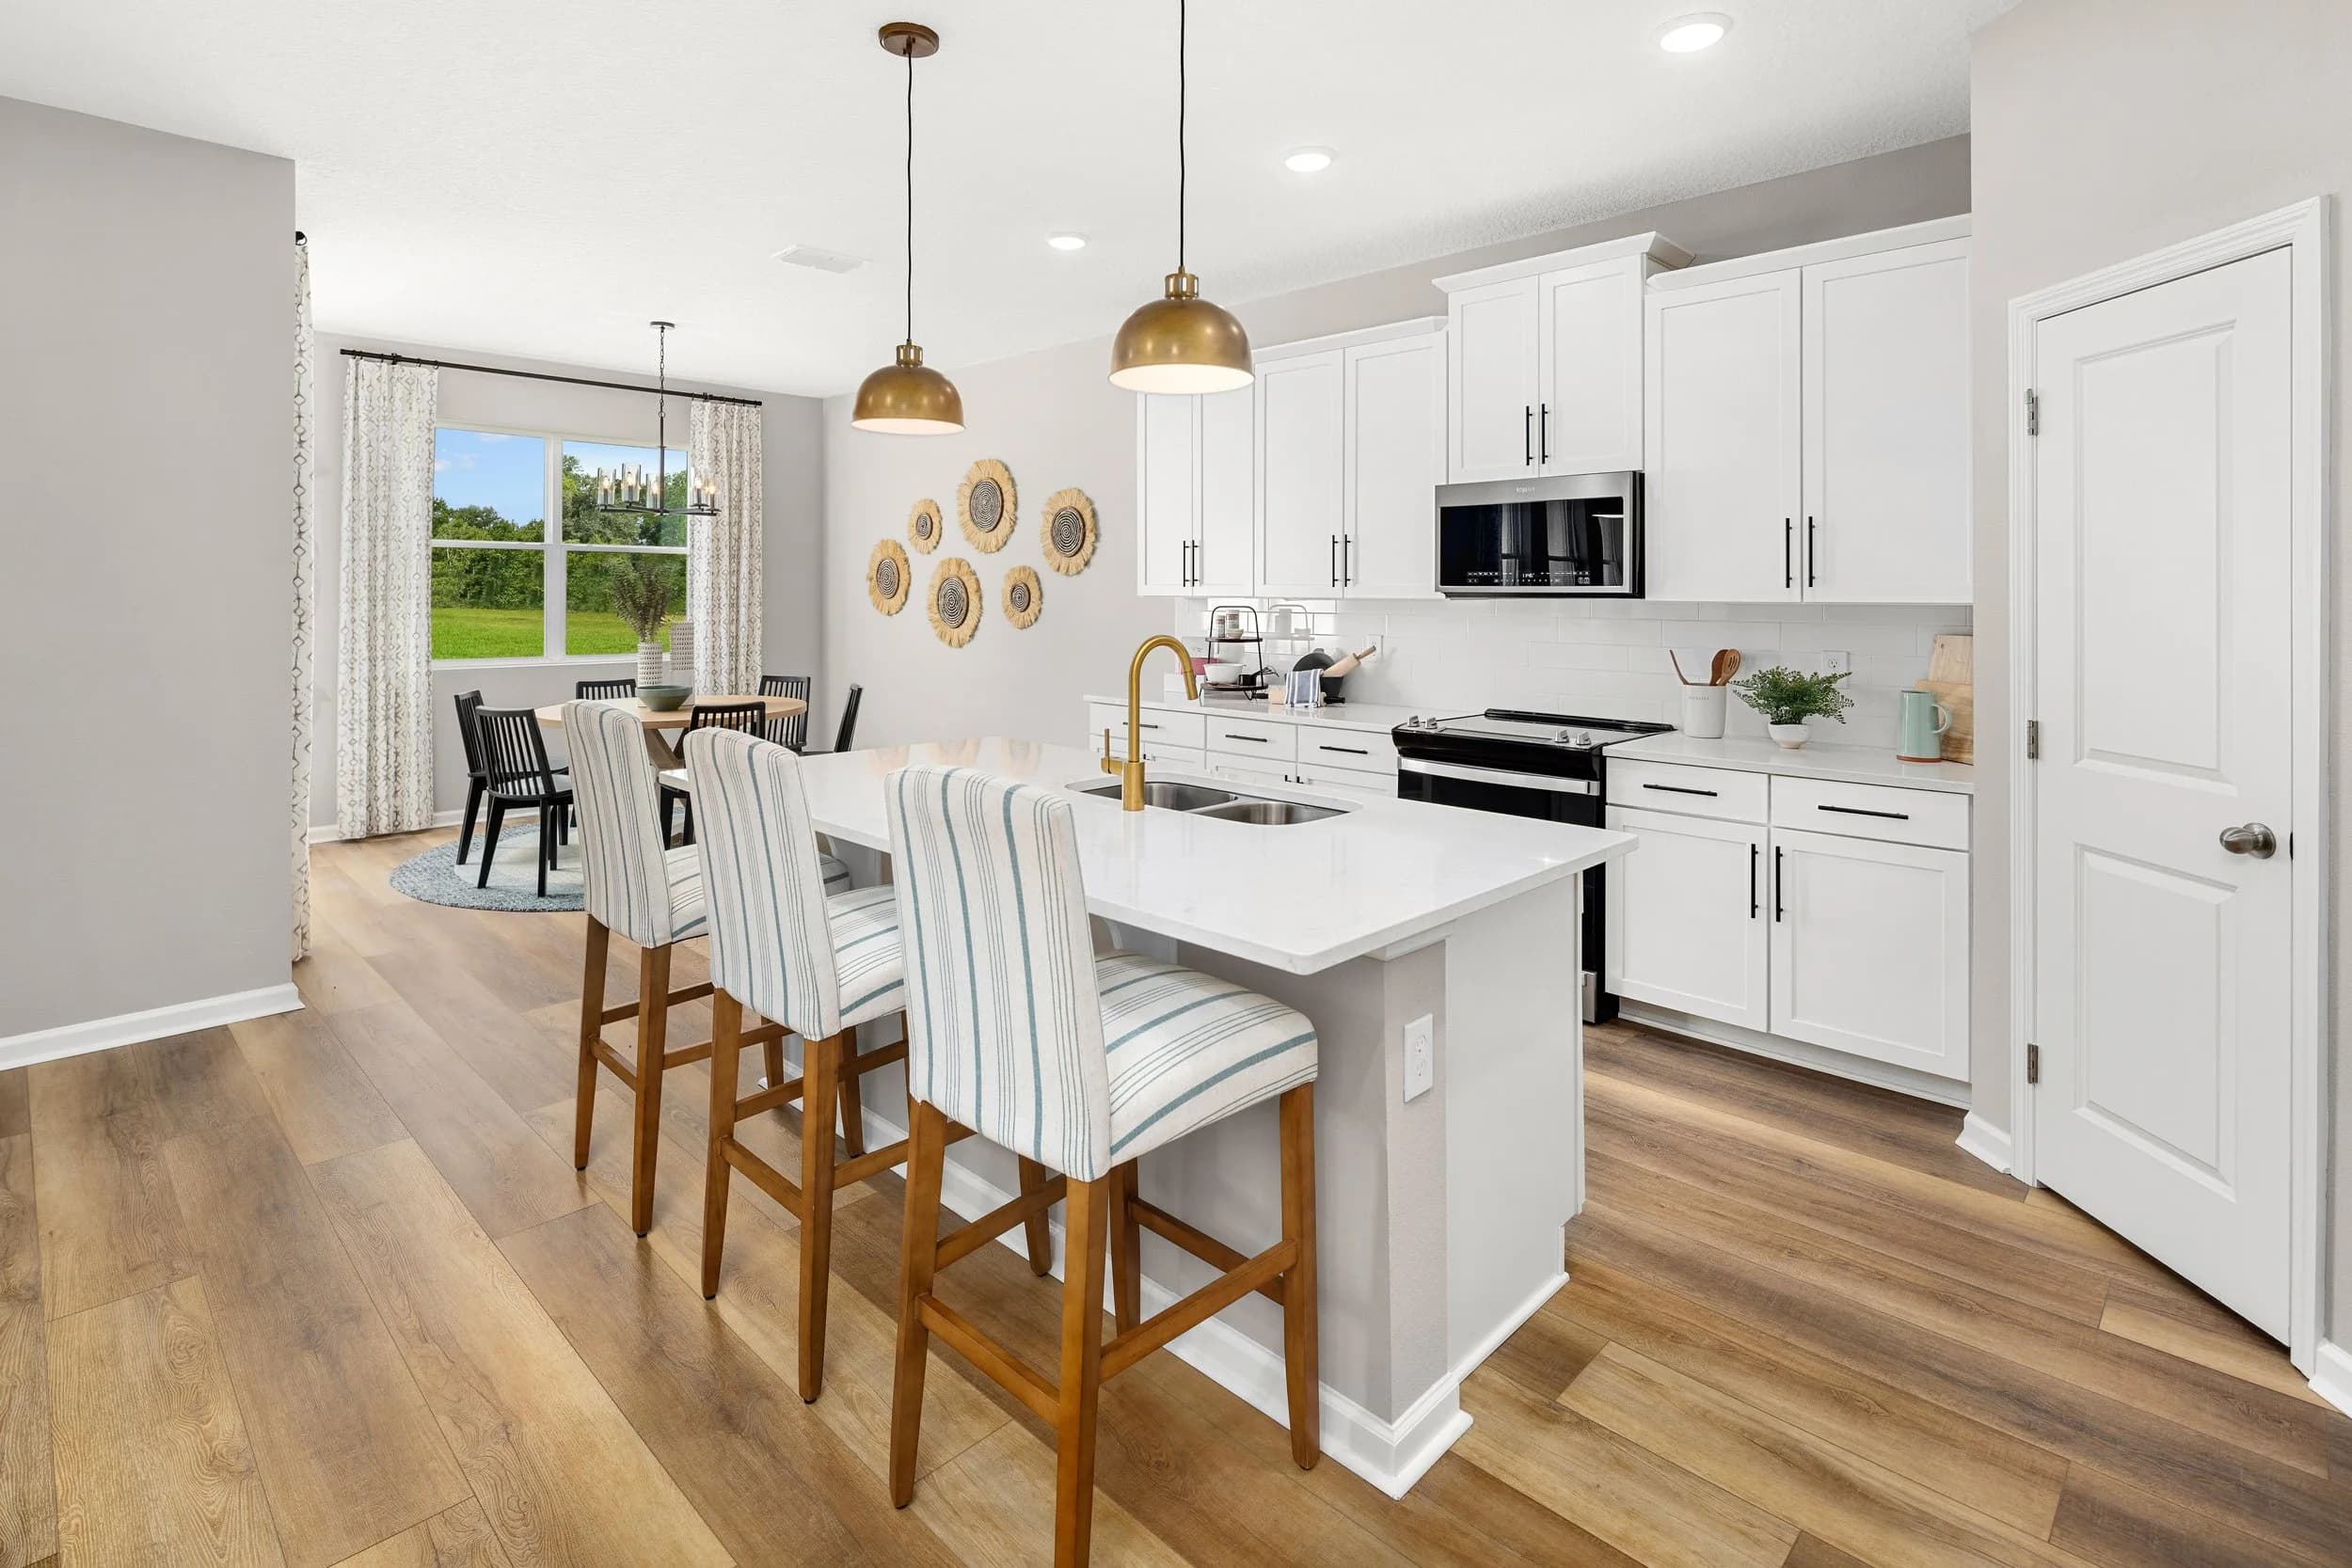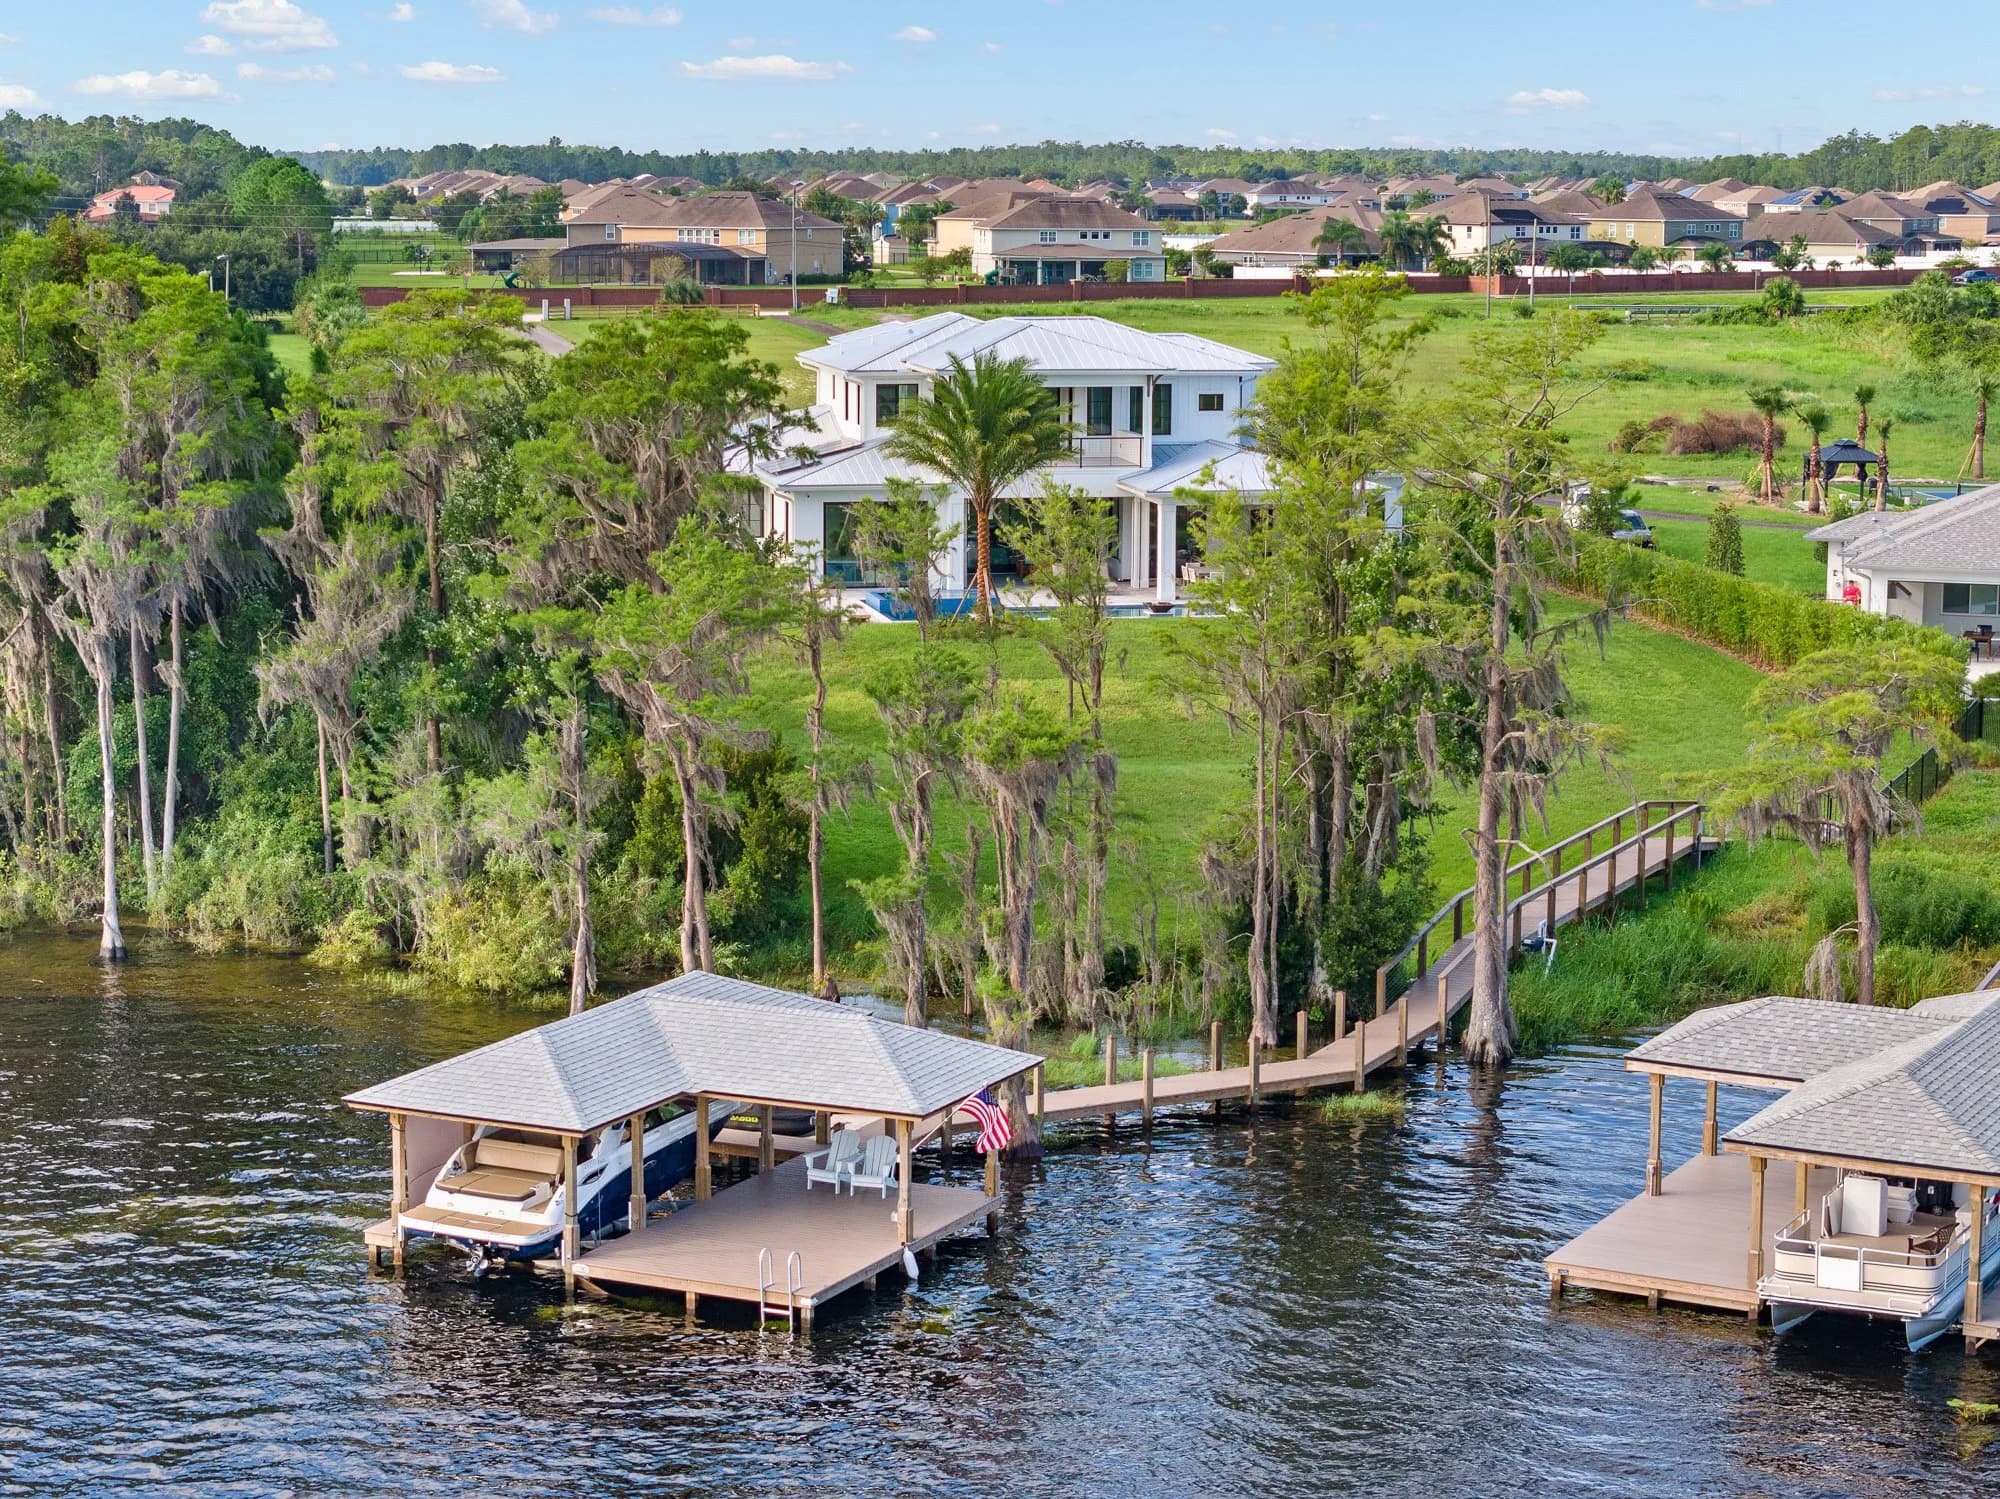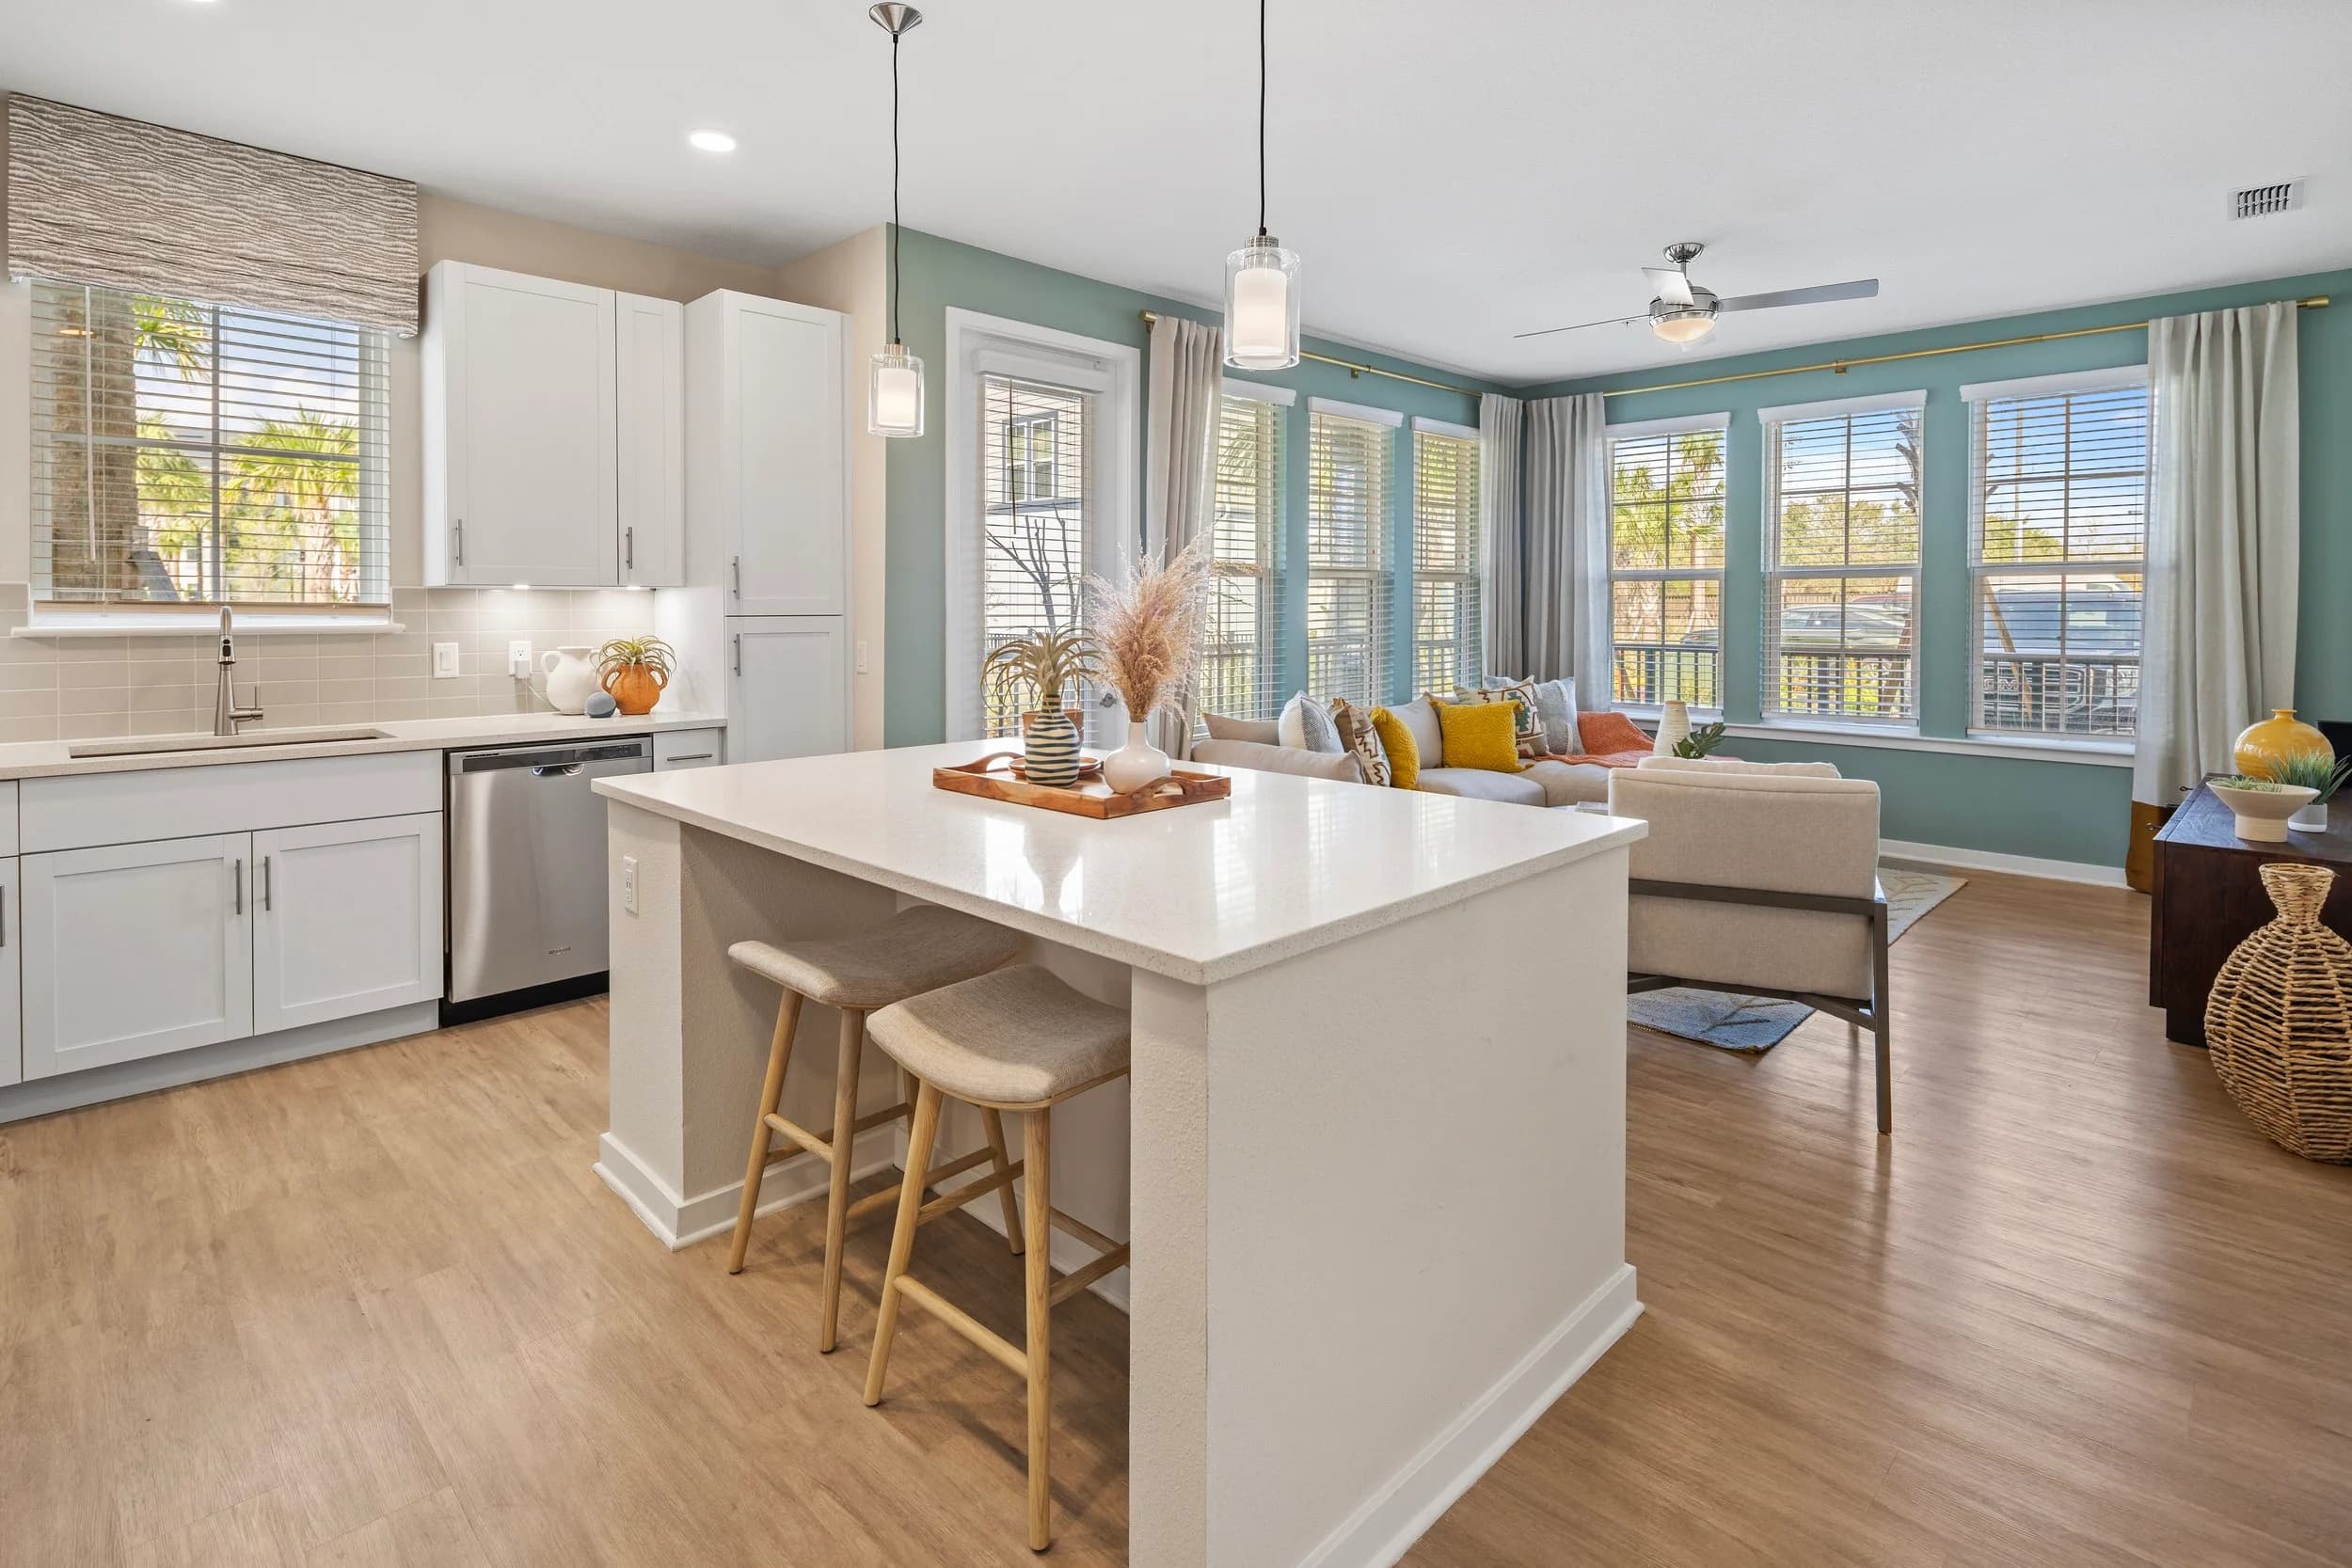
Most home builders sell a library of floor plans, and most of those plans come in several elevations. Buyers browsing a builder's website in Orlando, Tampa Bay, Austin or San Antonio usually start with the plan, then look at the elevations to decide what they want the house to look like from the street. If the photography behind that library is patchy, with one elevation shot beautifully, one shot on a grey day and one shown only as a rendering, the plan pages feel unfinished and buyers have a harder time choosing.
This guide is about photographing the plan library itself: which elevations to shoot, how to keep the frames comparable and how to label them so sales teams and buyers can find what they need. It complements our post on keeping builder photography consistent across communities, which looks at the same problem across whole markets.
Decide what the library is for
Before any shoot is scheduled, agree on where the plan photos will be used. The answer shapes everything else.
- The builder's website. Each plan page needs a main exterior, the available elevations and a set of interiors. This is usually the most visible use.
- Listing syndication. Quick move-in homes and to-be-built listings pull plan photos into new home sites and the MLS. Our post on new home syndication assets covers what those feeds need.
- Sales center and print. Plan cards, brochures and sales center screens often want a single strong exterior per plan, sometimes at a larger size.
- Agents and co-broke marketing. Outside agents sharing a plan need clear, labeled images they can use without guessing which elevation is which.
Which elevations to shoot, and when
A builder rarely has every elevation of every plan standing and finished at the same moment. The practical approach is to shoot elevations as they become available and track what is still missing.
- Start with the model. The model home is usually the best-finished example of a plan. Photograph it completely: exterior, interiors and details.
- Add elevations from completed homes. When another elevation of the same plan is finished in the community, with landscaping in and the driveway clean, photograph the exterior. Interiors can usually come from the model.
- Prioritize the elevations that sell. If the sales team knows which elevations buyers choose most, shoot those first.
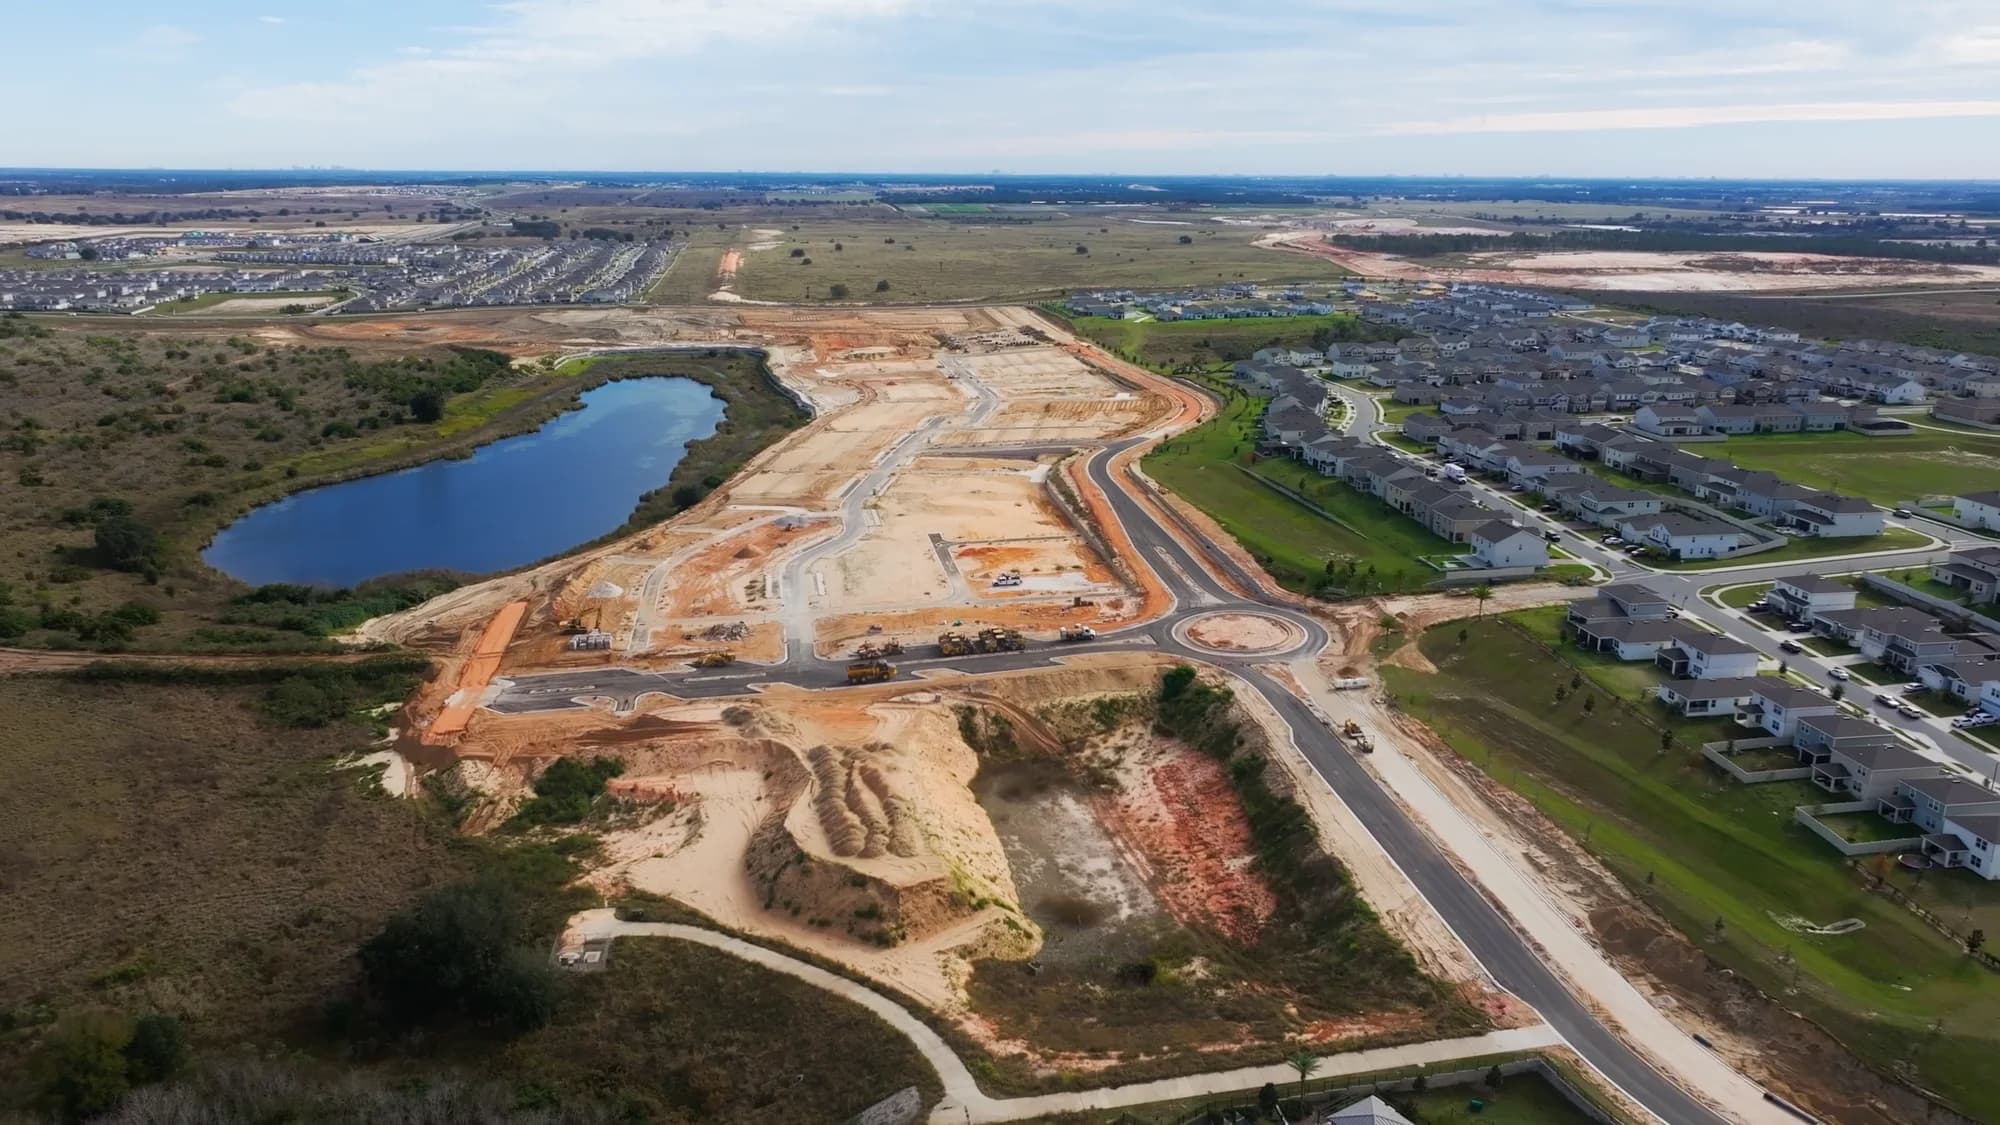
- Wait for landscaping. An elevation shot on bare dirt does the plan no favors. Our builder prep checklist for model and spec home photography covers what should be finished before the crew arrives.
- Keep renderings until photos exist. A rendering is fine as a placeholder, as long as it is clearly labeled as one and replaced once the real home is photographed.
Matching angles so plans compare
The value of a plan library comes from comparison. A buyer flipping between elevations should see the differences in the architecture, not differences in the photography.
- Use the same main angle for every elevation. A consistent three-quarter view from a similar height and distance lets buyers compare rooflines, porches and materials side by side.
- Add a straight-on front frame. It shows the facade proportions clearly and works well on plan cards.
- Match the light. Shoot exteriors in similar conditions, ideally with the sun on the front of the home and a clear sky. One elevation on a bright day and another under cloud looks like a quality difference between them.
- Keep edits consistent. Color, contrast and sky treatment should be the same across the library, so the set looks like it came from one shoot even when it did not.
- Repeat key interior frames. If the same plan is photographed again in a different community, repeat the main kitchen, family room and primary suite angles so the pages line up.
Labeling, upgrades and keeping it current
A good library is only useful if people can find the right file. Agree on a naming system before the first delivery and apply it everywhere: plan name, elevation letter or name, community and frame type. A sales coordinator should be able to find "Plan name, Elevation B, front three-quarter" without opening twenty files.
Interiors from a model home almost always show upgrades. Label them as model photos so buyers are not surprised by the difference between what they saw and what is standard. A short note on the plan page is usually enough.
Finally, put the library on a refresh schedule. Plans are added, elevations are retired and models are redecorated. A yearly review, or one each time a new community opens, keeps the library from drifting out of date. Delivery timing for each round is confirmed at booking.
Ready to book? Call or text (689) 600-2131 or get in touch.