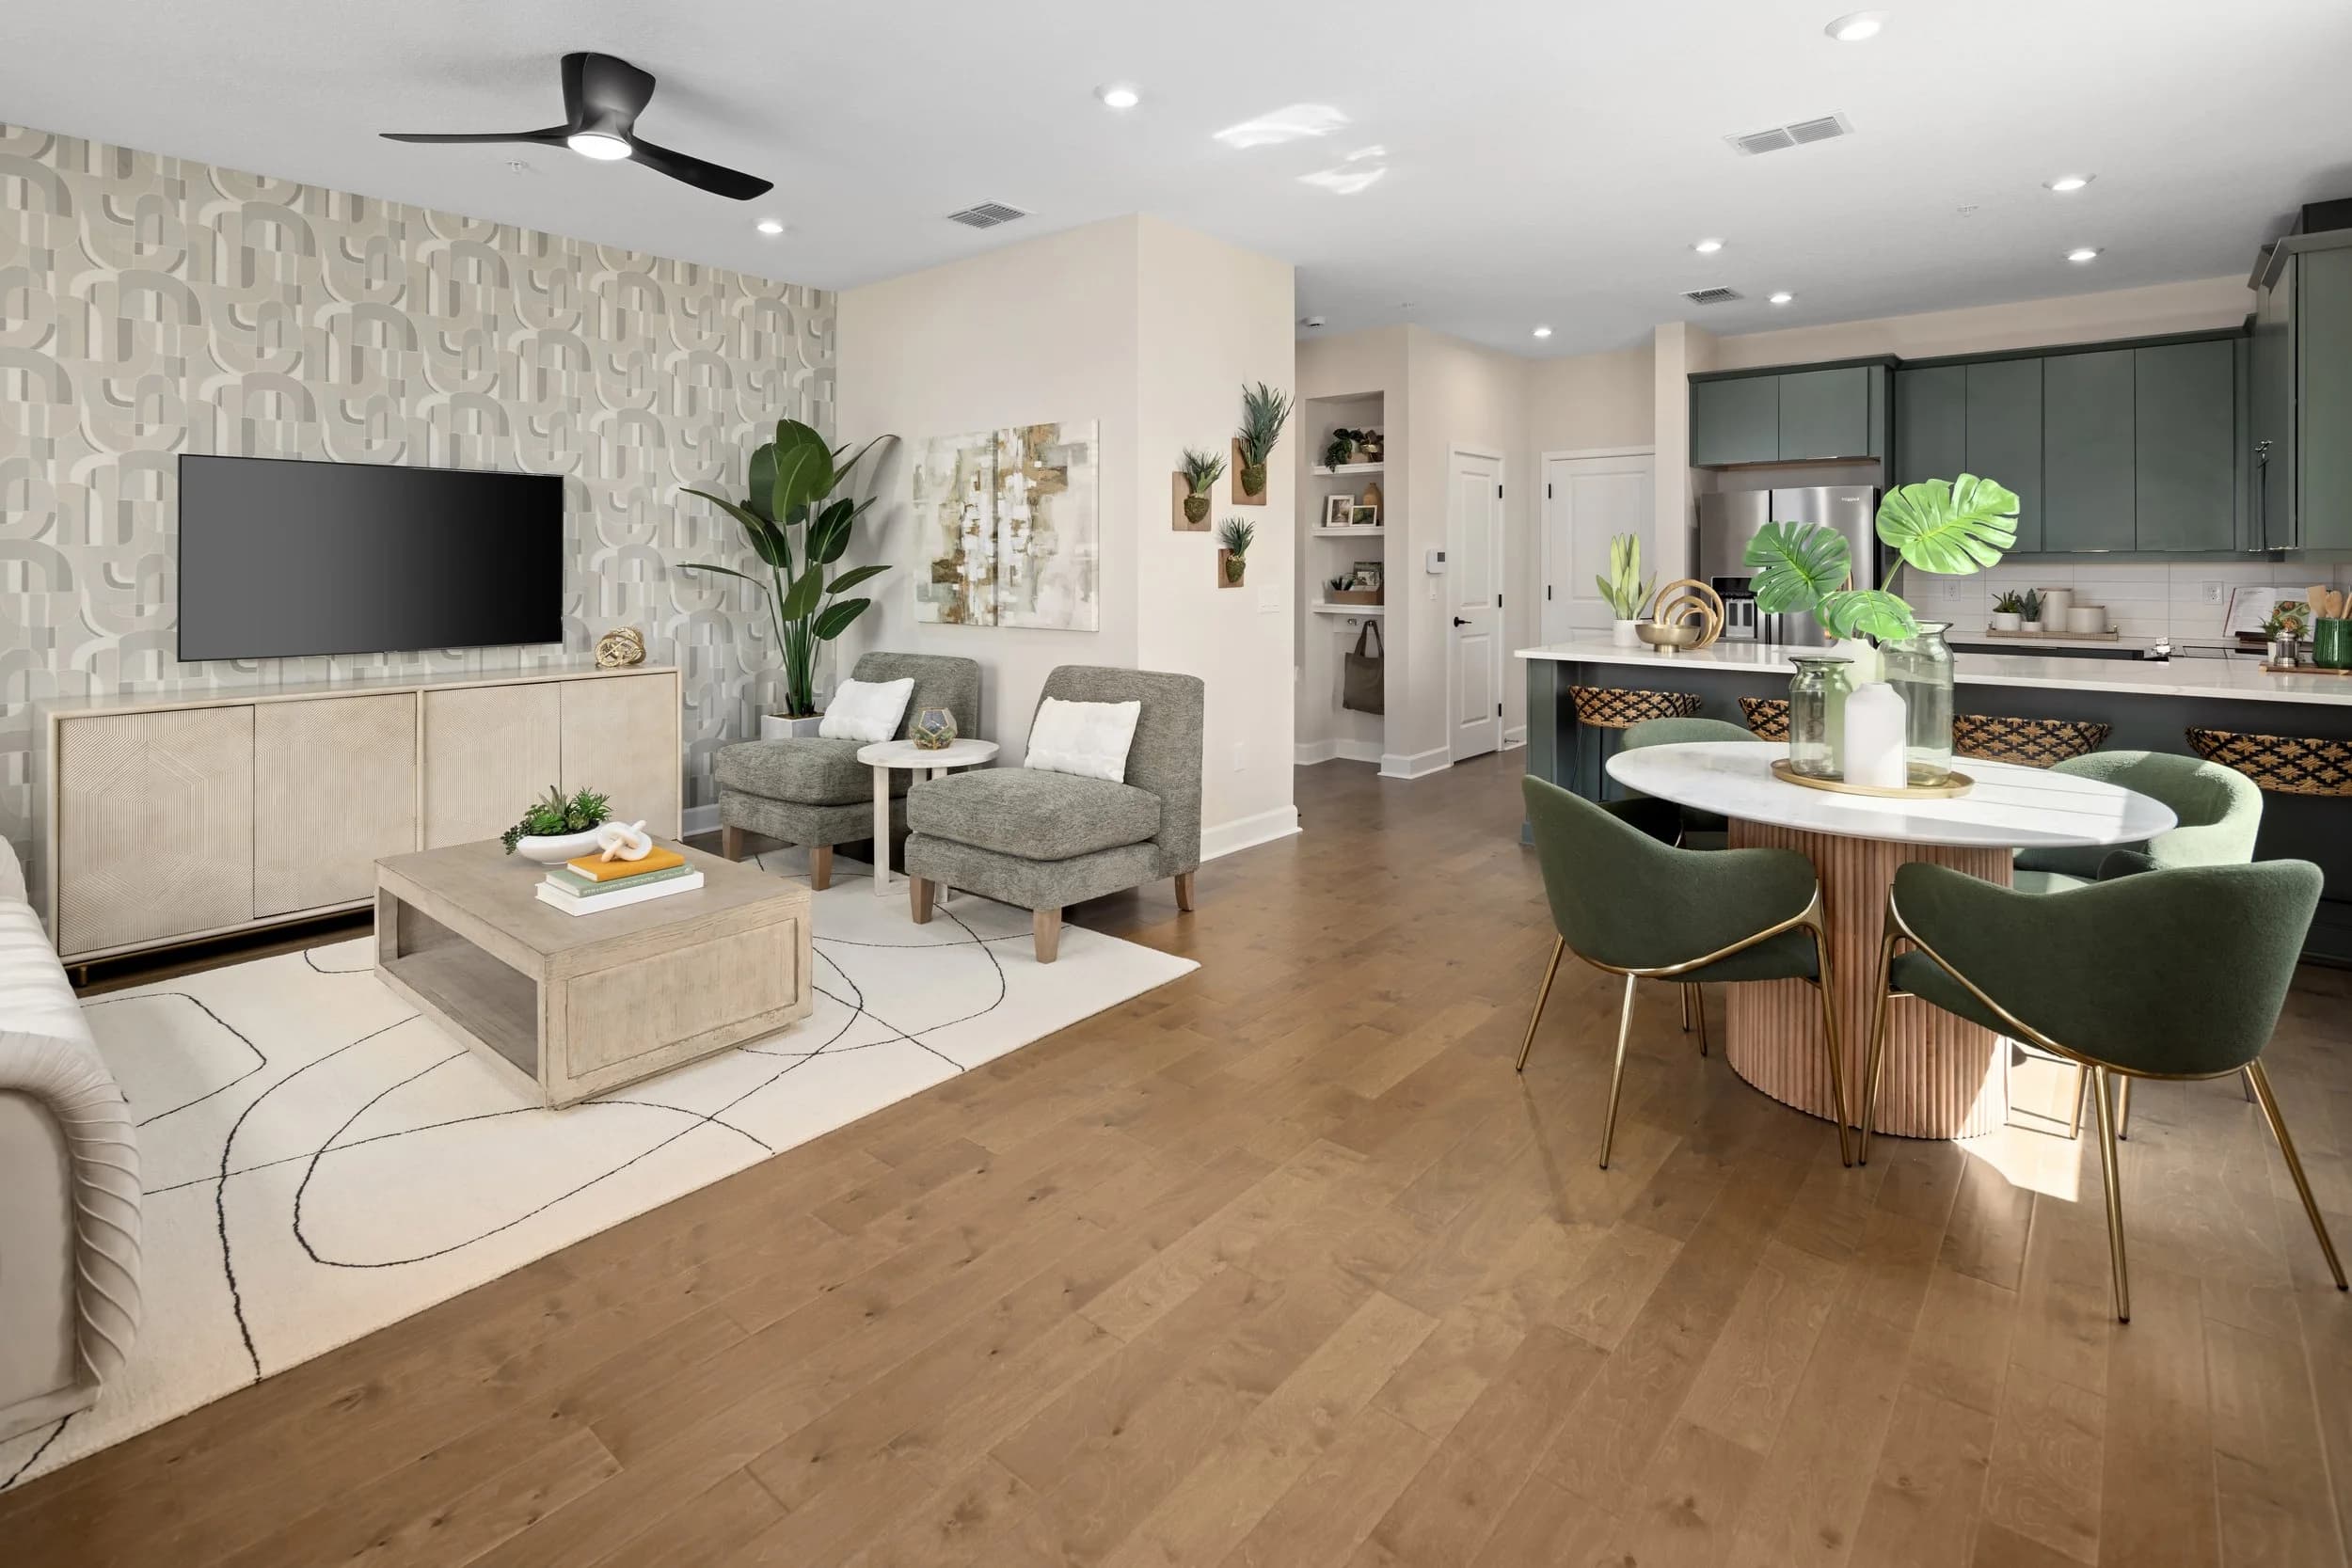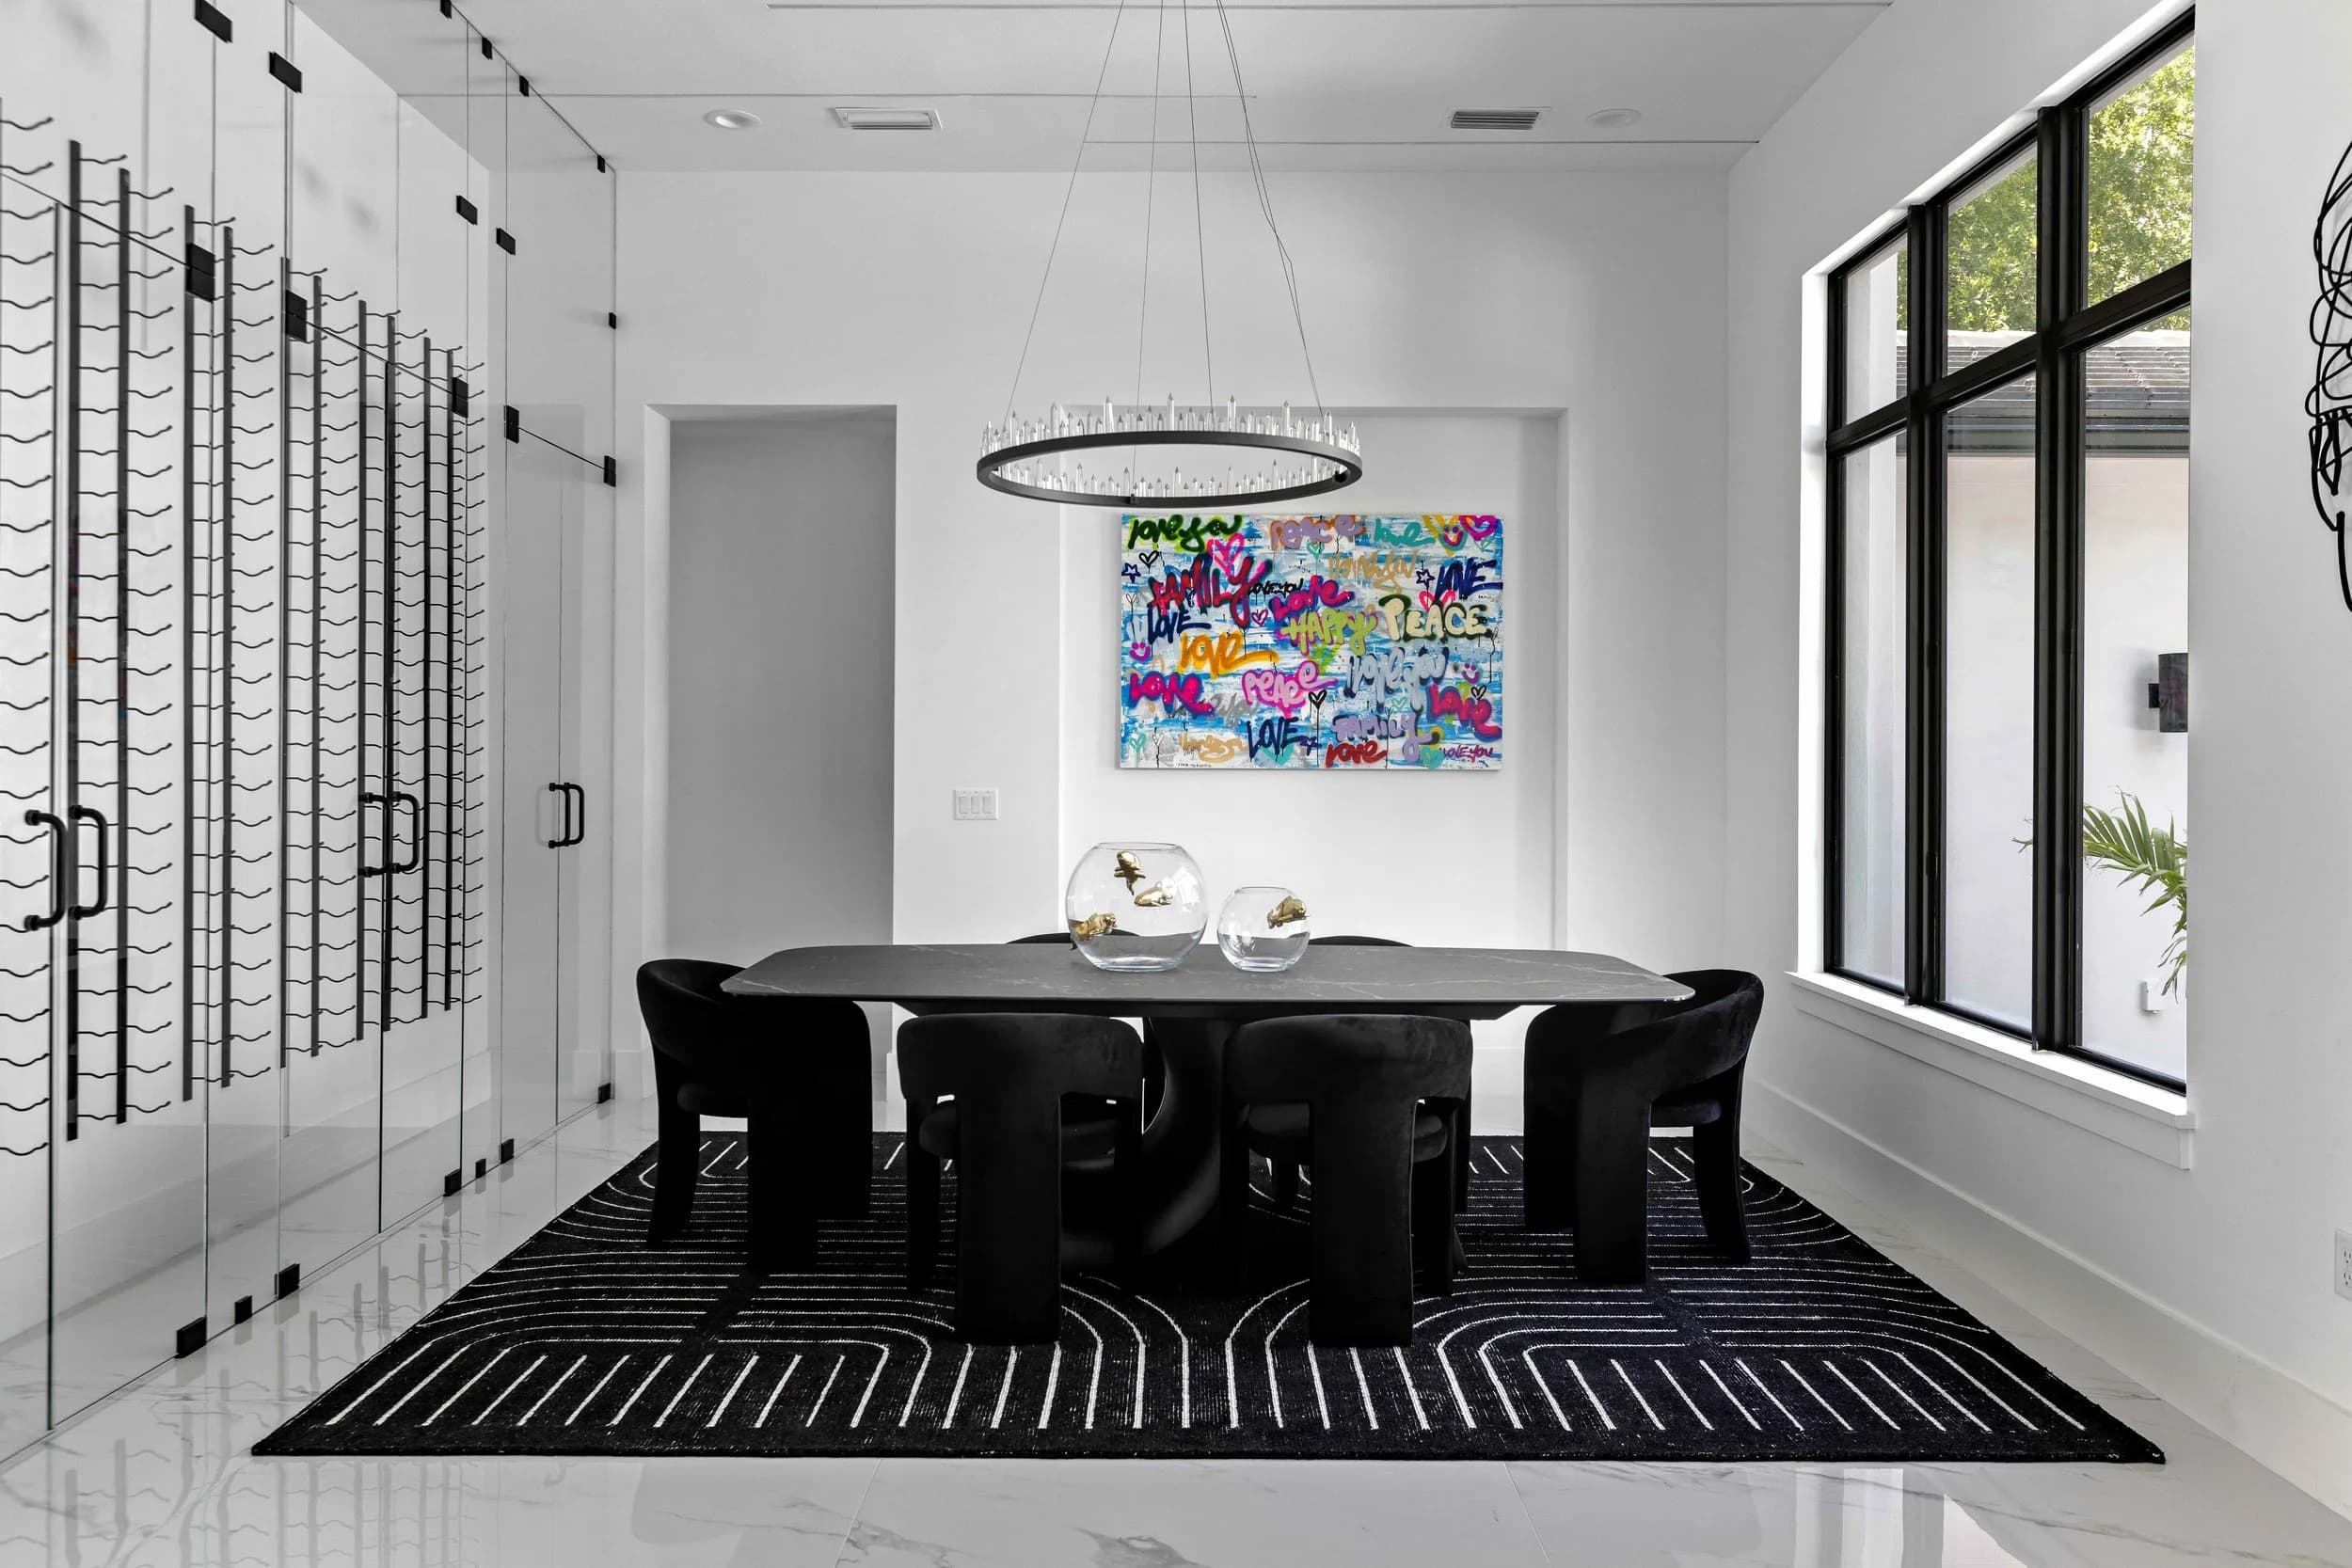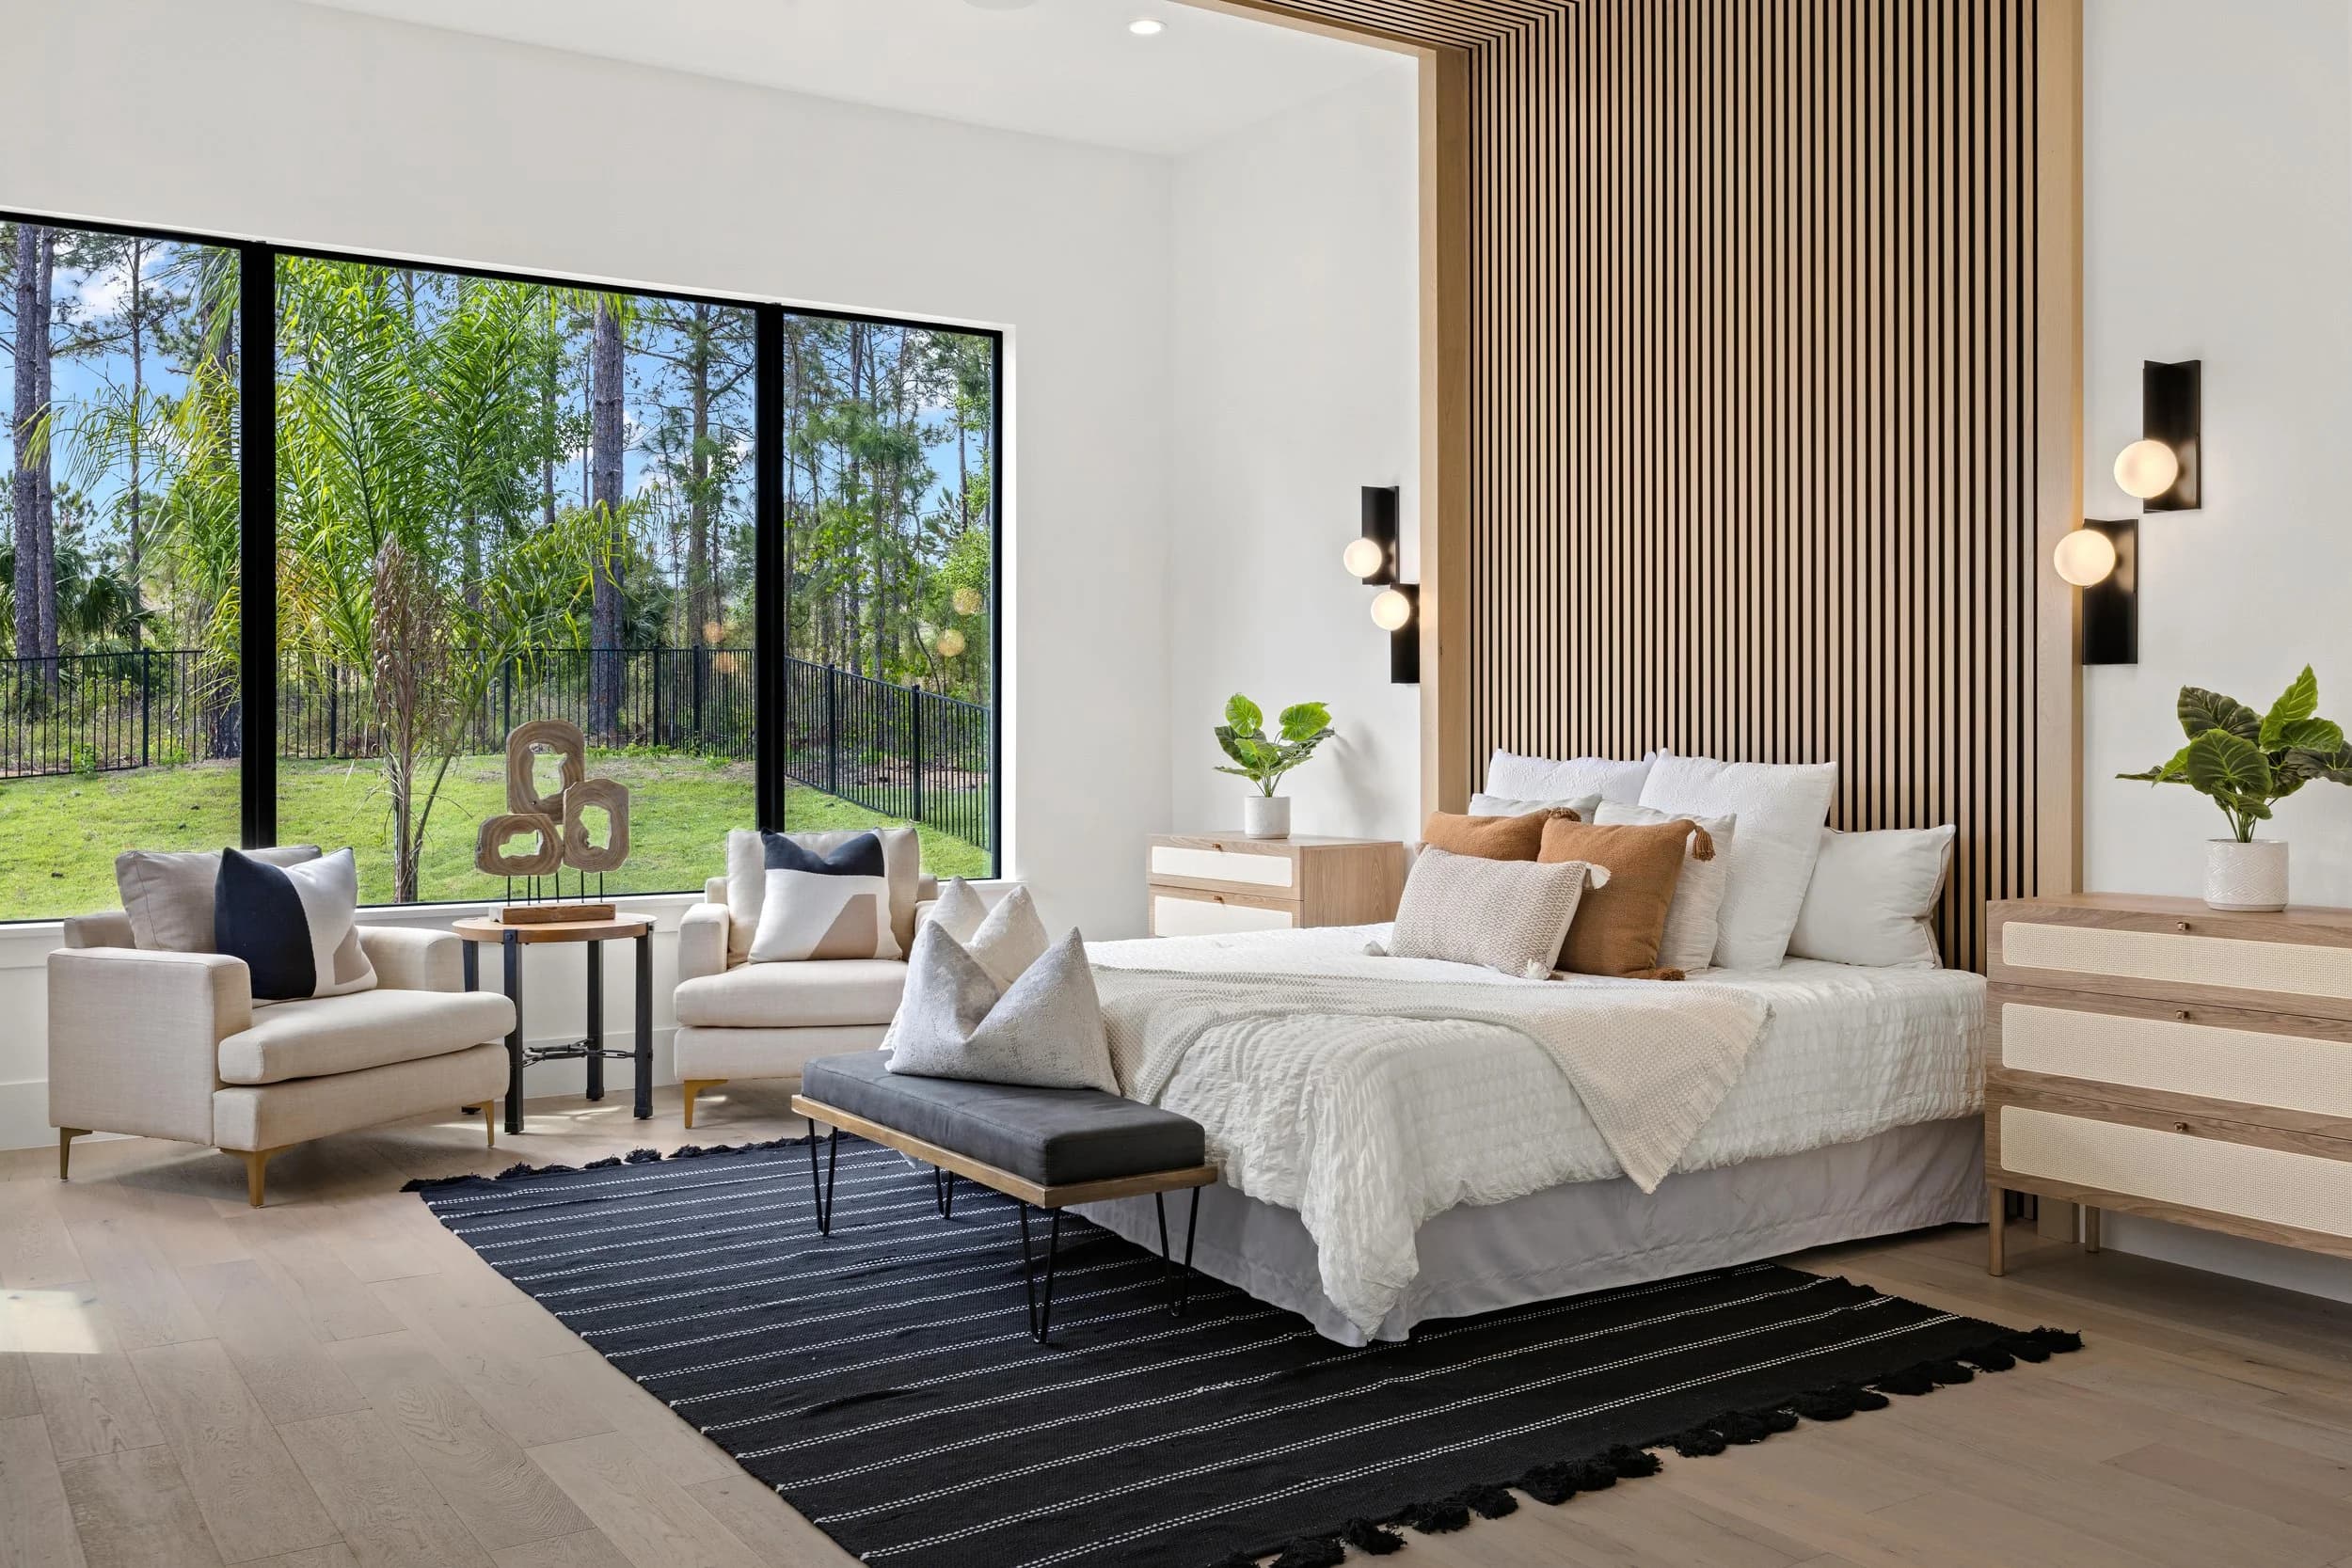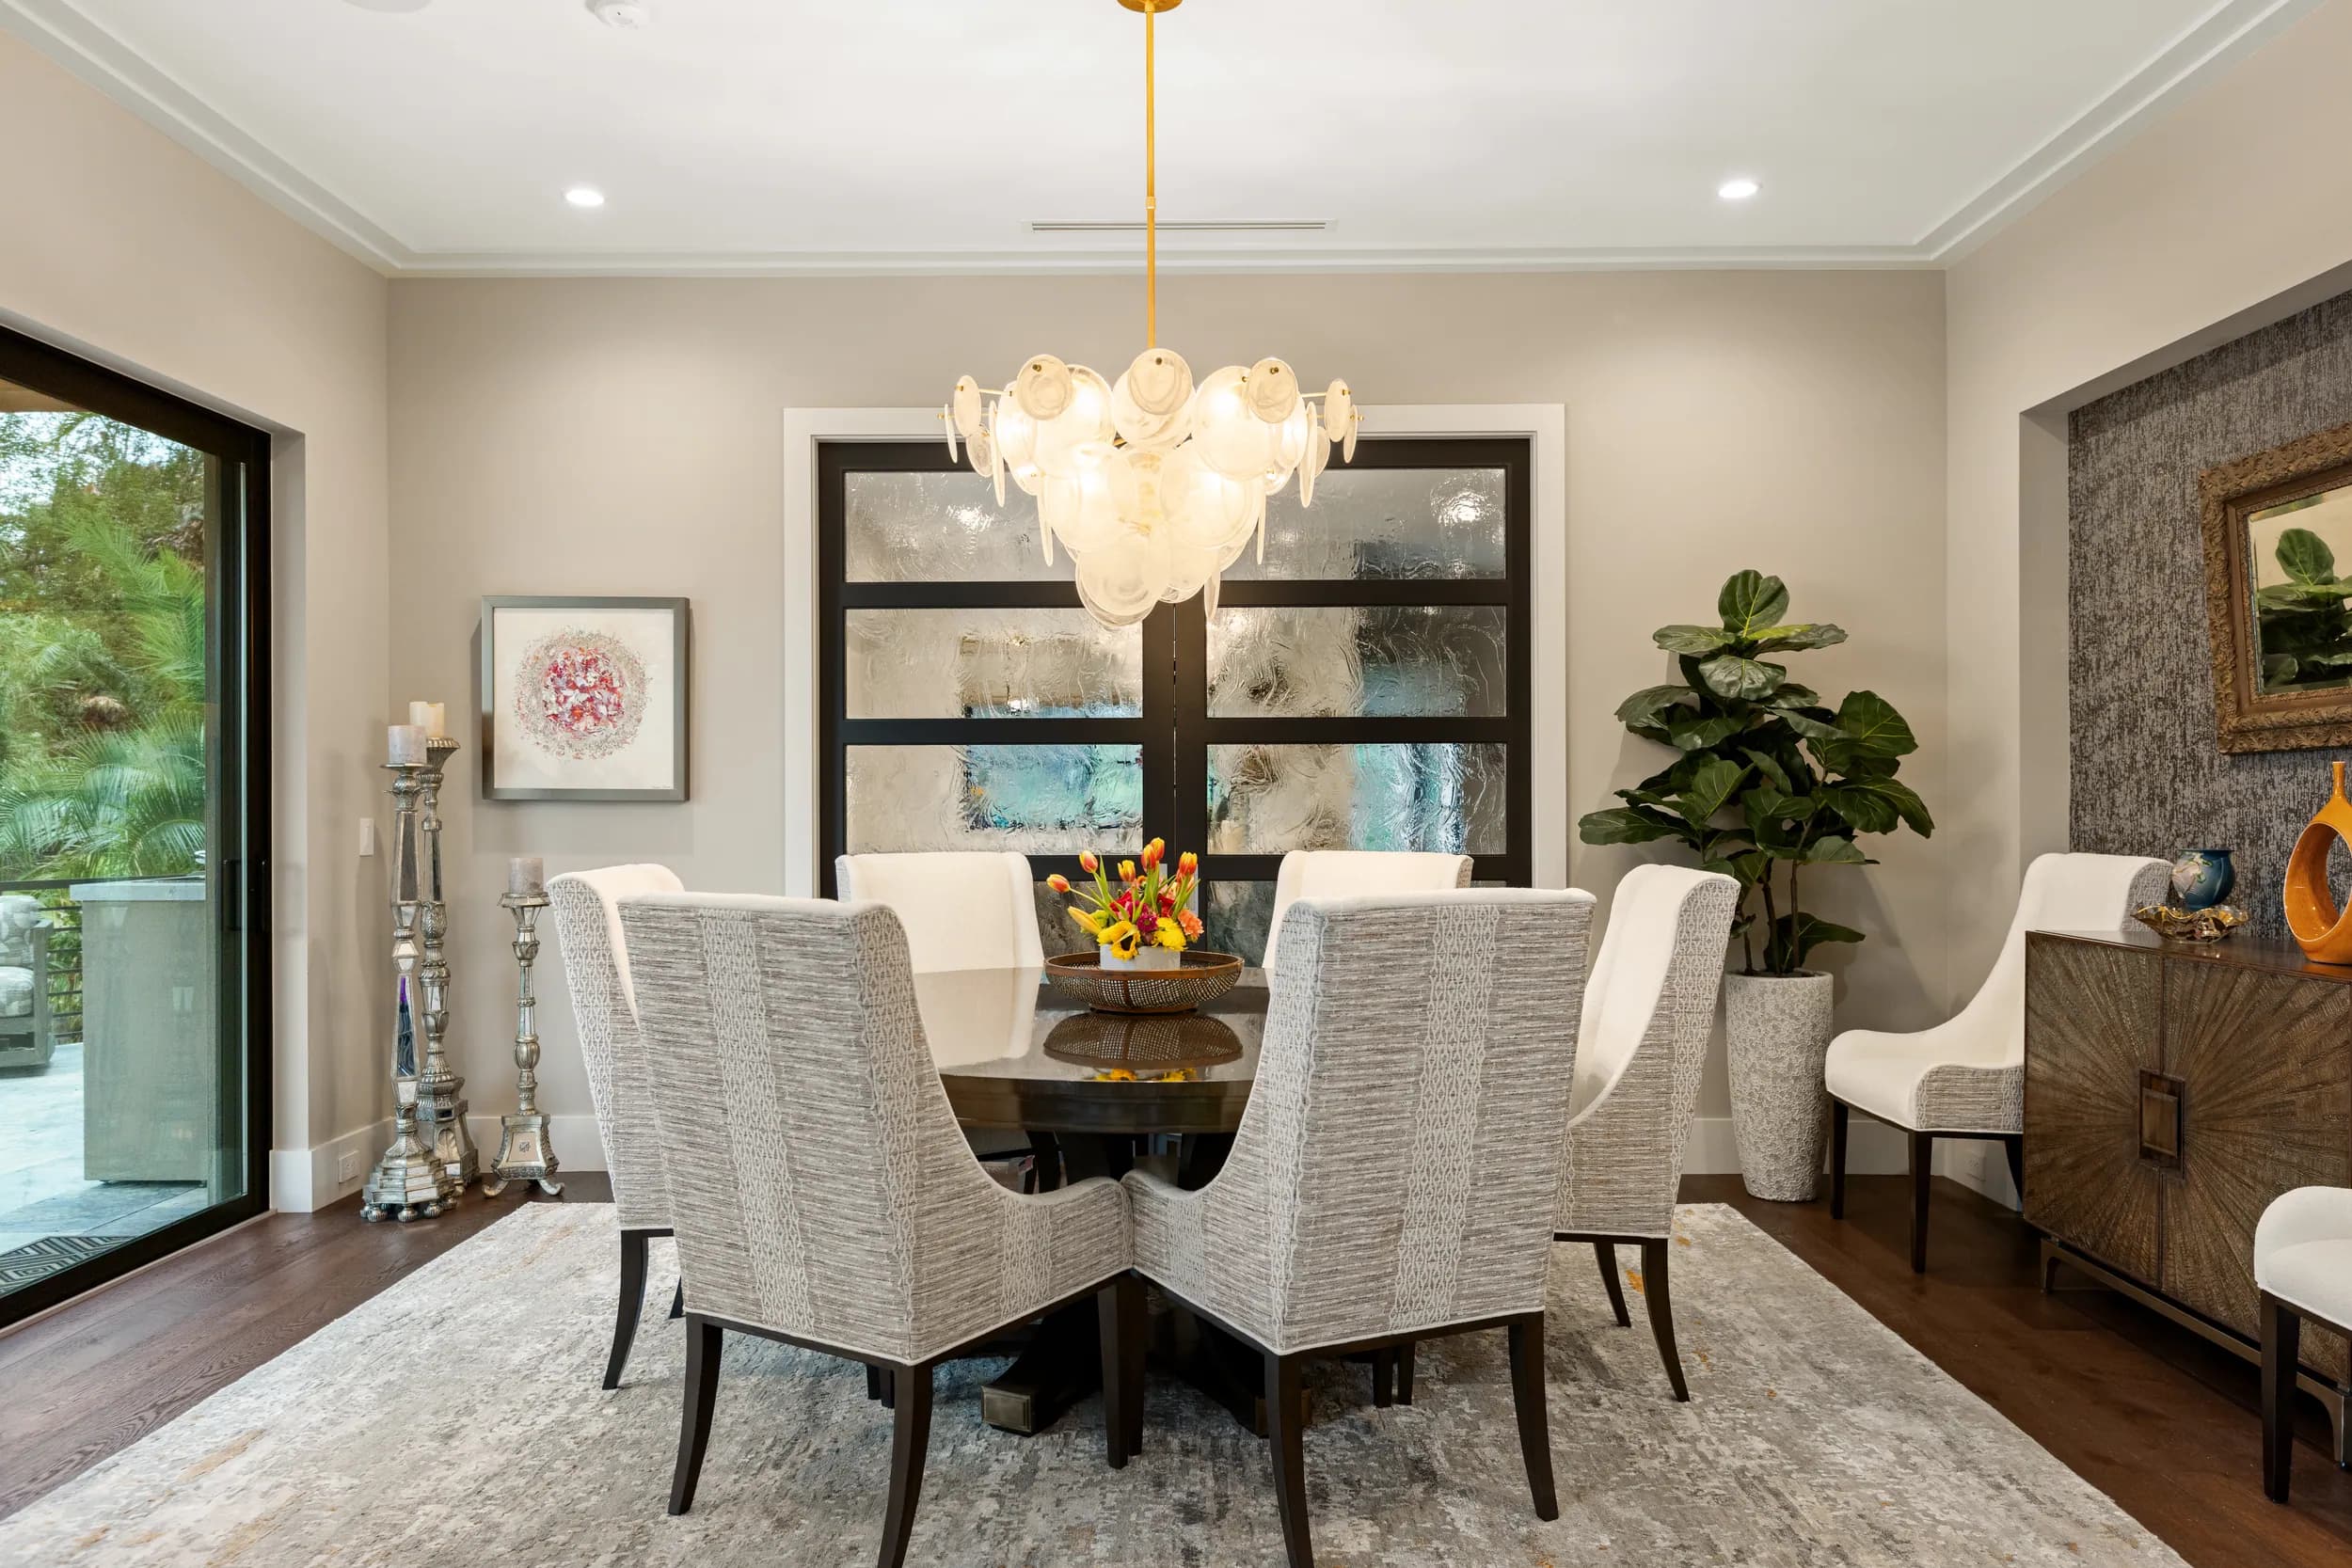
The dining room is one of the easiest rooms in a listing to photograph badly. It has a large table in the middle, a light fixture hanging at eye level, a wall of chairs that can look like clutter, and often a window directly behind it all. A breakfast nook has the same challenges in a third of the space. Yet these are the rooms where buyers picture holidays and weekday mornings, and a good frame of each one adds real warmth to a gallery.
Here is how we photograph dining rooms and breakfast nooks for listings across Orlando, Tampa Bay, Austin and San Antonio, and what agents and sellers can do to get them ready.
Style the table simply
A fully set table with plates, glasses, napkins and flatware at every seat looks busy in a photo and dates the listing. A bare table can look cold. The middle ground works best:
- One centerpiece that sits low: a bowl, a plant or a short vase of greenery. Tall arrangements block the view through the room.
- A runner only if it lies flat and suits the table. Remove tablecloths, placemats and seat cushions that have seen better days.
- Chairs pushed in evenly and spaced by eye, with matching chairs at the head positions.
- Extra leaves out and extra chairs removed if the table crowds the room. Space to walk around the table should be visible on every side.
- Sideboards and china cabinets edited down to a few pieces, with mail, chargers and paperwork cleared.
Polish matters more here than in most rooms. A glossy tabletop shows fingerprints and dust in the reflection of the window, so a wipe just ahead of the shoot is worth the minute it takes.
Handle the chandelier and the window
The fixture over the table is usually a feature, and it is also the thing most likely to spoil the frame.
- Bulbs: every bulb working and all the same color. One cool bulb among warm ones is visible in a photo.
- Height in the frame: the camera is placed so the fixture does not cut across a window, a doorway or the view into the next room. Sometimes that means a slightly lower camera; our guide to camera height for real estate photos explains the trade-offs.
- On or off: we usually photograph with the fixture on and balance it against daylight, so it glows without turning the ceiling orange.
- The window behind the table: exposures are blended so the yard or the street is visible through the glass and the table is still bright.
Mirrors and glass-front cabinets are common in dining rooms, so we check each angle for the reflection of the camera before settling on it.
Show the sightline to the kitchen
Buyers want to know how the dining room connects to the kitchen. Is it through a doorway, across an island, or down a hall? One frame should answer that.
- In a formal dining room, a view from the far corner that includes the opening toward the kitchen or the butler's pantry.
- In an open plan, a frame from the dining area back toward the kitchen, with the table in the foreground and the island beyond it.
- A second frame from the opposite side when the room has a strong feature such as a bay window, a tray ceiling or built-in cabinetry.
When the dining area is one zone of a larger great room, the wider layout is covered in our post on photographing open floor plans. A dining room that opens to a bar or wine storage pairs naturally with the frames described in photographing wine rooms, wet bars and entertaining spaces.
Breakfast nooks: small spaces that need their own frame
A nook is often cropped into the edge of a kitchen photo, where it reads as a table in the way. It deserves a frame of its own.
- Photograph it from the kitchen side, looking toward the windows, so the daylight and the view are the subject.
- Use a small table and no more than four chairs. An oversized set makes the nook look tight.
- Keep the table nearly bare: a bowl of fruit or a small plant is enough.
- For a built-in banquette, straighten cushions and remove loose pillows that hide the bench.
- Open blinds or shutters to an even position. In Florida and Texas sun, sheer shades may need to stay partly down to control glare on the tabletop.
If the home has both a formal dining room and a nook, both are shown, and the gallery order places each one next to the room it connects to.
A prep list for sellers
- Clear the table, then add one low centerpiece.
- Remove high chairs, pet bowls and anything stored under the table.
- Replace burned-out and mismatched bulbs in the chandelier and pendants.
- Clean the tabletop, mirrors and glass cabinet doors.
- Straighten the rug so its edges run parallel to the table.
- Take down personal photos and calendars from the walls of the nook.
- Open window coverings and tie back drapery evenly.
Small steps, and they are the difference between a dining room that buyers scroll past and one that makes them stop.
Ready to book? Call or text (689) 600-2131 or get in touch.