When a bank opens or remodels branches across a region, photography stops being a one-off job and becomes a program. Marketing needs a consistent set for the website and each branch's local listing, facilities teams want a record of the finished build, and developers who deliver the sites want images for their own portfolios and future pitches. If every location is photographed by a different person on a different kind of day, the set never looks like one brand.
This guide is for bank marketing and facilities teams, and for the developers and contractors who build branches for them. It covers how to set one standard, what to capture at each site, how to plan the shoots around an operating branch, and how to keep the library organized as the rollout grows.
Start with a written standard, not a single shoot
The most useful thing a bank can do before the first branch is photographed is write down what "done" looks like. A short shot standard, one or two pages, keeps every location comparable no matter who is behind the camera. It usually covers:
- The angle list. The same named views at every site: the approach from the main road, the front elevation, the entry, the lobby from the door, the teller line, the private offices, the drive-up lanes and the ATM.
- Height and lens. A set camera height and a consistent field of view so lobbies of different sizes still read as the same family of spaces.
- Light. All interior fixtures on, blinds set the same way, and exteriors in clear daylight plus one dusk frame where the signage is lit.
- What stays out of frame. Screens with customer information, paperwork on desks, security equipment details and anything the bank's security team asks to exclude.
- Color and edit. One edit style, matched to the brand's palette, so the green of a logo or the wood of a teller counter looks the same in every location.
Builders face the same problem across many communities, and our post on keeping builder photography consistent across communities and crews shows how a shared standard holds up when several photographers are involved.
What to capture at each branch
A branch has to work as a building, a brand space and a convenience stop. The photo set should show all three.
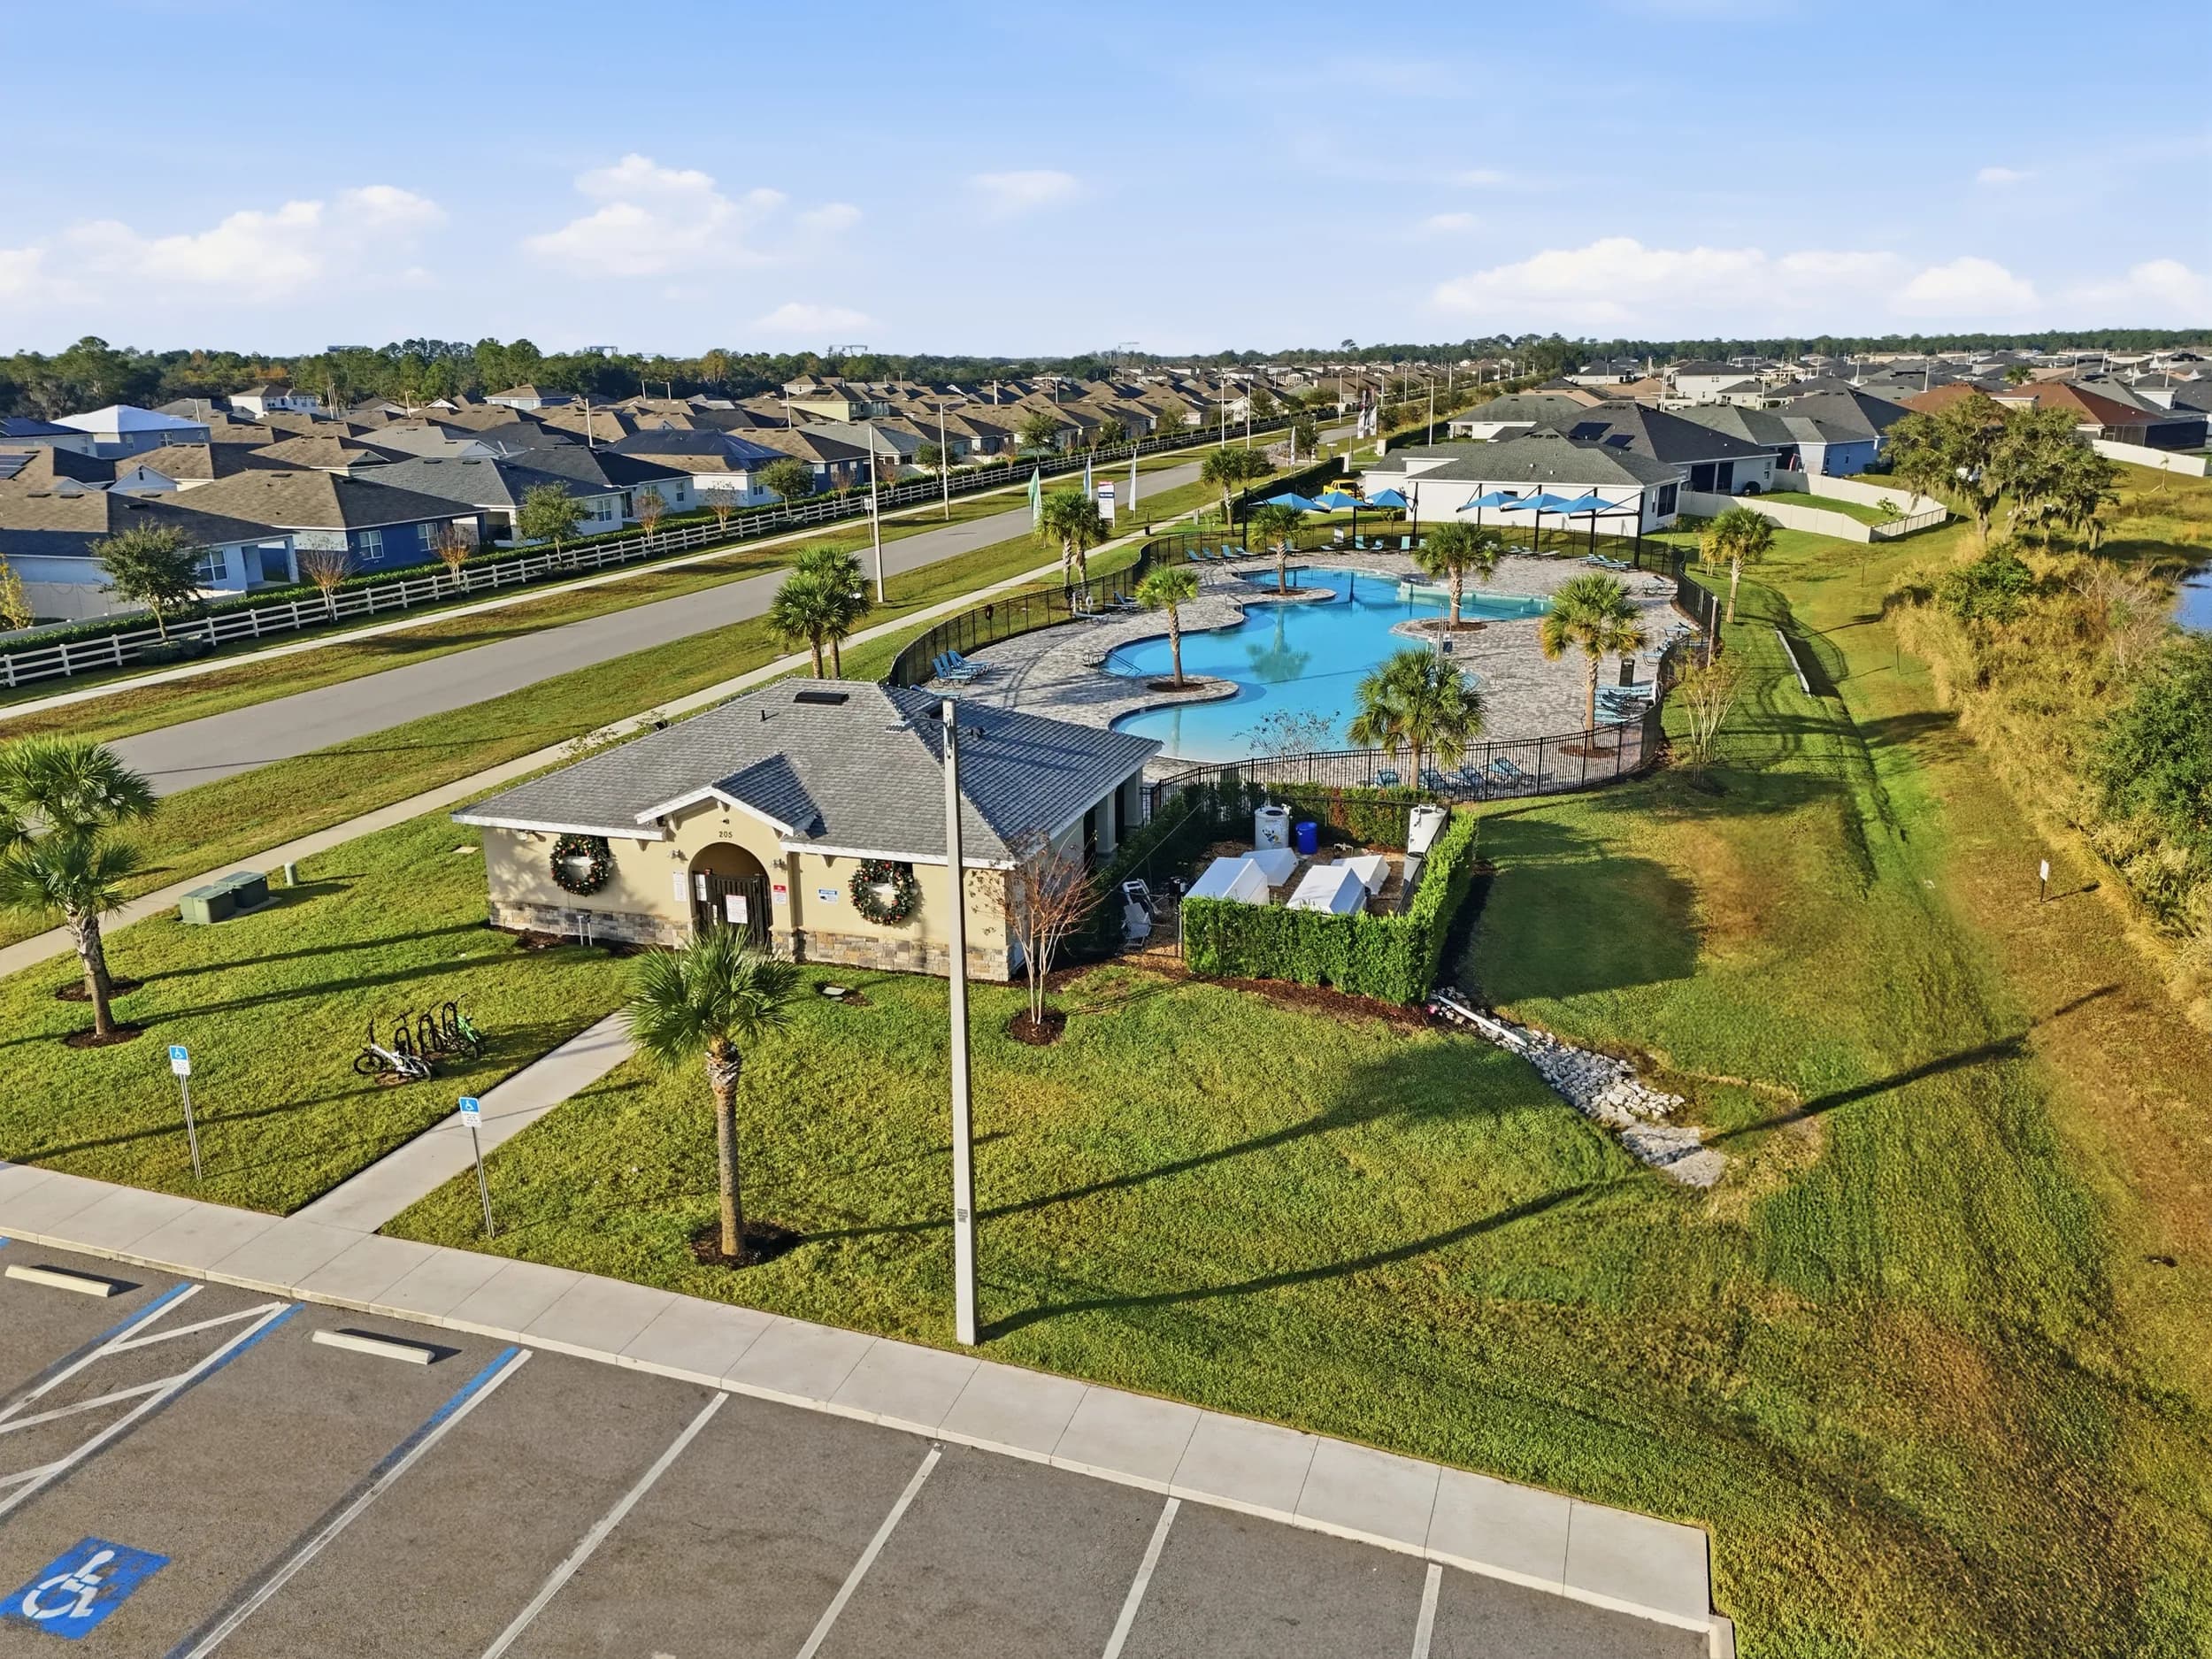
- Site and approach. How the branch sits on its pad or corner, the entrance from the road, parking and the drive-up canopy. A drone frame often shows this best, where airspace allows it.
- Signage. The monument sign and the building sign, in daylight and at dusk. These images are reused constantly, from grand opening posts to local search profiles.
- The customer path. Entry, lobby, the teller line or service pods, the waiting area and the private offices where conversations happen.
- Brand details. Feature walls, art, materials and wayfinding that the design team specified for the prototype.
- Self-service. ATMs and the drive-up lanes, photographed cleanly without customers.
Freestanding branches often sit on outparcels in shopping centers, so the same approach and visibility frames that matter in retail center photography matter here too.
Scheduling around an operating branch
Most branch shoots happen either just before opening, when the space is finished but not yet serving customers, or at an existing branch outside the times it is open. Both work well if a few things are settled in advance:
- Access and escort. Who lets the photographer in, who stays on site, and which areas are off limits, such as the vault, the cash room and back offices.
- Security sign-off. Many banks review the angle list with their security team before the first shoot. Doing it once for the standard saves repeating it at every site.
- Insurance. Property managers and landlords often ask for a certificate of insurance before anyone works on site. Our guide to photographer insurance and COIs for commercial site access covers what to request.
- Landscaping and signage. New branches look unfinished without sod, plantings and a lit sign. If those come late, shoot interiors first and come back for the exteriors.
Delivery timing is confirmed at booking, and for a multi-site rollout it helps to agree on it once for the whole program.
Building a library that grows with the rollout
The value of a branch program shows up a year in, when marketing needs every lobby side by side or a facilities team needs to compare the prototype with the latest build. A little structure at the start makes that easy:
- Name files by branch, view and date, using the same view names as the shot standard.
- Keep a master folder for the brand set and a separate folder per branch.
- Agree on usage rights up front so the bank, the developer and the design firm each know how they may use the images.
- Reshoot a branch after a remodel or signage change, so the library never shows an old look.
JRP photographs commercial real estate across Orlando, Tampa Bay, Central Florida, Austin and San Antonio, which lets one crew and one standard cover a rollout across both Florida and Central Texas.
Ready to book? Call or text (689) 600-2131 or get in touch.