Townhomes are one of the fastest-growing product types in Central Florida and Central Texas — and one of the hardest to photograph well. Narrow footprints, shared walls, and repetitive elevations create problems that don’t exist on a detached single-family home.
Here’s how experienced builders get marketing photography that actually sells attached product.
The Core Challenge: Narrow Rooms, No Room to Back Up
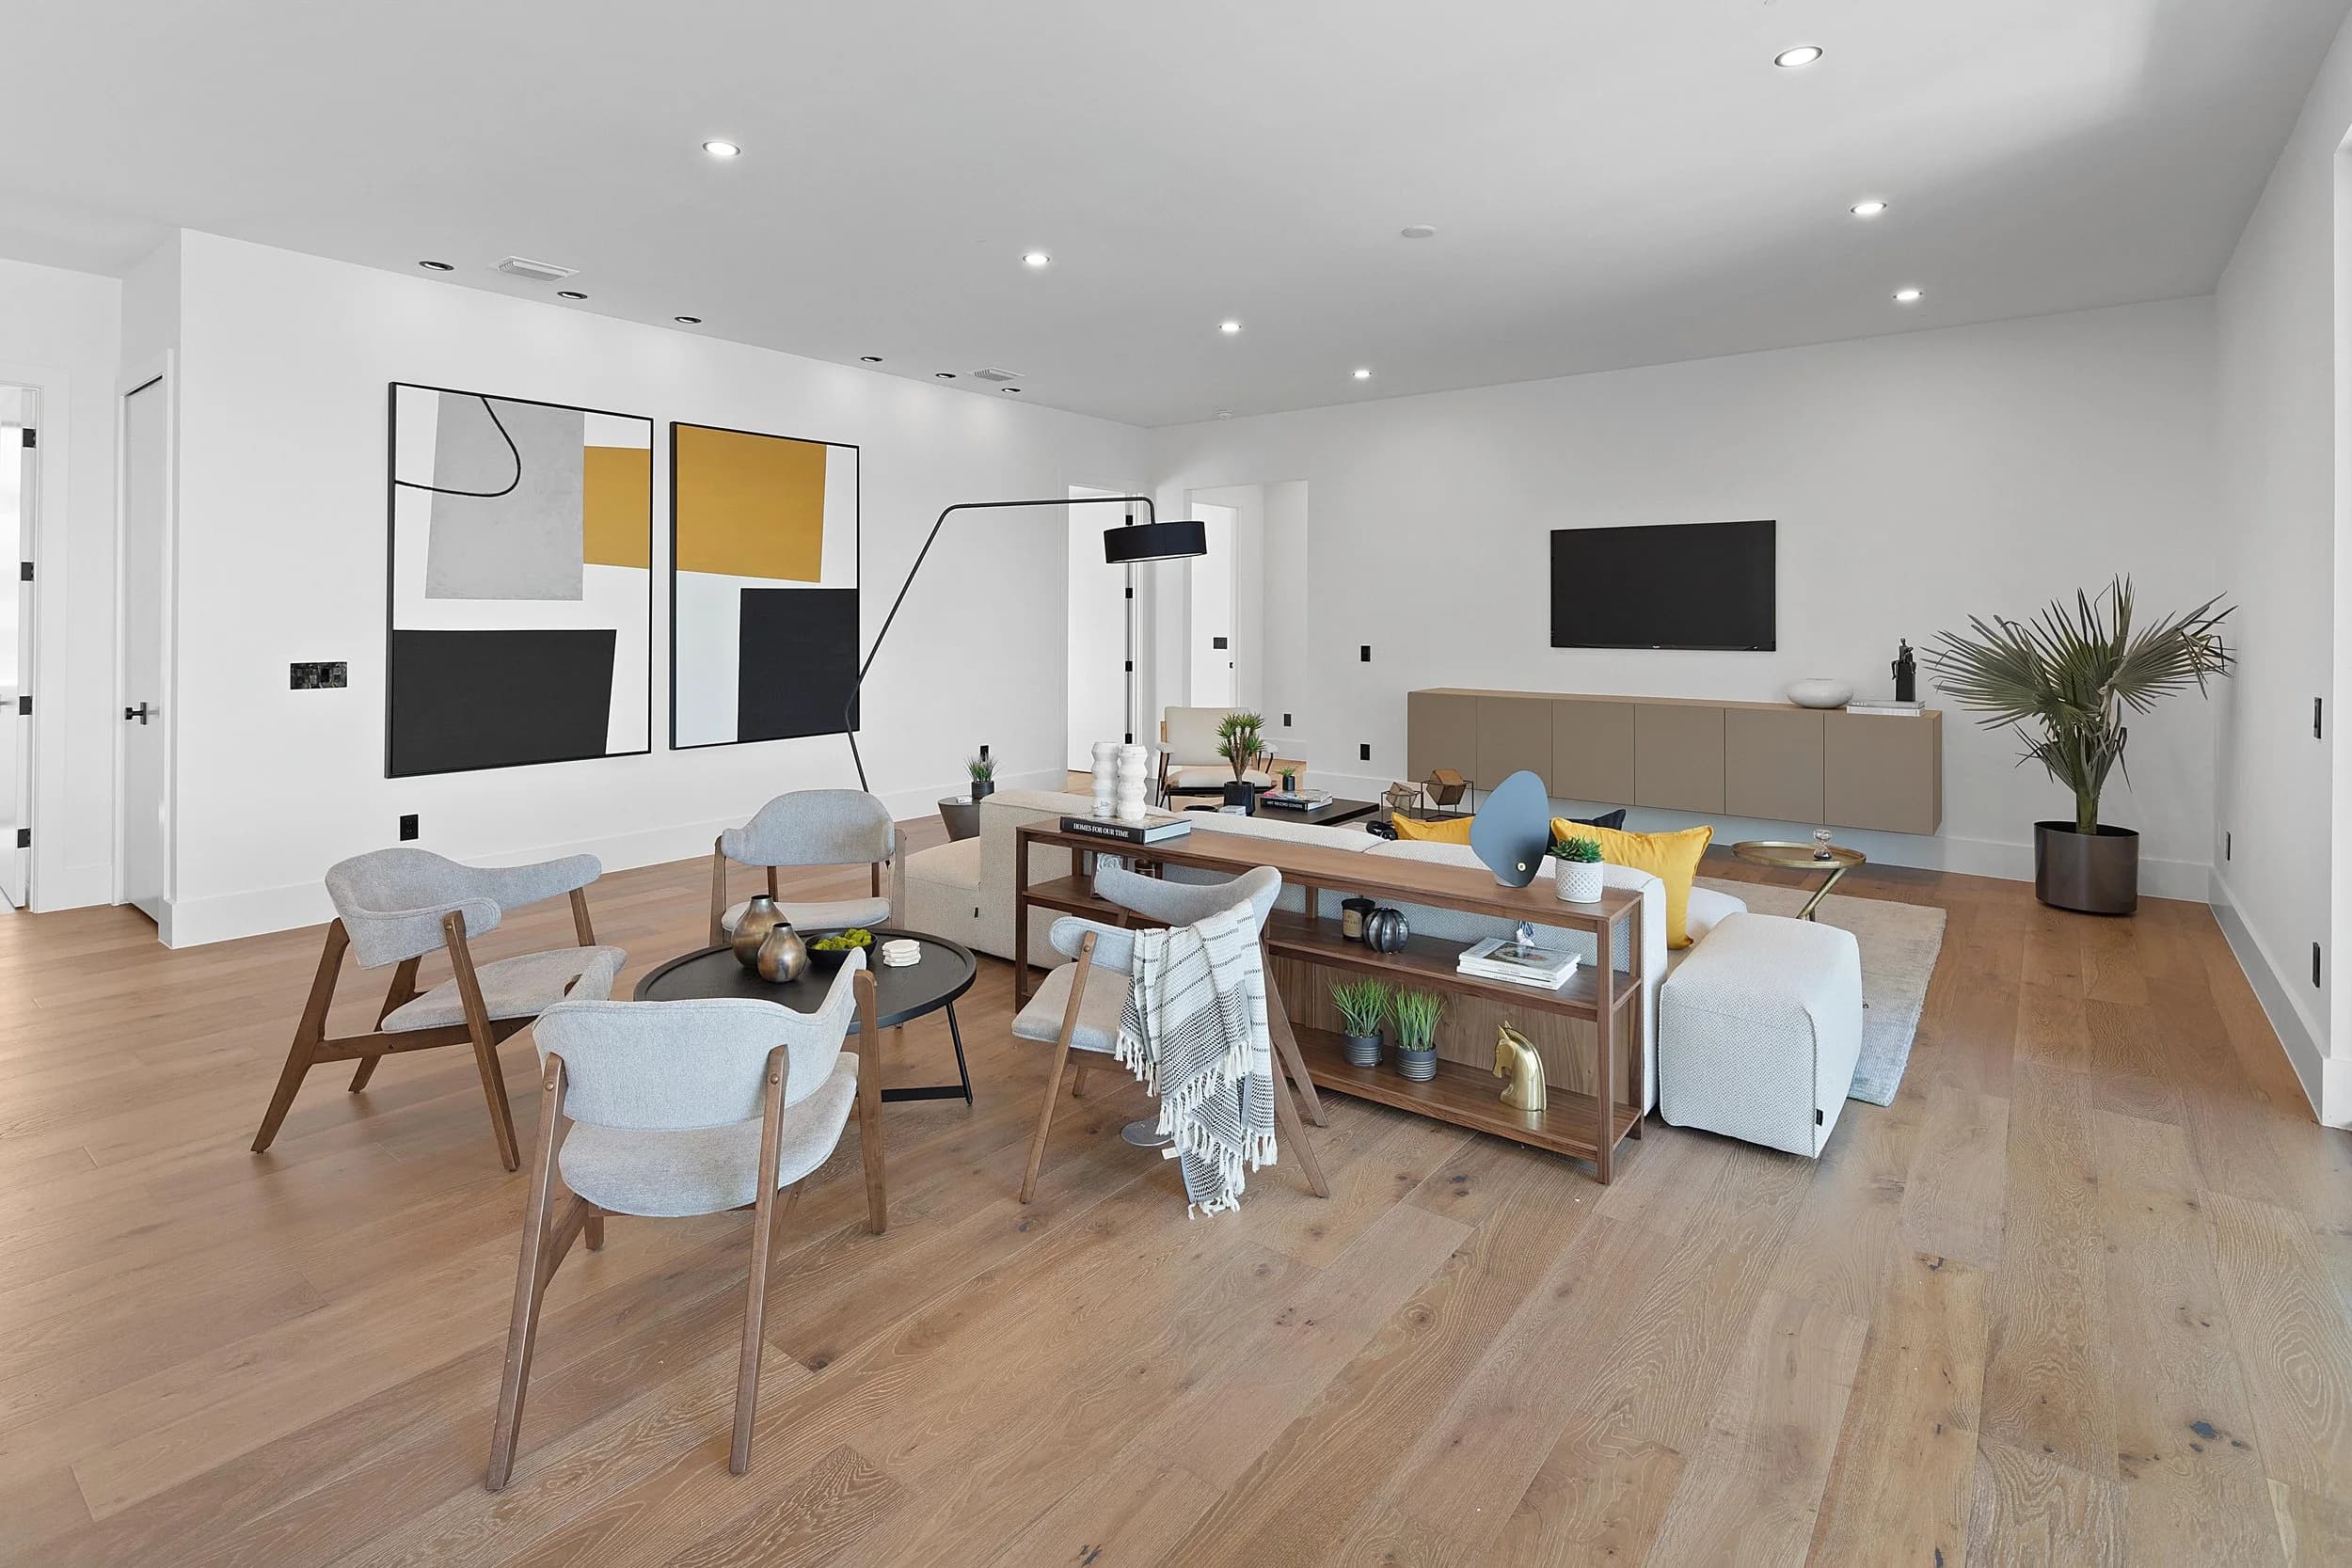
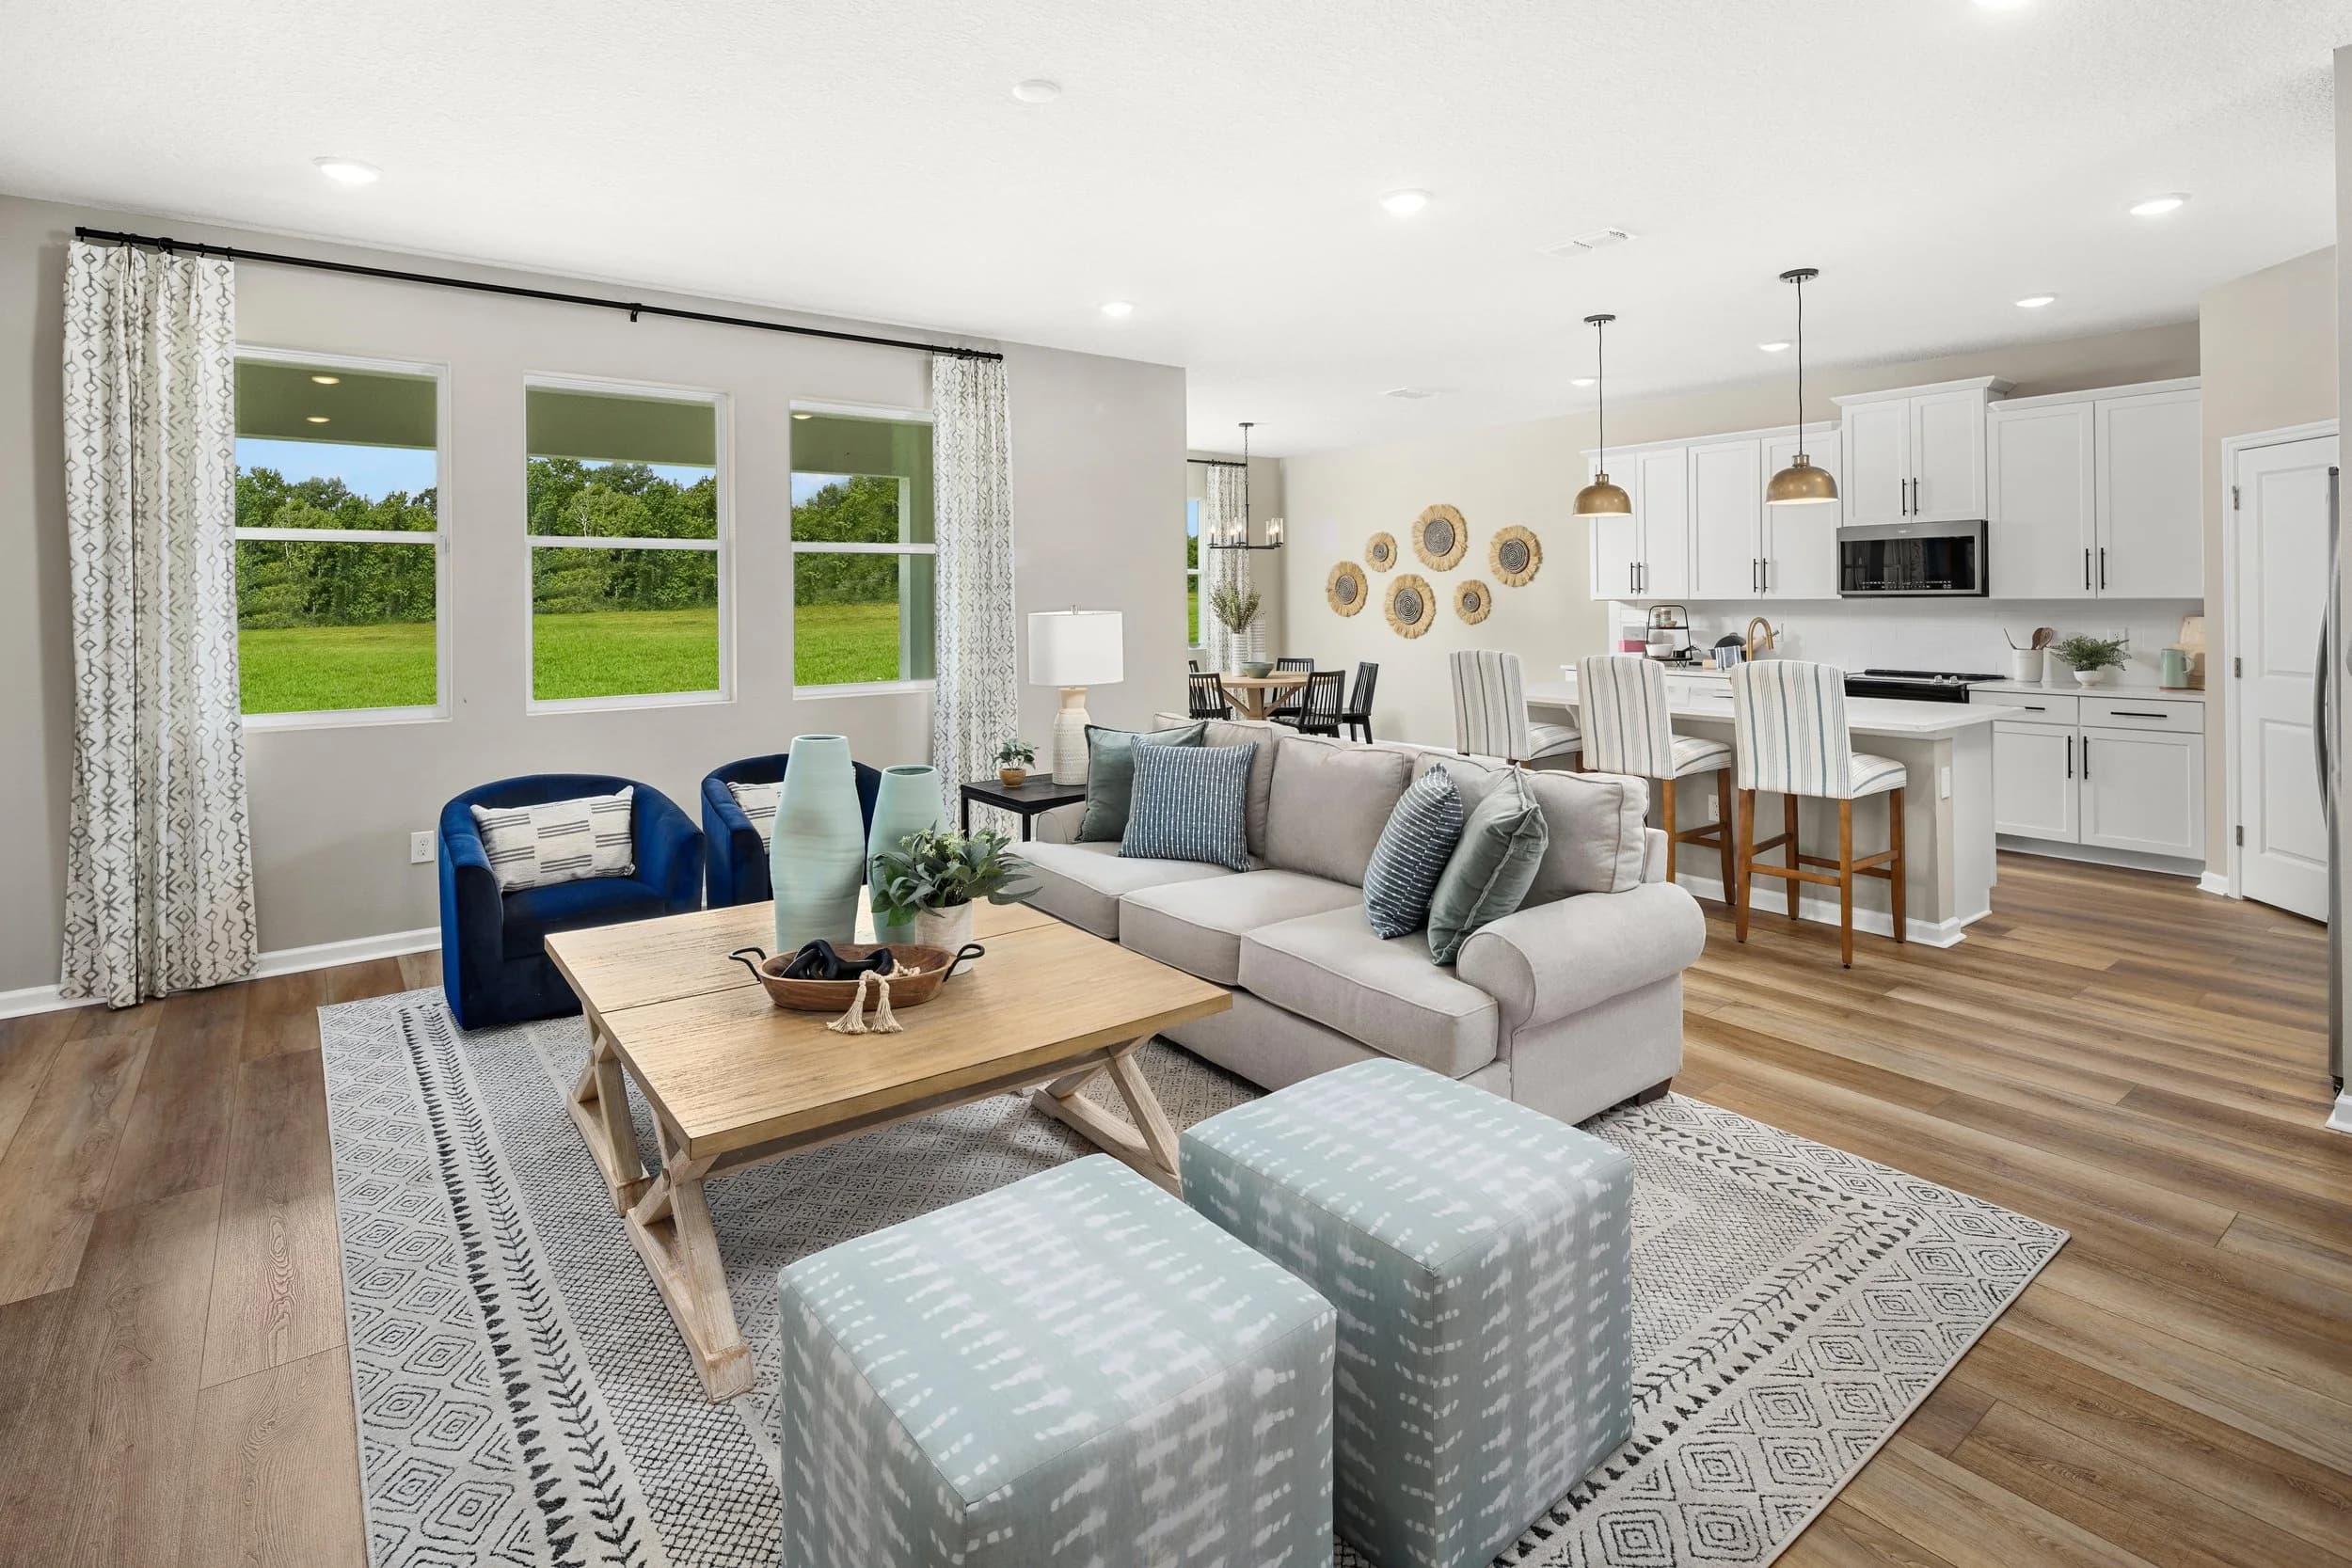
A typical townhome interior is 16 to 22 feet wide. In a detached home, a photographer can step back into an adjoining space to frame a room. In a townhome, the wall is right there. This is where technique matters more than gear.
Shooting from corners and doorways rather than the center of the room preserves depth without distortion.
Vertical alignment is non-negotiable. In a narrow room, even a slight tilt makes walls appear to lean inward and the space feel smaller.
Wide-angle, not ultra-wide. There’s a real temptation to go extreme to fit the room in. Past a certain point, buyers stop believing the photos, then feel misled at the showing. A moderate wide angle that’s honest about scale outperforms a warped one that isn’t.
Shooting up the stairs is often the best way to convey the vertical, multi-level living that’s central to townhome appeal.
Exteriors Are the Bigger Problem
Attached product photographs poorly from the street for a specific reason: the individual unit doesn’t read as a home. It reads as a section of a building. And in a new community, the unit next door is frequently unfinished, unlandscaped, or has a contractor’s truck parked in front of it. What works:
Shoot the building, then shoot the unit. One image that presents the full elevation as attractive architecture, and one tighter frame that establishes the specific unit’s entry, porch, and door.
Use the end unit. If you’re building marketing assets for a floor plan rather than a specific address, photograph the end unit. It has more windows, more light, and reads more like a standalone home.
Get the angle off the street. A straight-on shot of a townhome row is flat and repetitive. A three-quarter angle down the row creates depth and makes the streetscape look intentional rather than uniform.
Wait for the landscaping. This is the single most common mistake. Builders photograph a completed model six weeks before the sod, palms, and beds go in. Those photos then run for two years. The extra month of patience pays for itself many times over.
Drone Work Changes the Conversation
Aerial photography solves the biggest objection buyers have about attached homes: what am I actually getting outside?
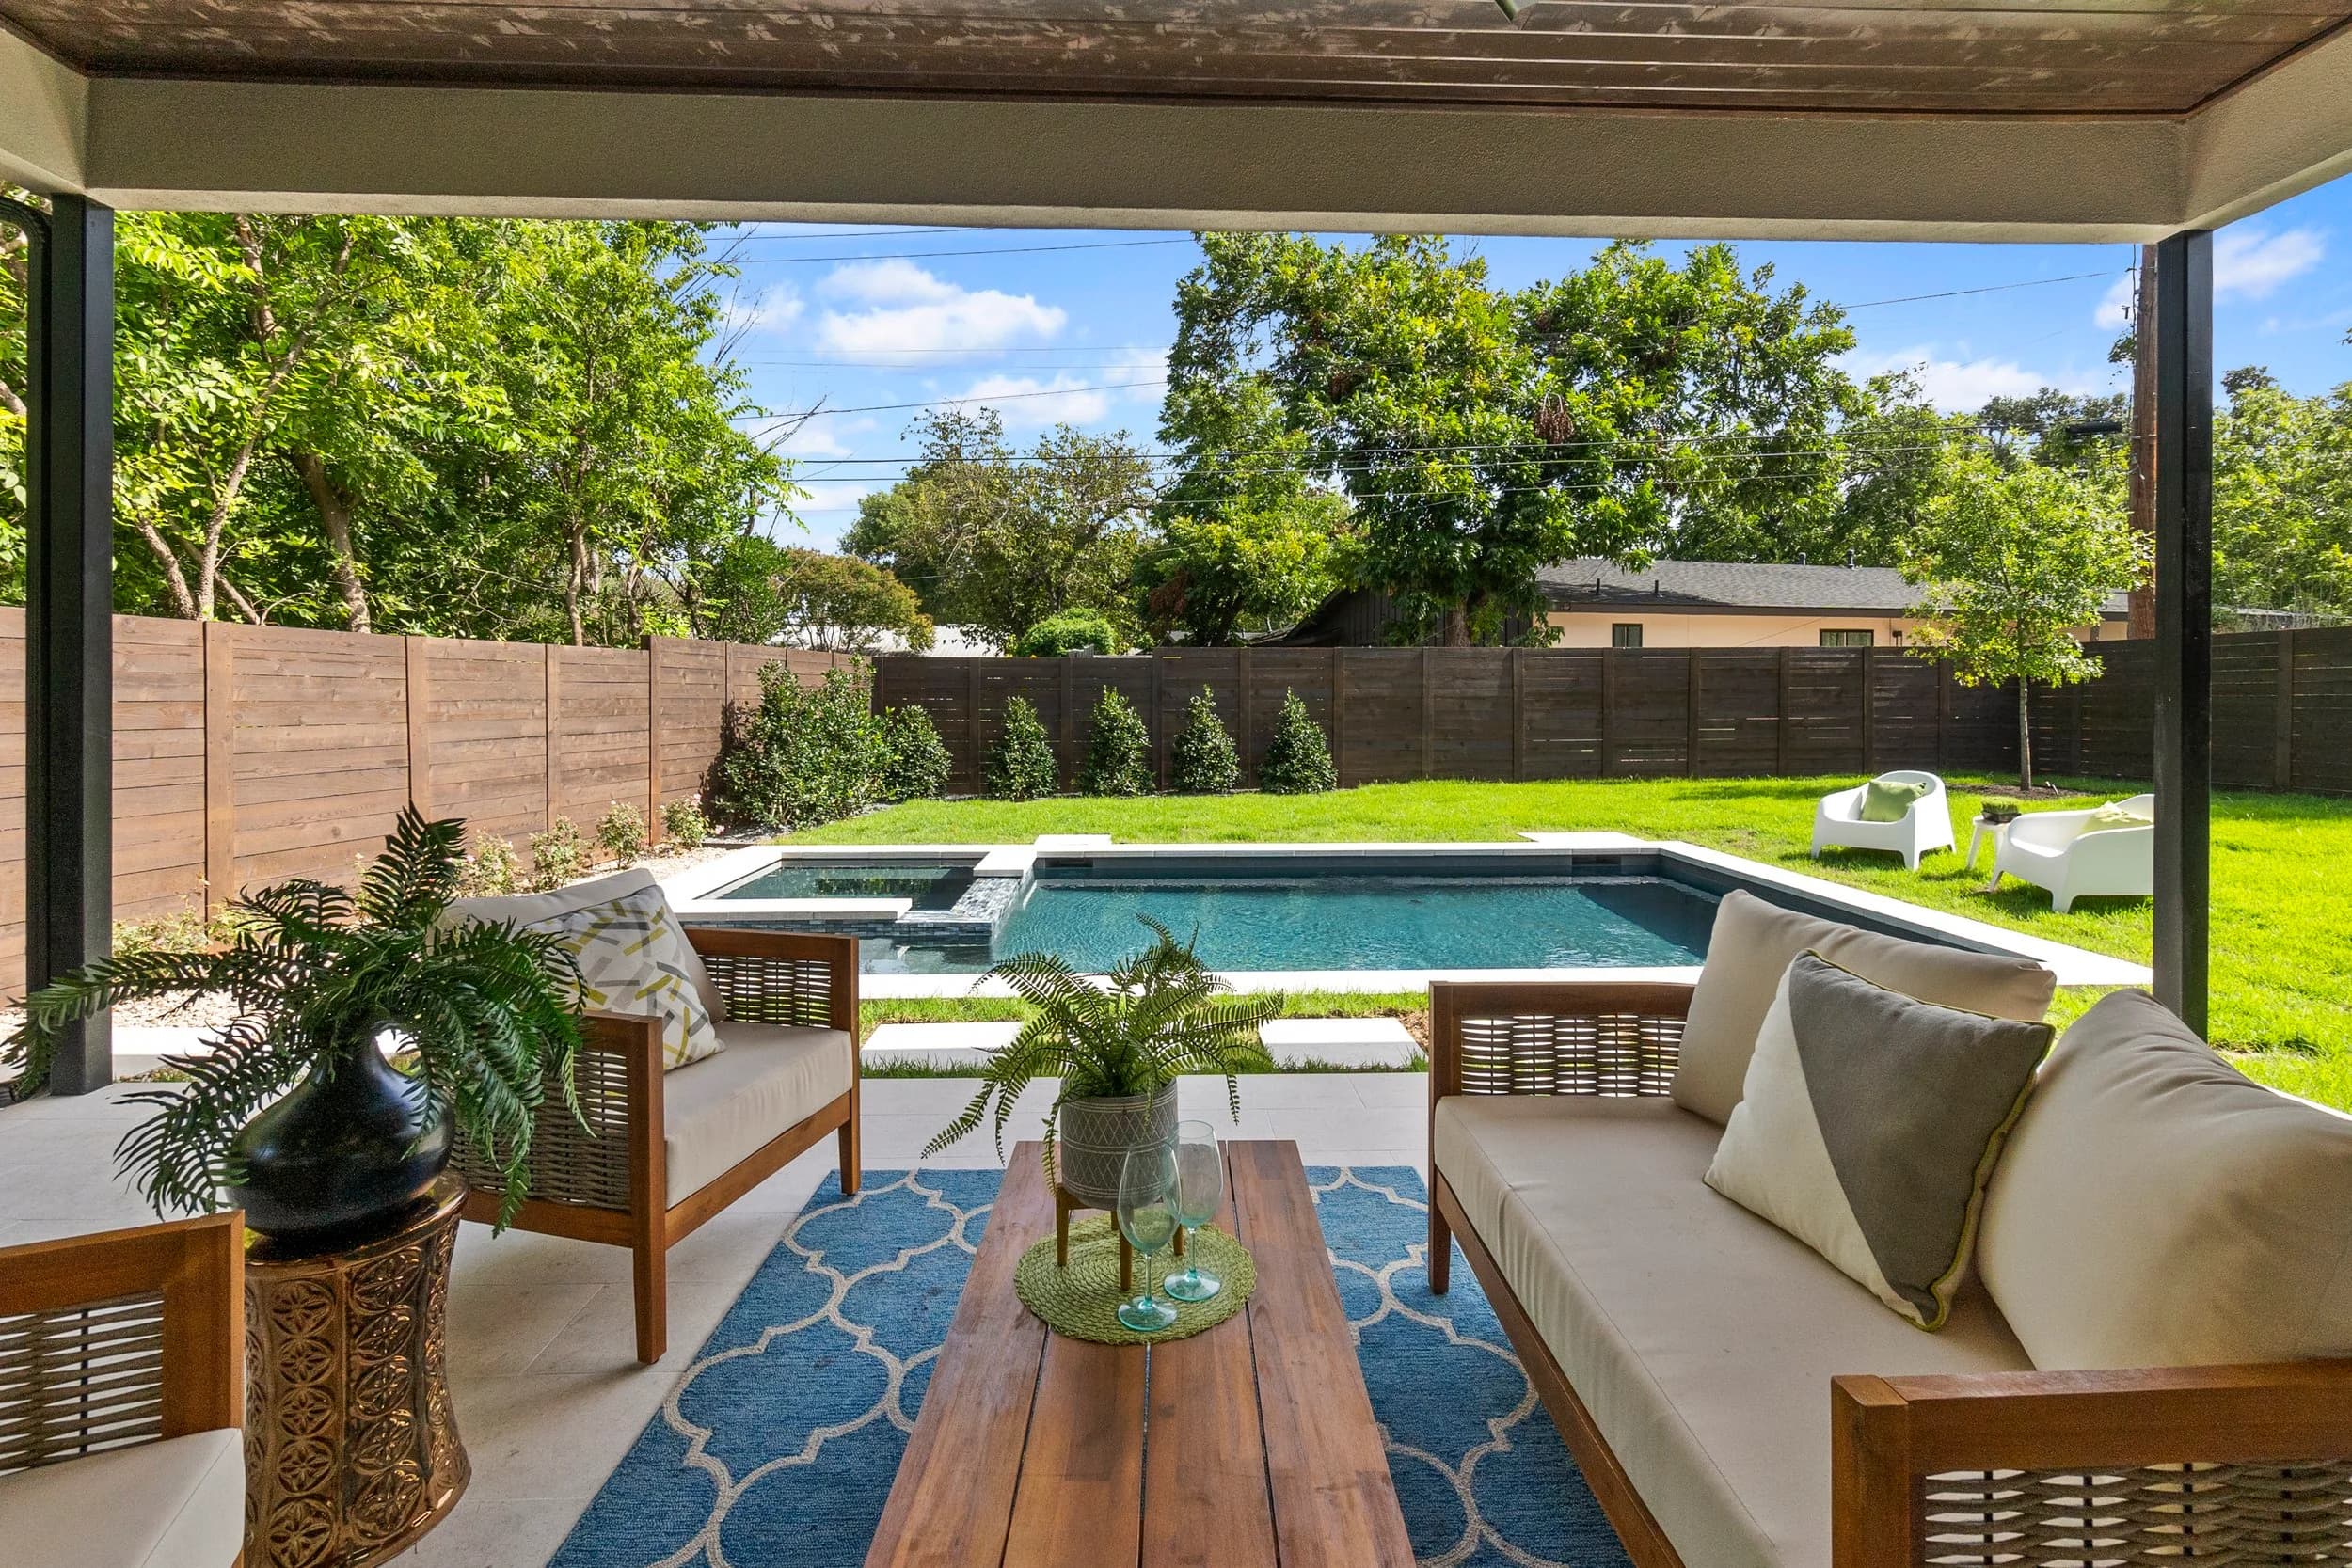
A low aerial over the building shows the private rear yard or patio, the garage access, and the alley or motor court — details that are invisible from a ground-level street shot.
A mid-altitude community pass shows proximity to the amenity center, the pool, green space, and the pond, which is often the real value proposition.
A context shot establishes the location — near a highway interchange, a town center, a school, or a lake.
For Central Florida and the Austin and San Antonio metros, where townhome buyers are frequently trading down from a detached home or buying their first property, that context does a lot of persuading.
Note that drone work near Orlando and much of Central Florida sits in controlled airspace and requires FAA Part 107 certification and LAANC authorization. Verify your photographer is certified — an uncertified operator flying commercially puts your marketing assets and your project at risk.
Photographing for a Floor Plan, Not a Unit
Builders selling attached product typically market by plan name, not address. That means your photography needs to be reusable, which changes how you shoot.
Shoot the model or the best-finished spec. These images will represent the plan across every community where it’s offered.
Keep addresses, unit numbers, and community signage out of frame so the images travel between locations.
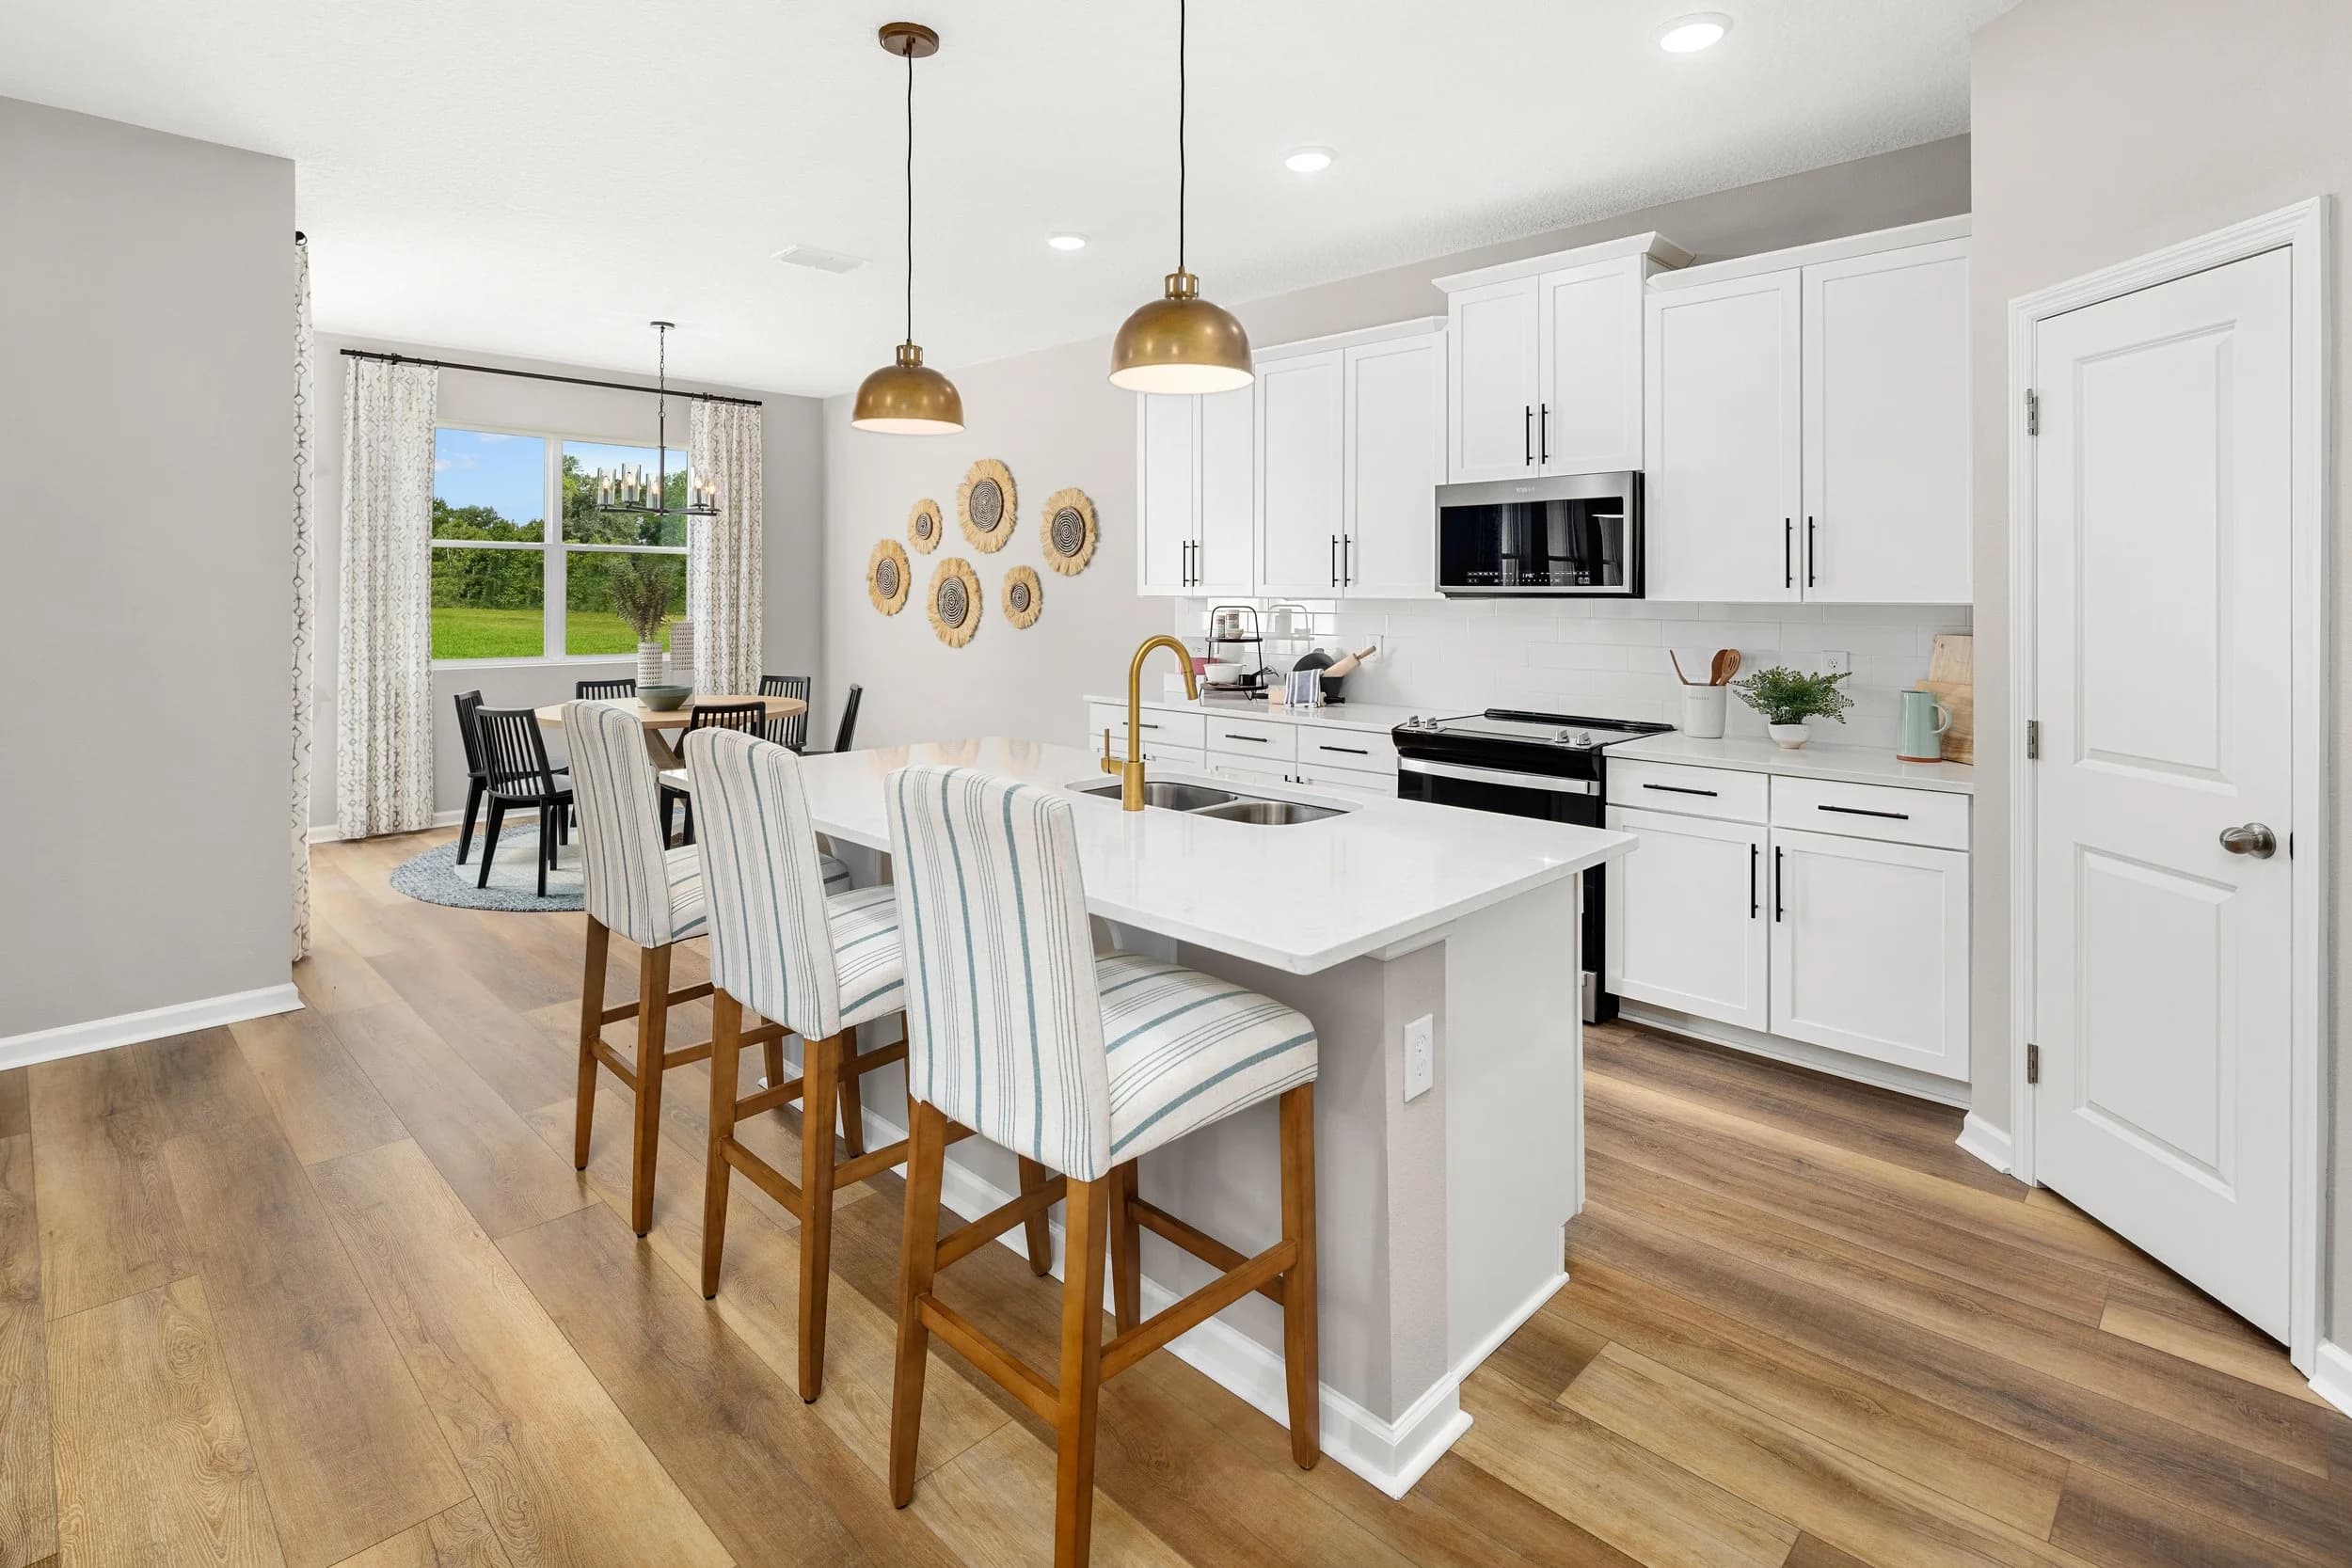
Cover the full plan systematically: every bedroom, every bath, the stair, the loft or flex space, the garage, and the outdoor space. Buyers comparing plans online want to see the whole footprint.
Include a 2D floor plan and a 3D tour. Multi-level layouts are hard to understand from stills. A Matterport tour lets a buyer walk the stairs and grasp how the levels relate, which is exactly the thing photos struggle to convey.
Shoot detail images: the finish package, cabinet hardware, the tile, the stair rail. These populate spec sheets, option boards, and social content.
Getting the Model Ready
A short prep list that meaningfully improves the result:
All interior lights on, all bulbs matching color temperature
Blinds open and aligned to the same height throughout
Countertops and vanities completely clear
Sales collateral, price sheets, and option binders removed from frame
Construction materials, portable toilets, and dumpsters moved out of exterior sightlines
Vehicles cleared from the driveway, the guest spaces, and the visible street
Garage clean and empty, or staged intentionally if it’s a selling feature
The Payoff
Attached product competes on value, and value is easier to prove visually than verbally. A townhome gallery that shows honest room scale, a real outdoor space, a legible multi-level layout, and the community amenities within walking distance sells faster than one that shows six tight interior shots and a flat street elevation.
Ready to book? Get in touch or call us — we serve Orlando, Tampa Bay, and Central Texas.