A commercial listing on LoopNet, CoStar or Crexi gets judged in the time it takes a tenant rep to scroll past it. The broker on the other side is comparing your building against a dozen others in the same search, usually on a laptop between calls, sometimes on a phone in a parking lot. The photos decide whether they open the listing, and the first few frames decide whether they call. This post covers how to prepare commercial listing photos for the big listing platforms: which image goes first, how to order the rest, where aerials fit, and how to think about file sizes without chasing a spec that keeps changing.
Start with the image that answers the first question
Every property type has a first question, and the lead photo should answer it.
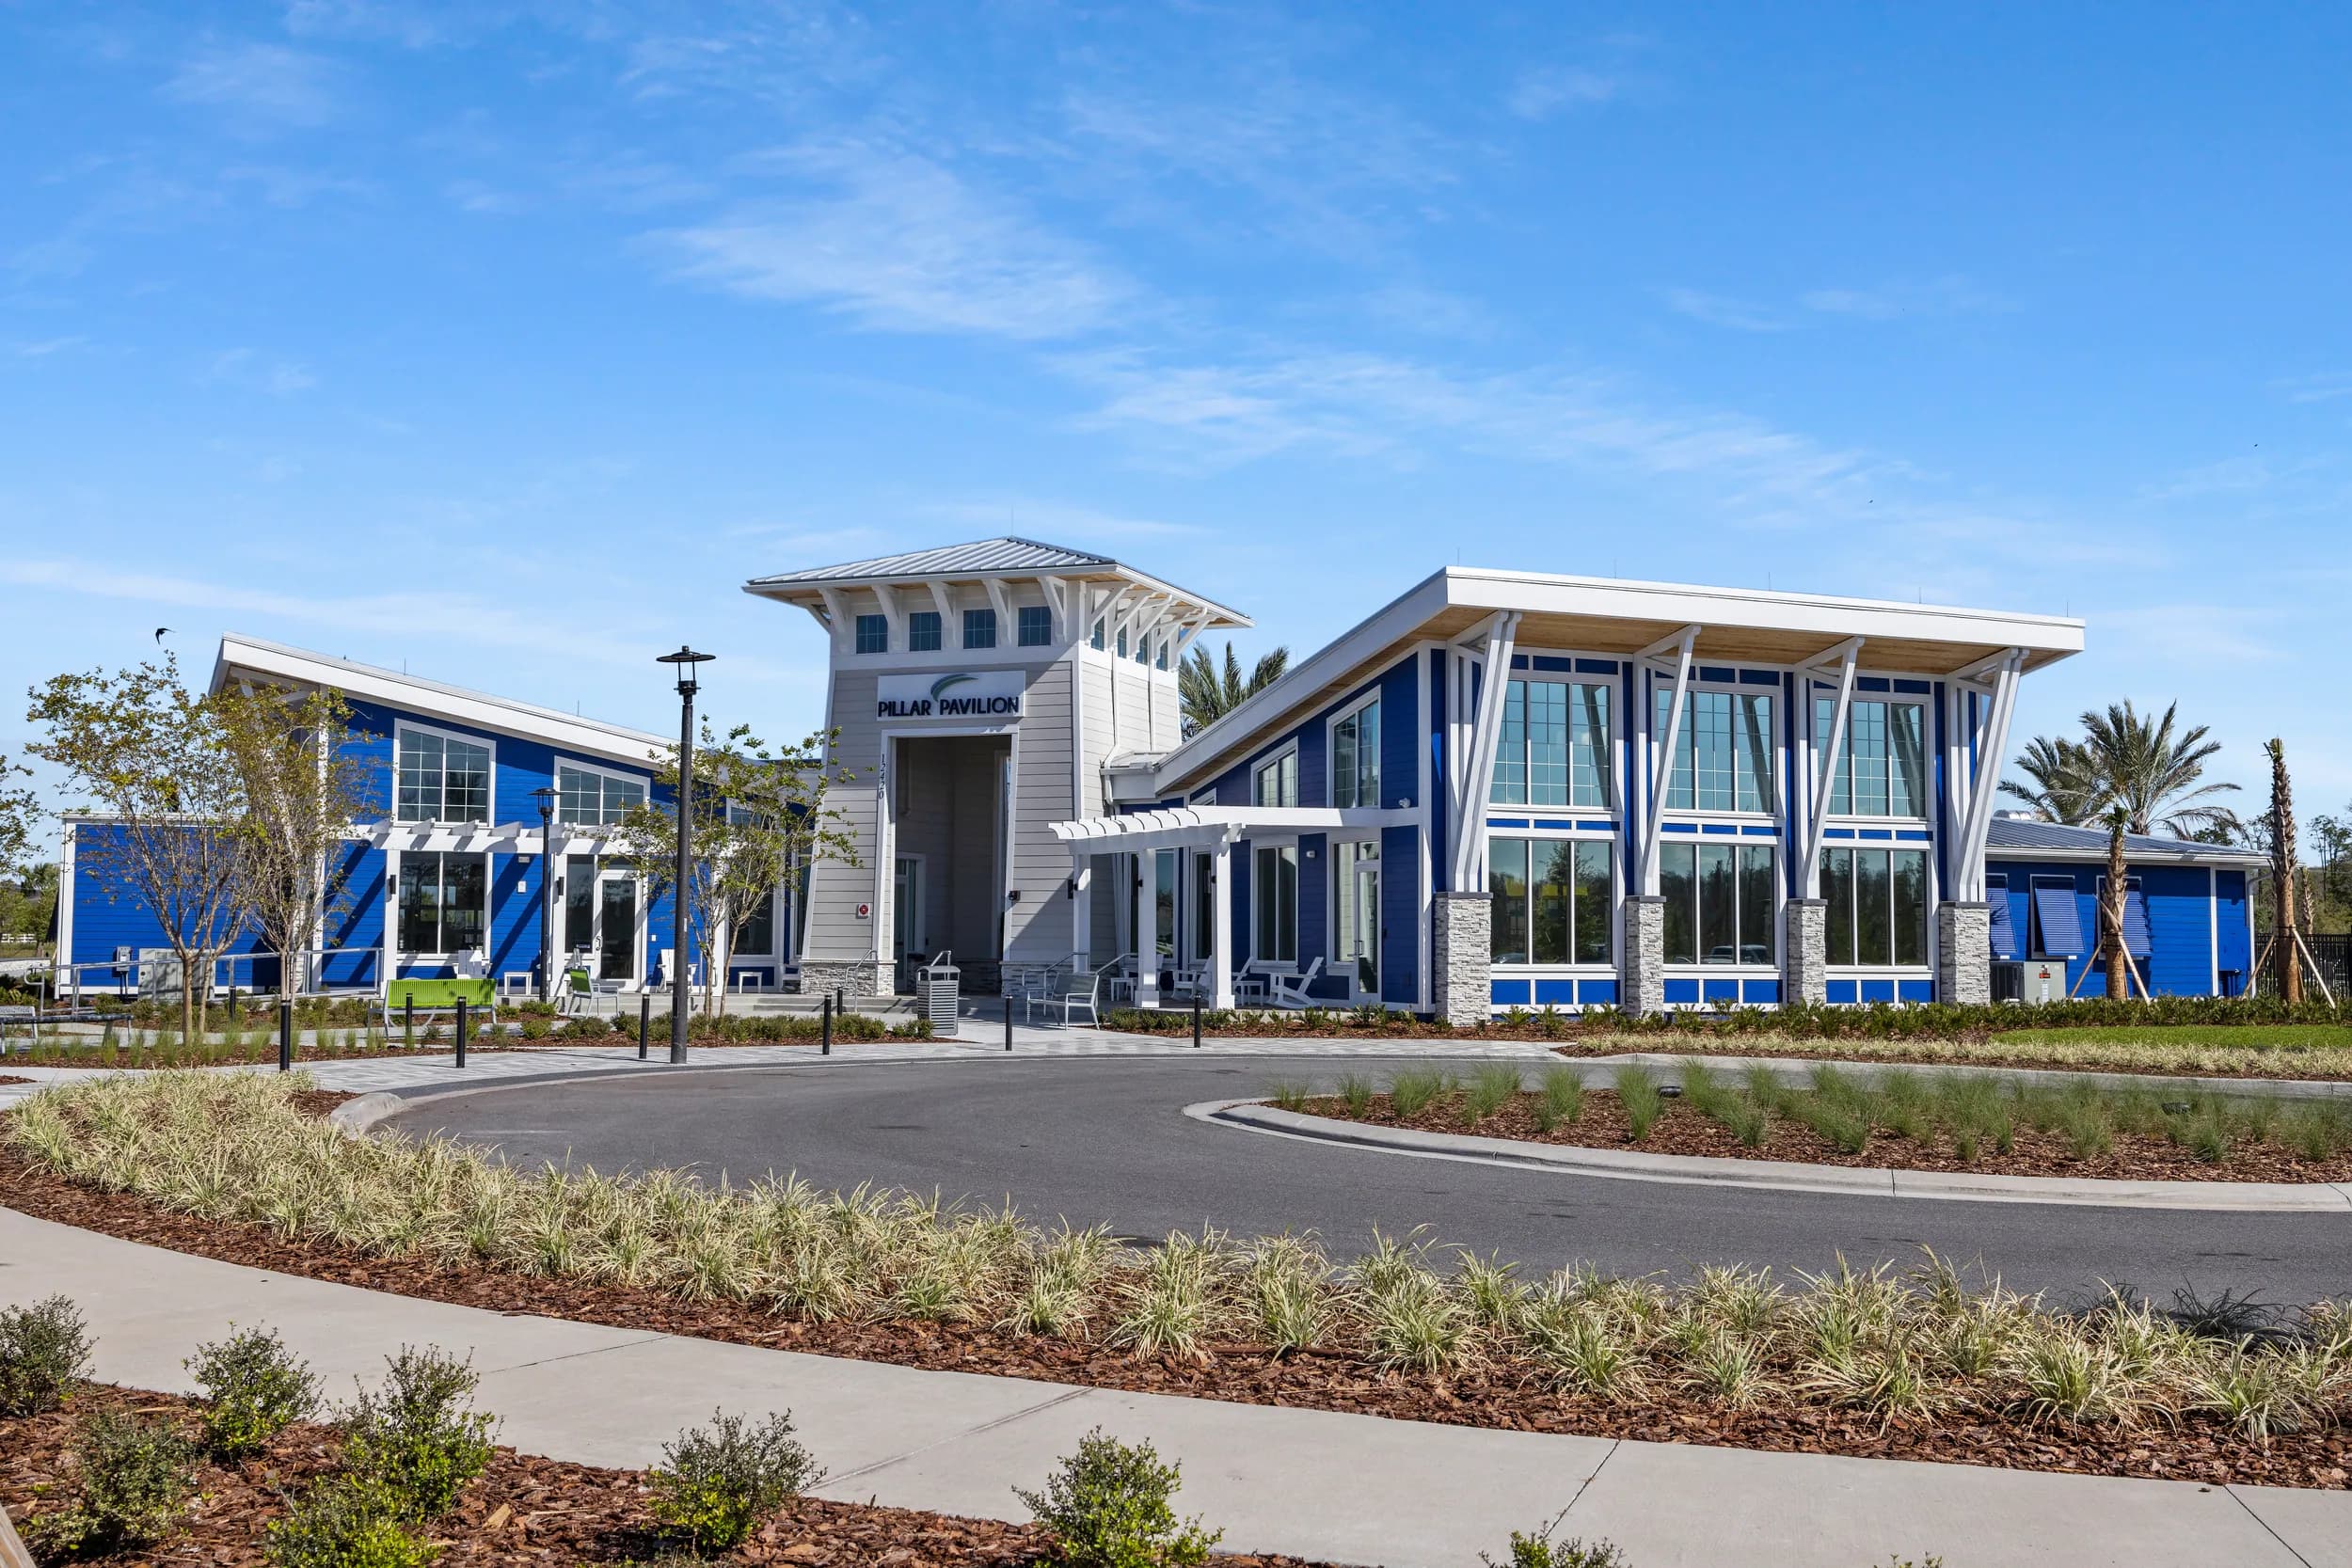
- Office: what the building looks like and where it sits. A clean exterior with the entry visible, or an elevated frame that shows the building with its parking and surroundings.
- Retail: visibility. The storefront or center from the road, with the sign readable and the parking field in front.
- Industrial and flex: function. An aerial of the building and truck court usually beats any ground-level frame.
- Land: location. An aerial with the parcel clearly placed against the roads around it.
Avoid leading with a logo slide, a rendering of something that does not exist yet (unless the listing is clearly marketed as proposed), or an interior that could be any building. Search results show a small thumbnail first, so the lead image also needs to read at a small size: one clear subject, good contrast and nothing distracting at the edges.
Order the gallery the way a tenant tours
After the lead image, sequence the photos the way someone would experience the property on a site visit. That gives a remote viewer a mental map and cuts down on basic questions.
- Approach and context: the road frontage, the monument or pylon sign, the parking.
- Exterior: the main elevation, the entry, any secondary entrances or loading.
- Common areas: lobby, corridors, restrooms, elevators and shared amenities.
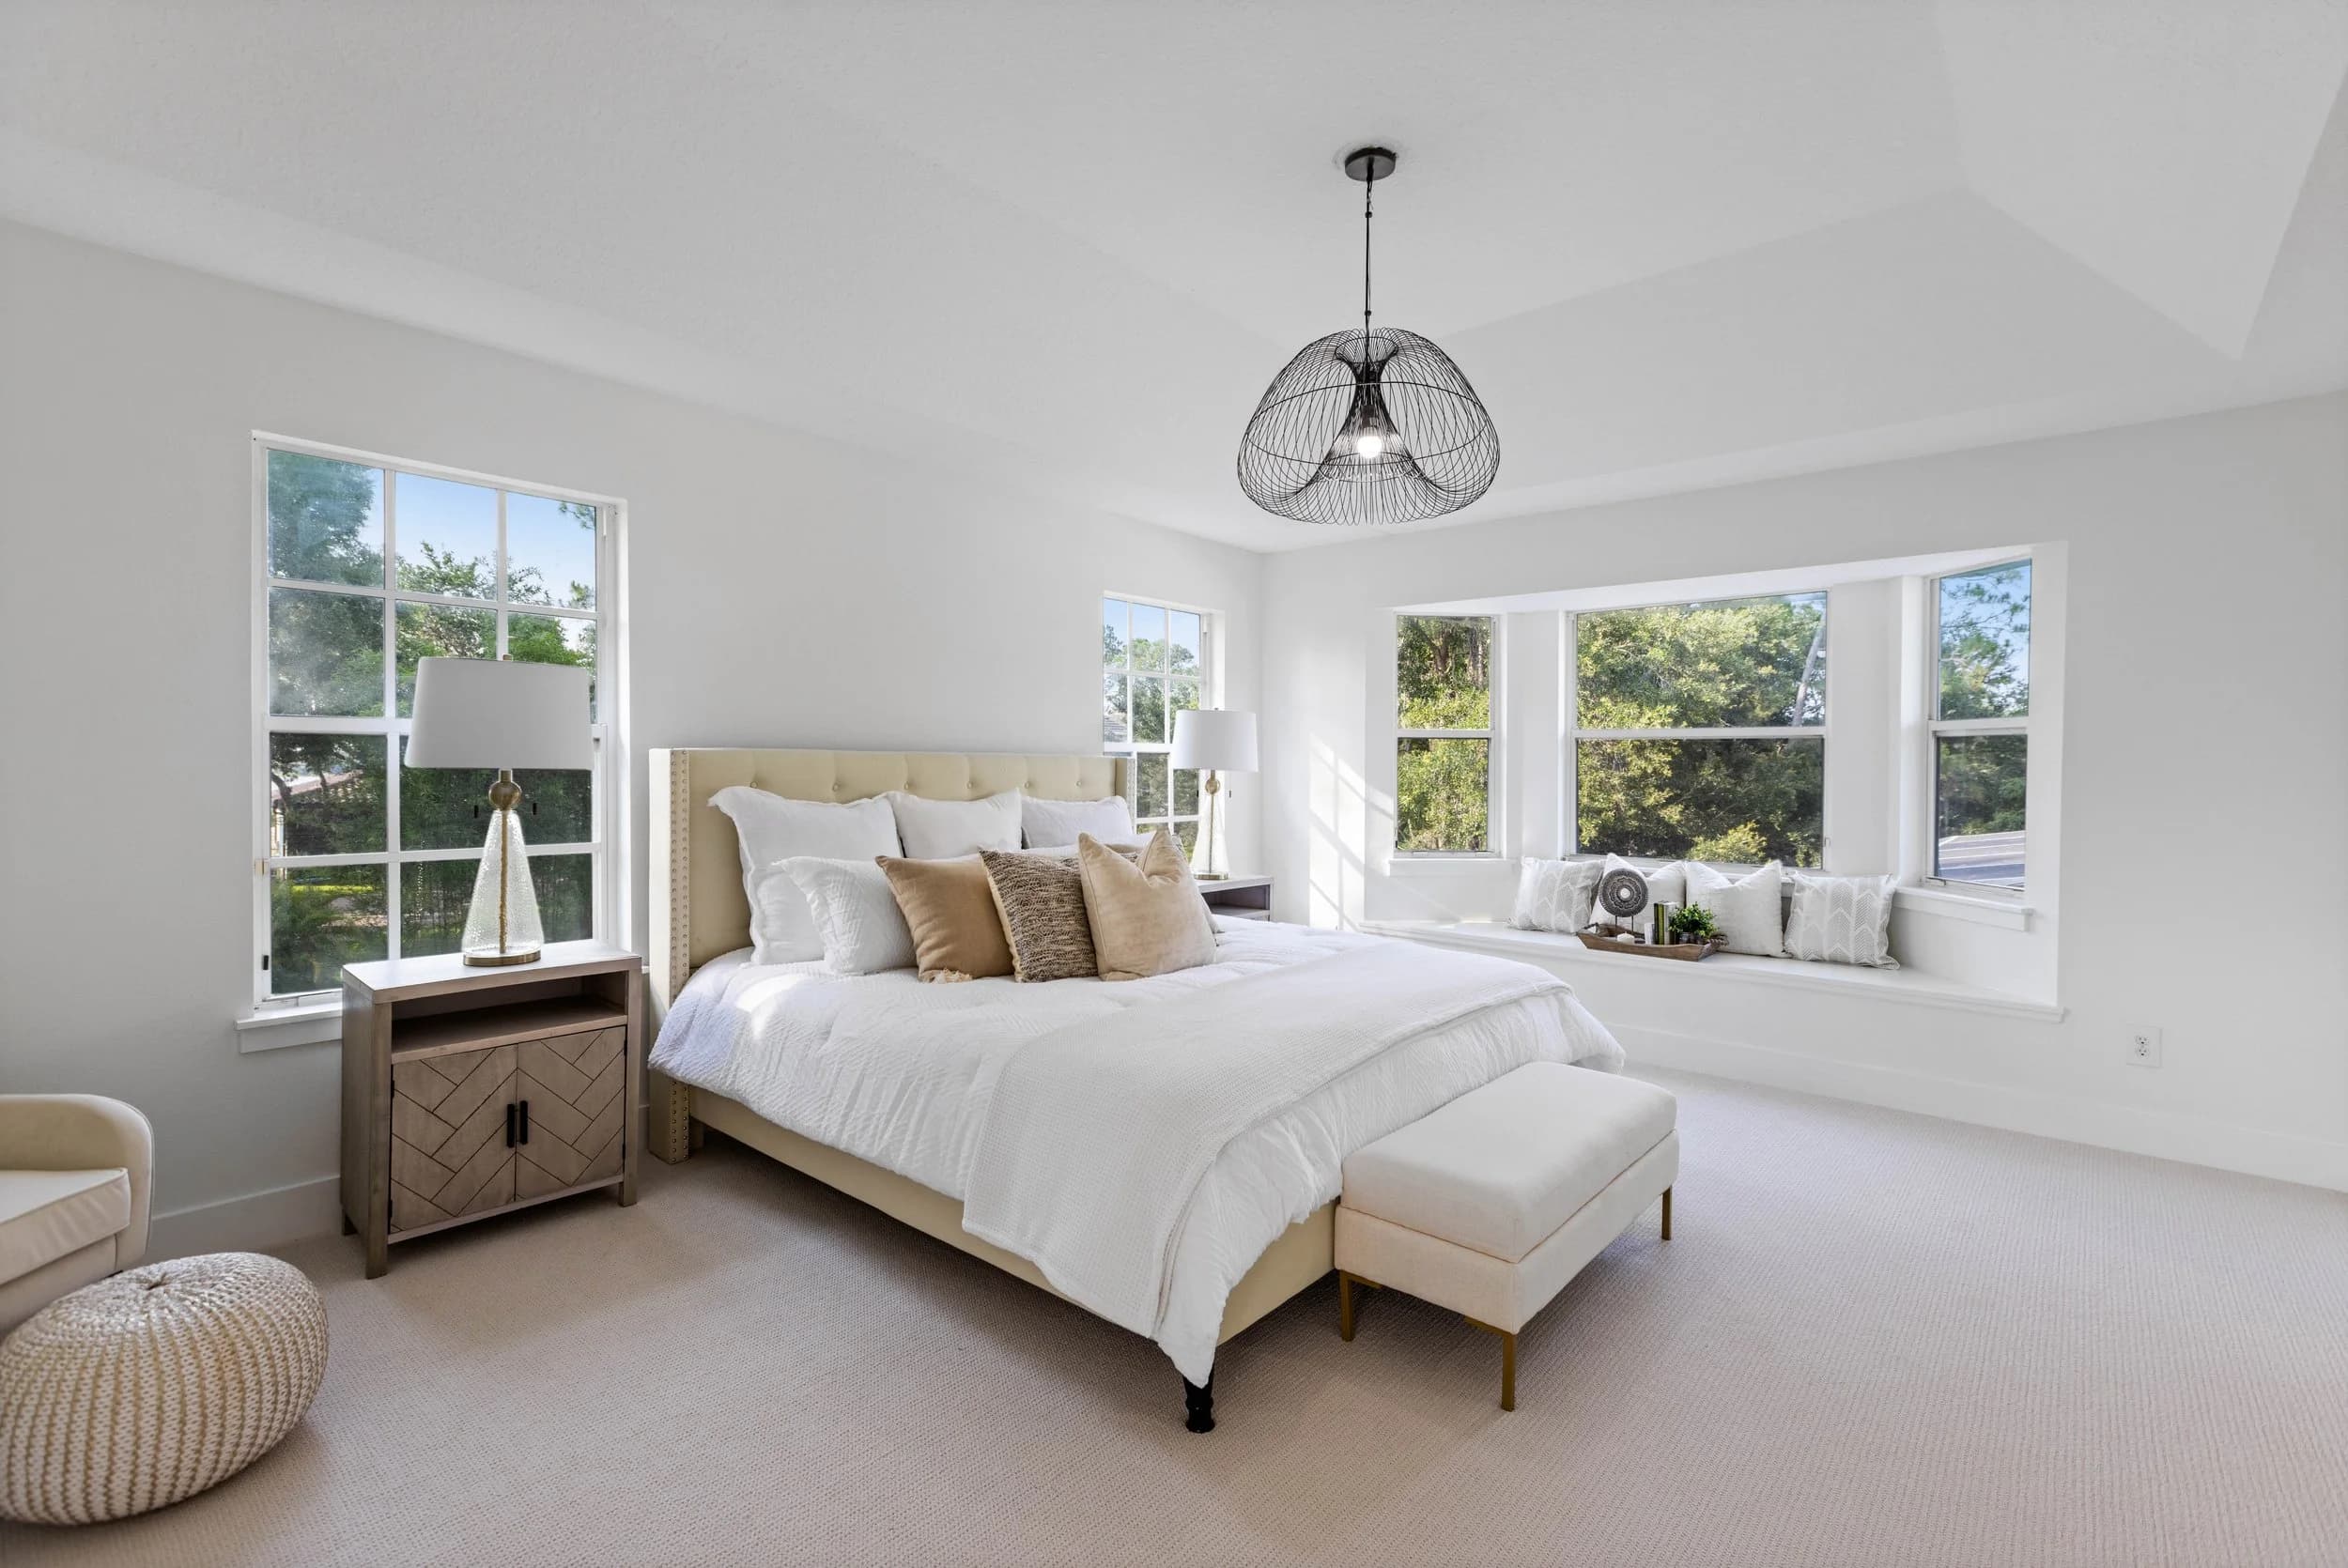
- The available space: each suite or bay, from the entry door inward, with a wide frame of each room before any detail.
- Building systems tenants ask about: dock doors, clear height, the electrical room, HVAC and sprinklers.
- Aerials and surroundings: the site from above, then nearby amenities and highway access.
Put the floor plan or site plan near the space photos, not at the very end, so viewers can match rooms to the layout. If the listing covers several suites, group them so a viewer is not guessing which photo belongs to which suite. Our guide to photo and video for commercial and industrial listings goes deeper on what each property type needs on the shot list itself.
Where aerials earn their place
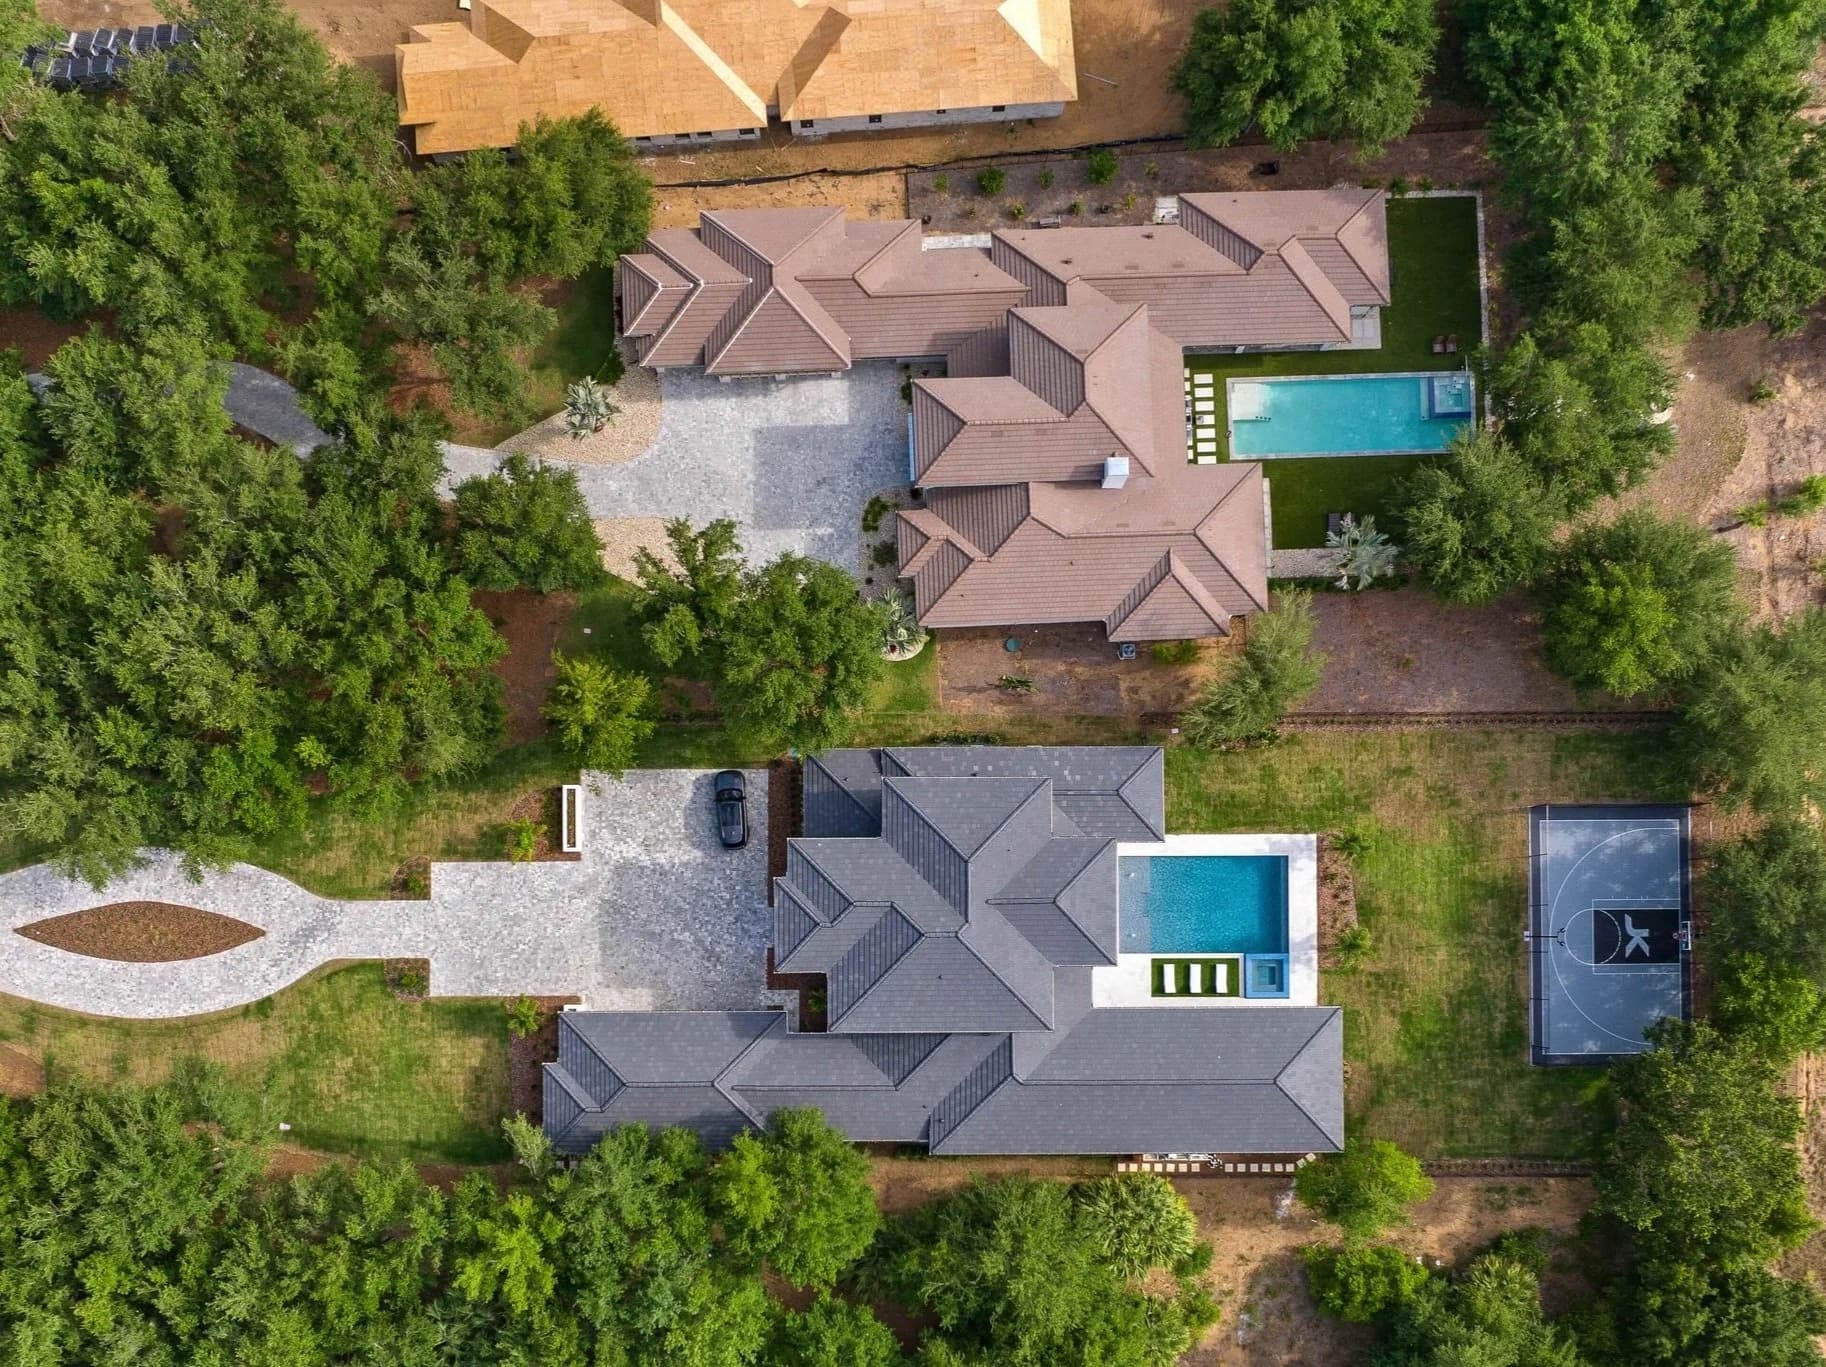
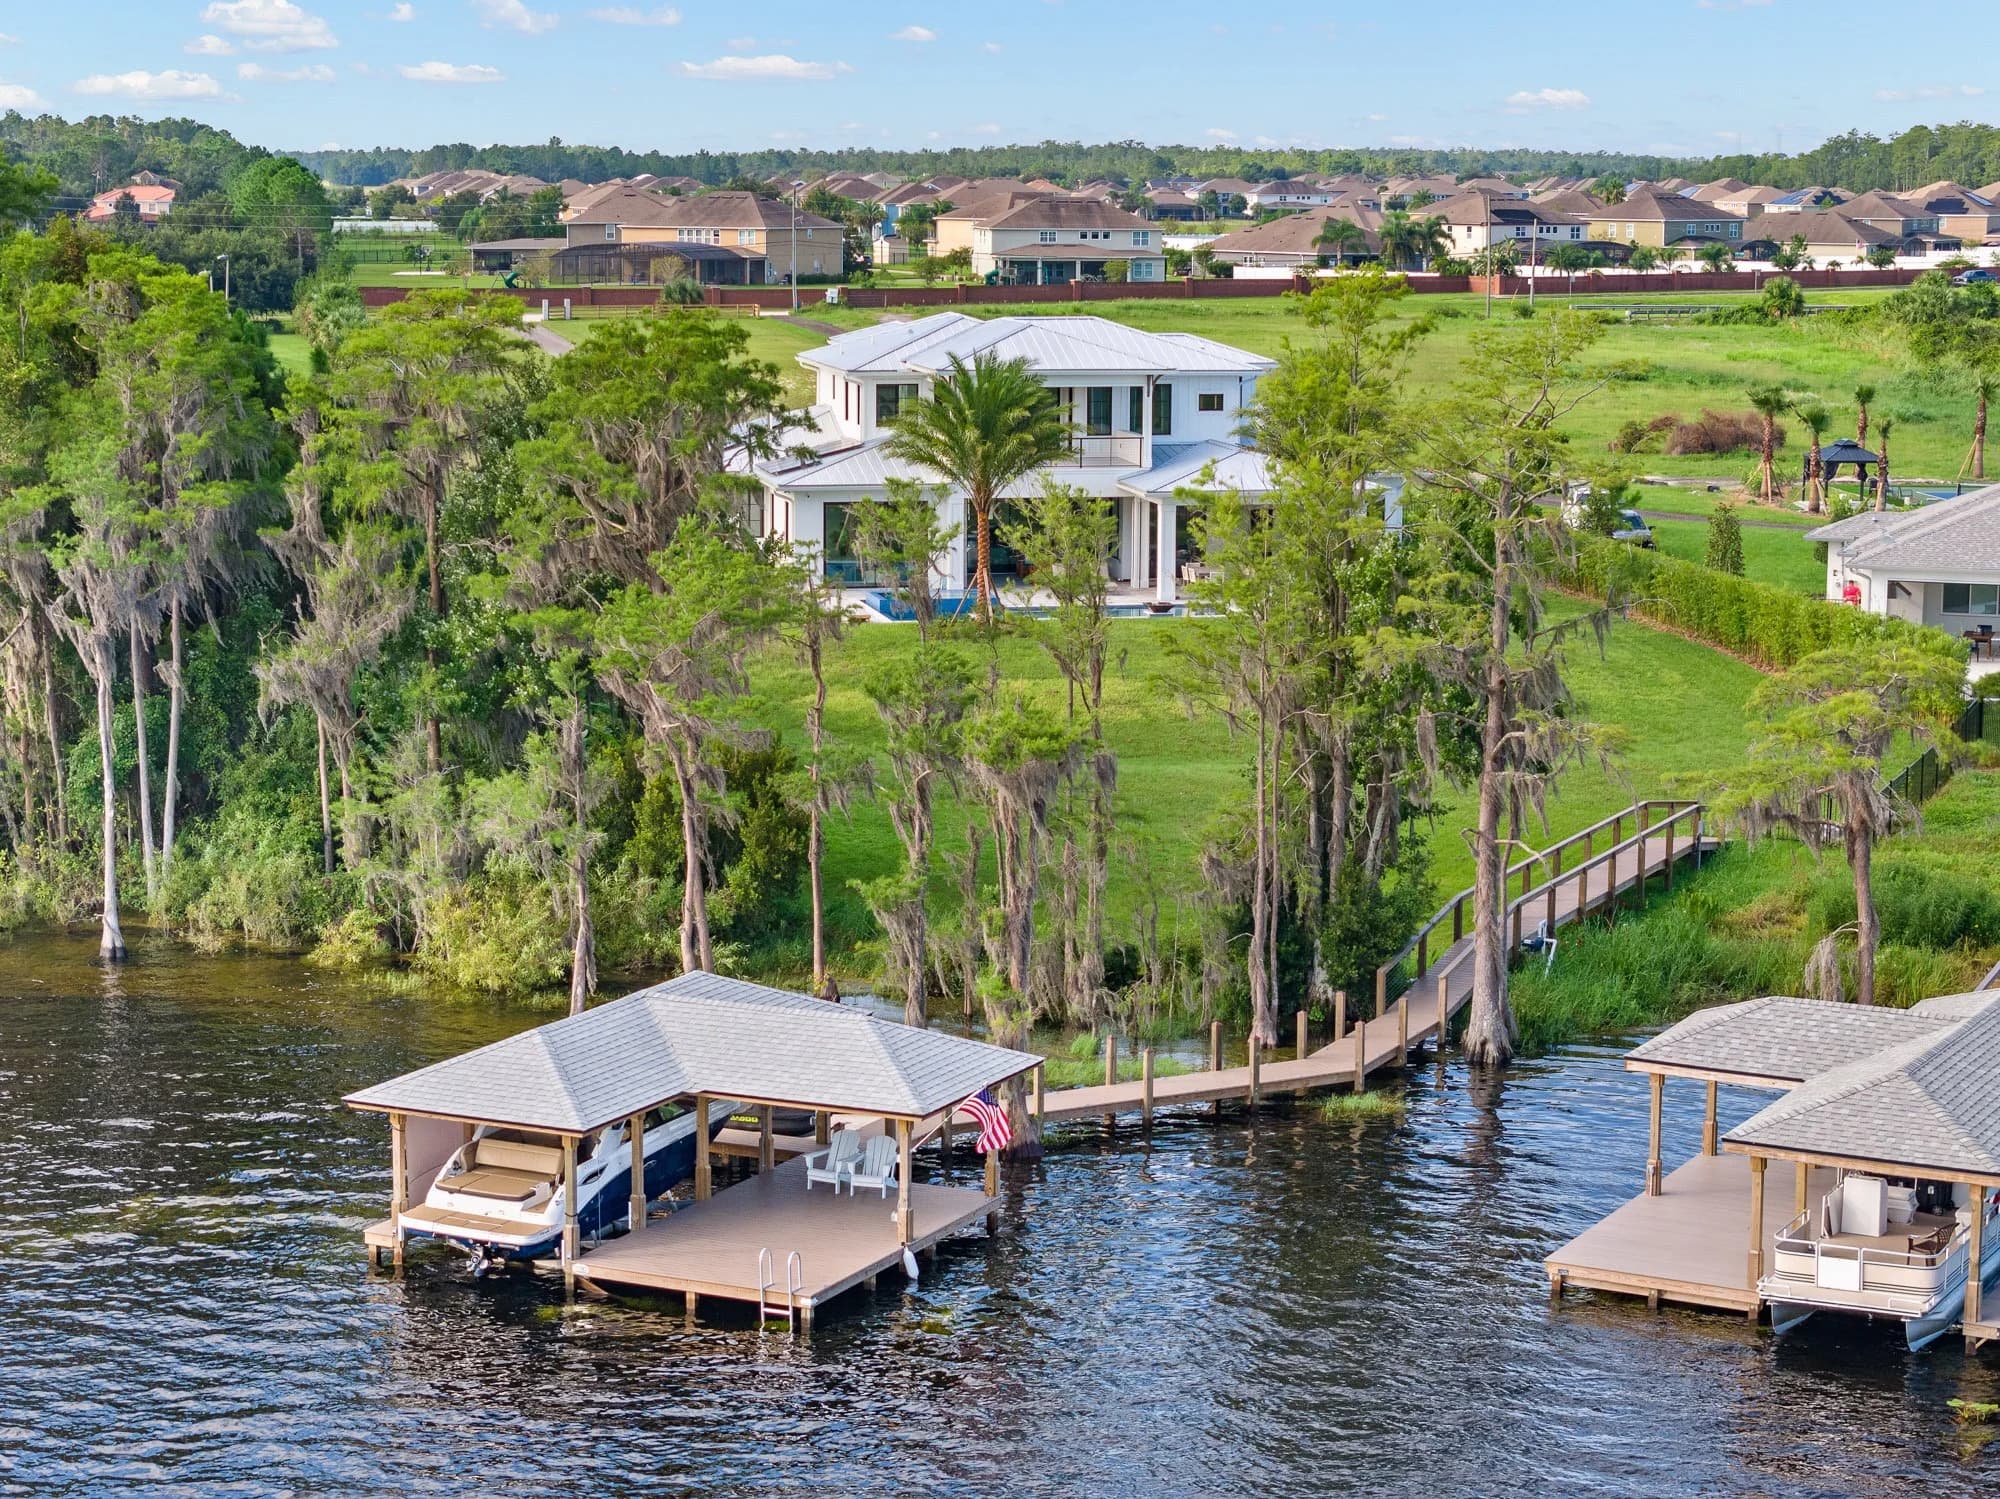
Commercial buyers and tenants care about context in a way home buyers often do not. An aerial can show in one frame what takes a paragraph to describe: the distance to the interstate, the anchor tenant next door, the depth of the truck court, the size of the parking field, or the open land behind the building.
Plan two kinds of aerial for most listings. A higher oblique view shows the property within its submarket, with landmarks and major roads a local broker will recognize. A lower frame shows the building itself, its roof, parking and access. For industrial and land listings, a straight-down view is useful for measuring and for annotation in an offering memorandum. Drone flights are done by an FAA Part 107 licensed pilot, and some sites near airports need authorization or cannot be flown, so share the address early. Our post on commercial real estate photography in Orlando walks through how that plays out across one metro's office, retail and industrial submarkets.
File sizes, resolution and why the platforms' own guidance wins
Each listing platform has its own upload limits, preferred dimensions and compression, and those details change. Rather than building a gallery around a number someone remembers, follow each platform's current help pages and keep two versions of every image:
- Web-ready files sized for listing platforms and email, in the landscape format the platforms display best.
- Full-resolution files for offering memorandums, print flyers, brochures and signage.
Uploading a huge file and letting the platform compress it can leave edges soft and skies banded. Uploading a tiny file looks worse on a large monitor, which is where many tenant reps work. The same problem shows up on residential portals, and our post on why listing photos look worse on portals explains what compression does and how to avoid it.
Small details that change the inquiry rate
- Lights on, blinds even: empty suites with half the lights off and uneven blinds look neglected.
- Clean glass and swept floors: storefronts and lobbies show every smudge.
- Cars and signs: move the dumpster, coordinate tenant parking if you can, and make sure leasing signs are current.
- Consistent edits: if a building has several suites listed, they should look like they came from one shoot.
- Captions: where the platform allows them, a short caption such as "Suite 210, second floor, east windows" does real work.
JRP photographs office, retail, industrial and land listings across Orlando, Tampa Bay, Austin and San Antonio, with stills, aerials, video and 3D tours from one crew. Delivery timing for commercial work is confirmed at booking, since the scope varies so much from a single suite to a multi-building campus. You can see how we approach this work on our commercial real estate photography page.
Ready to book? Call or text (689) 600-2131 or get in touch.