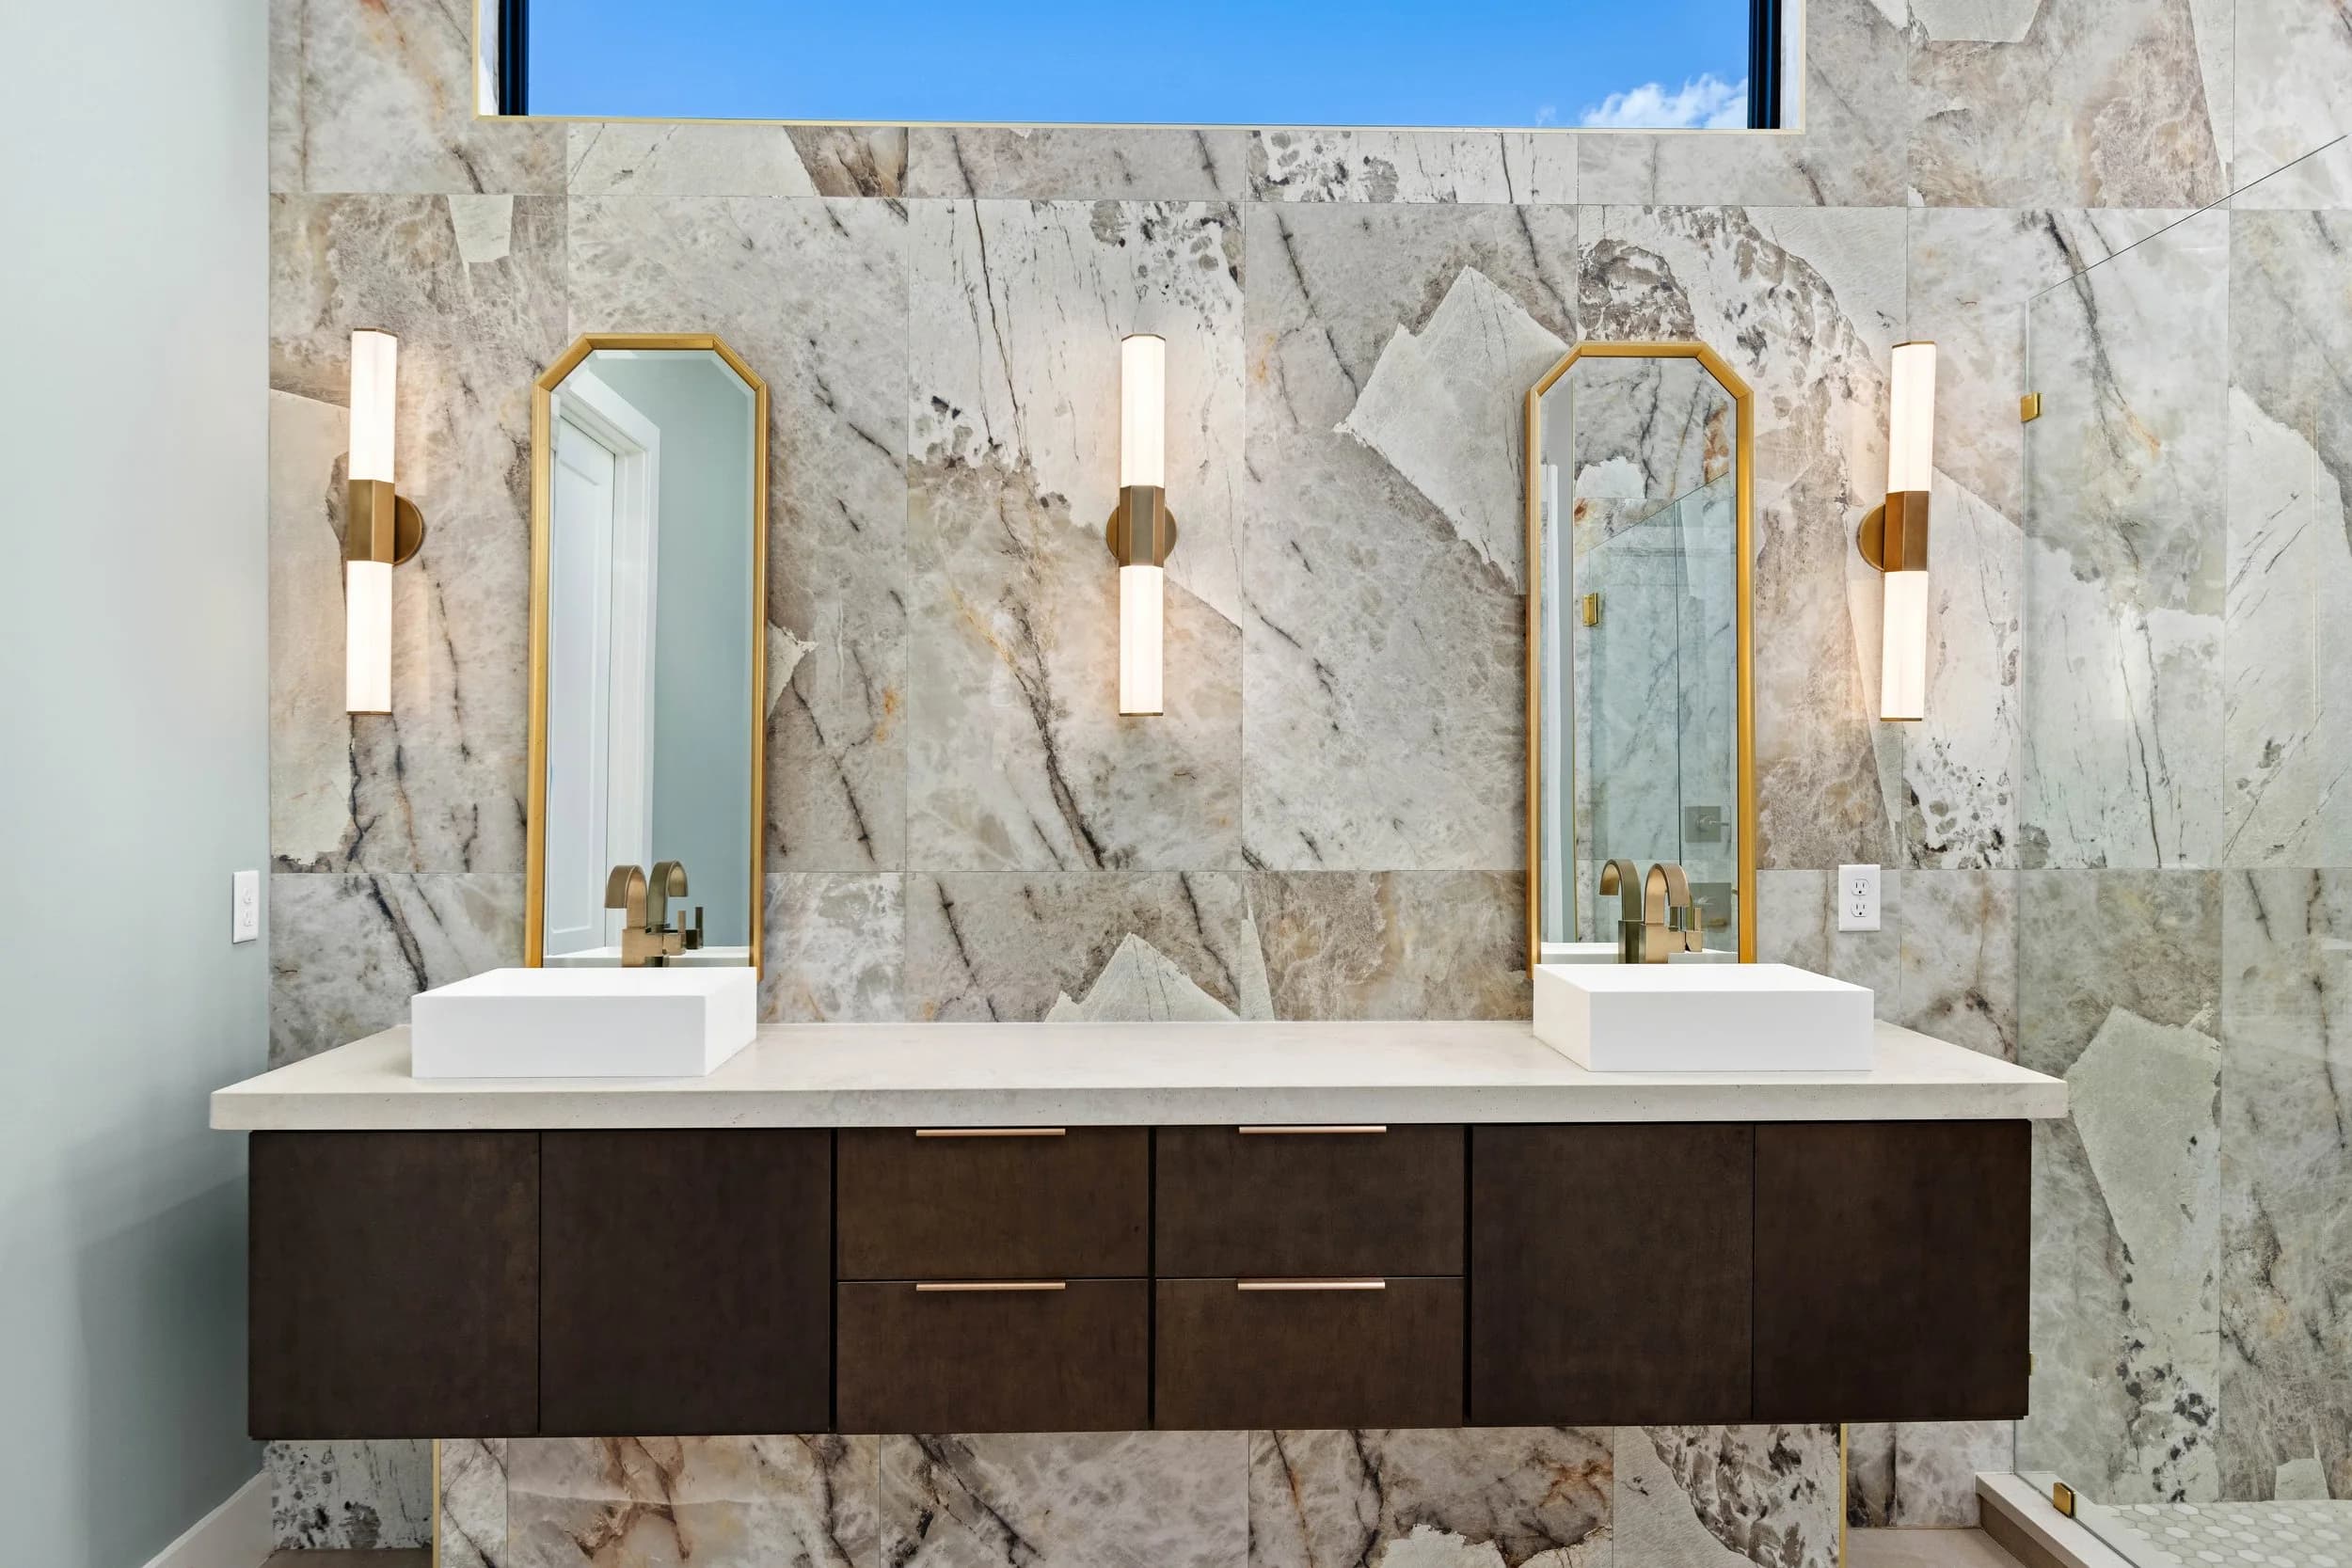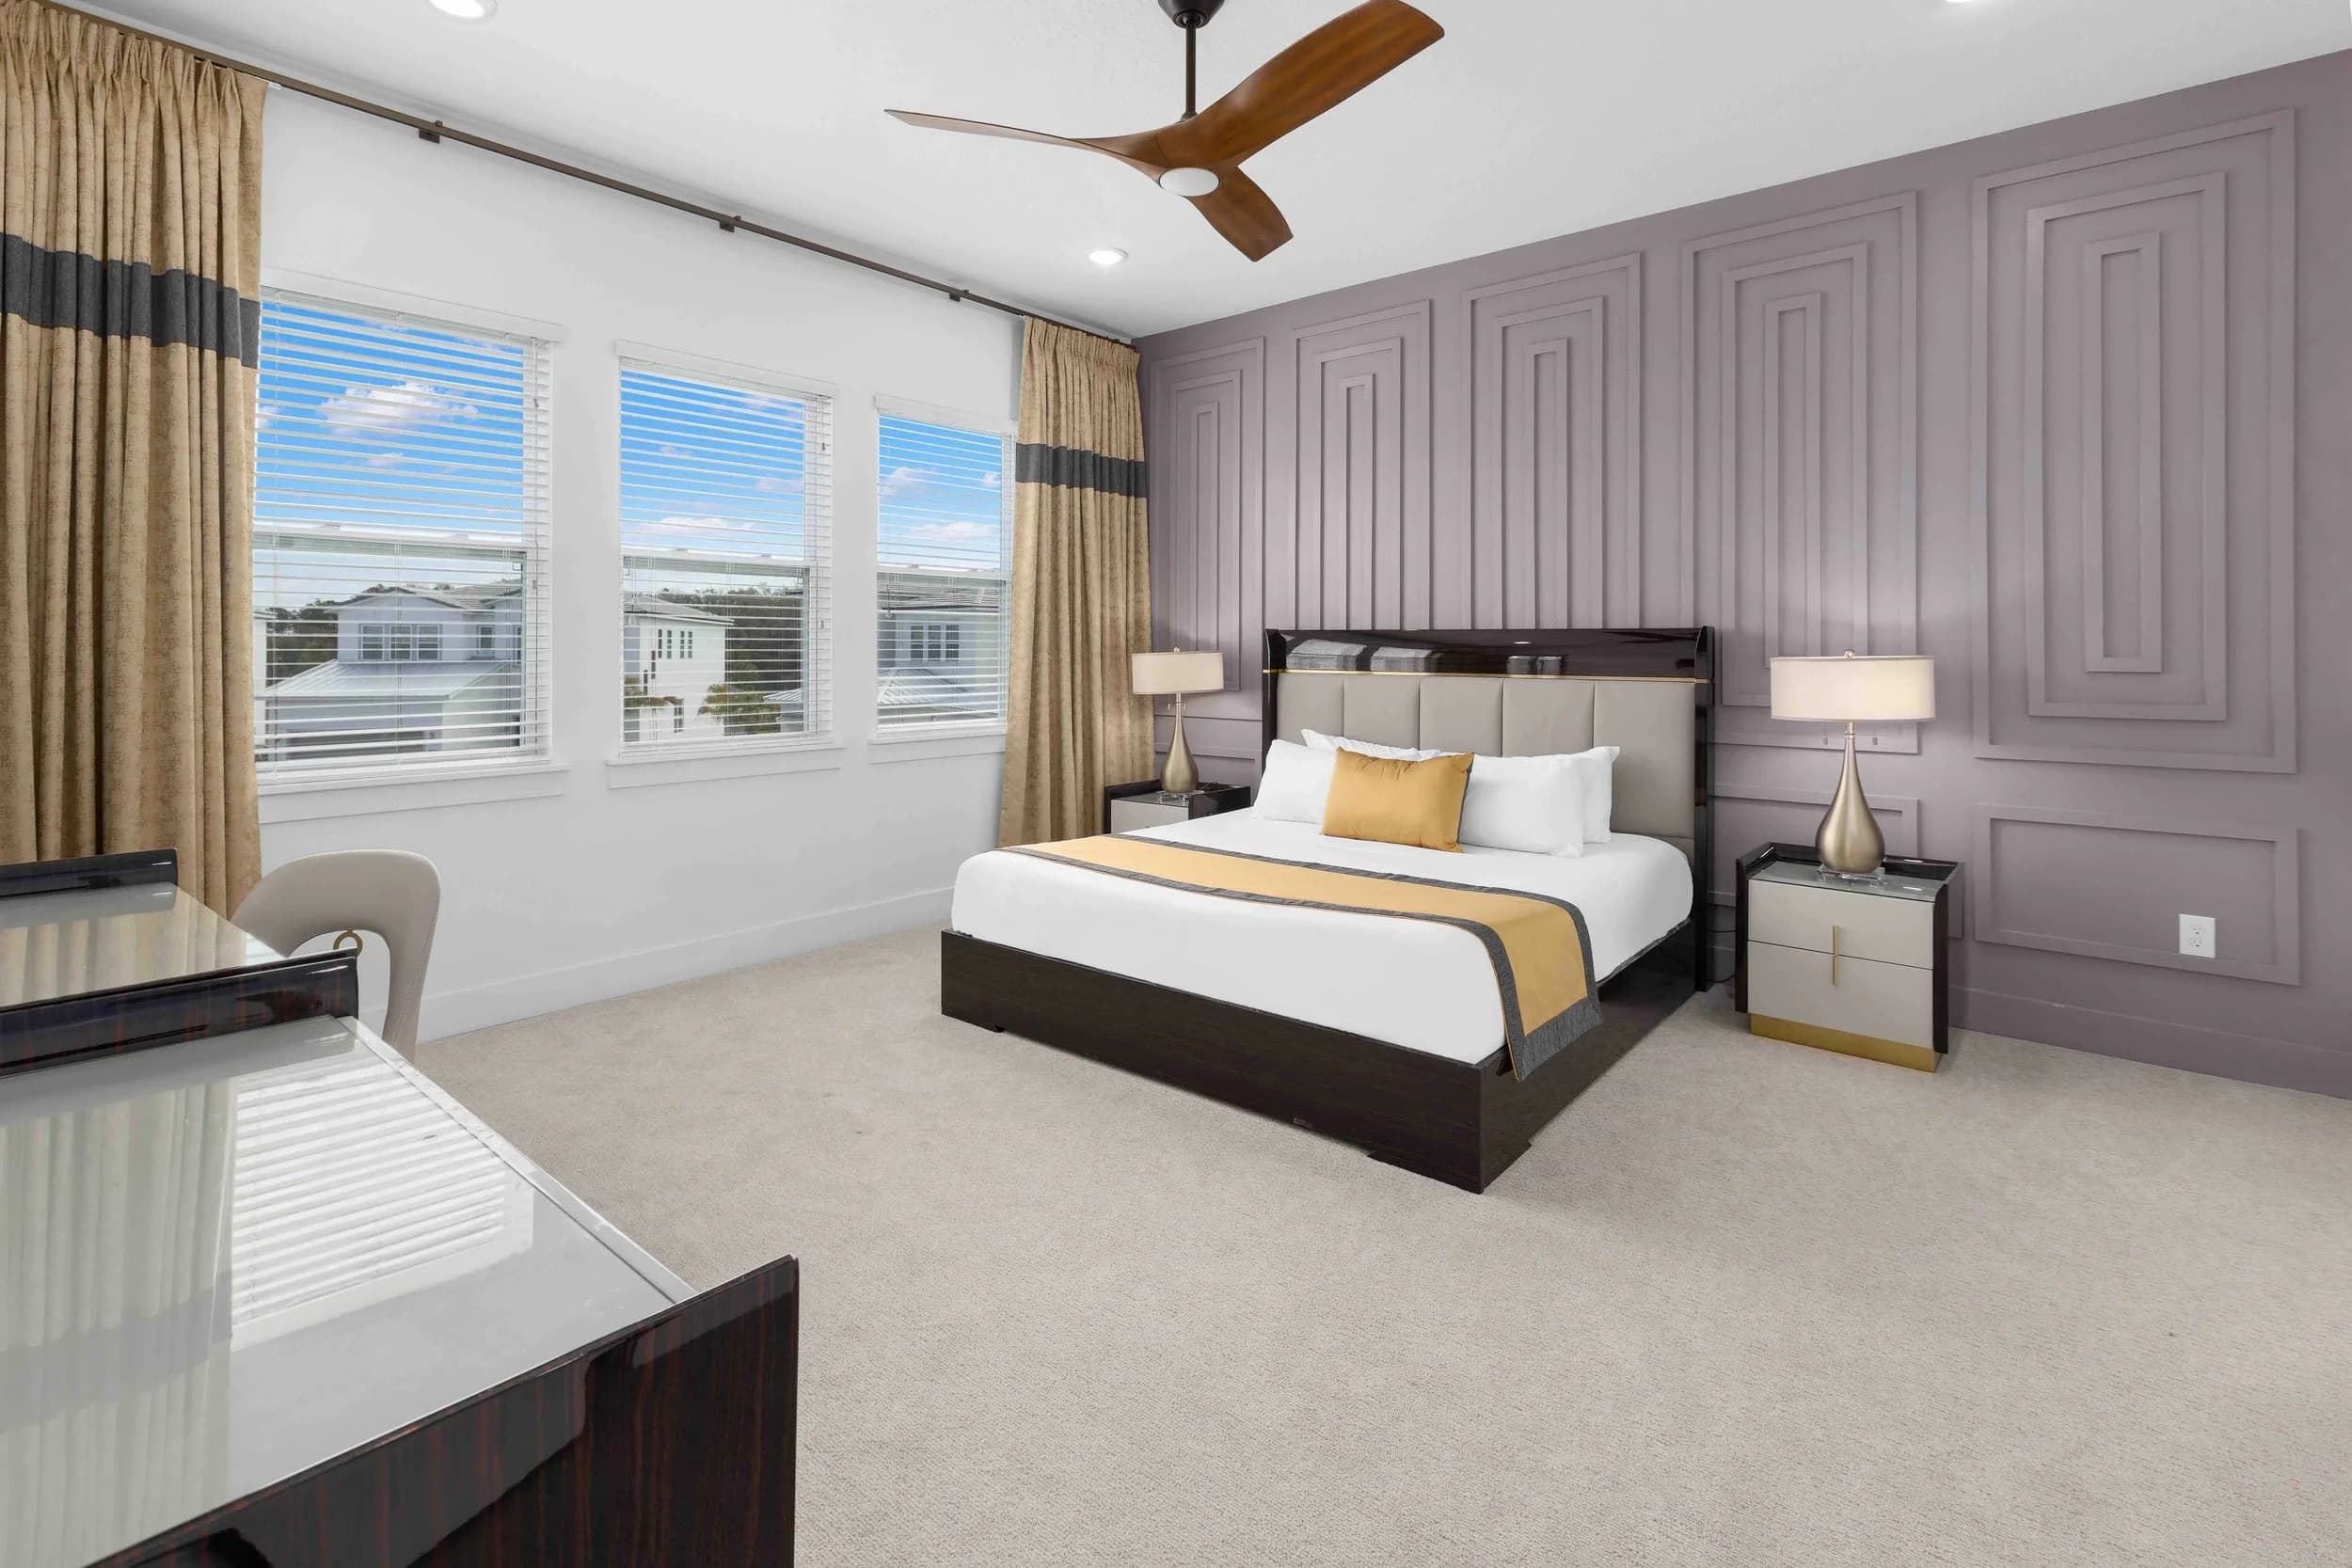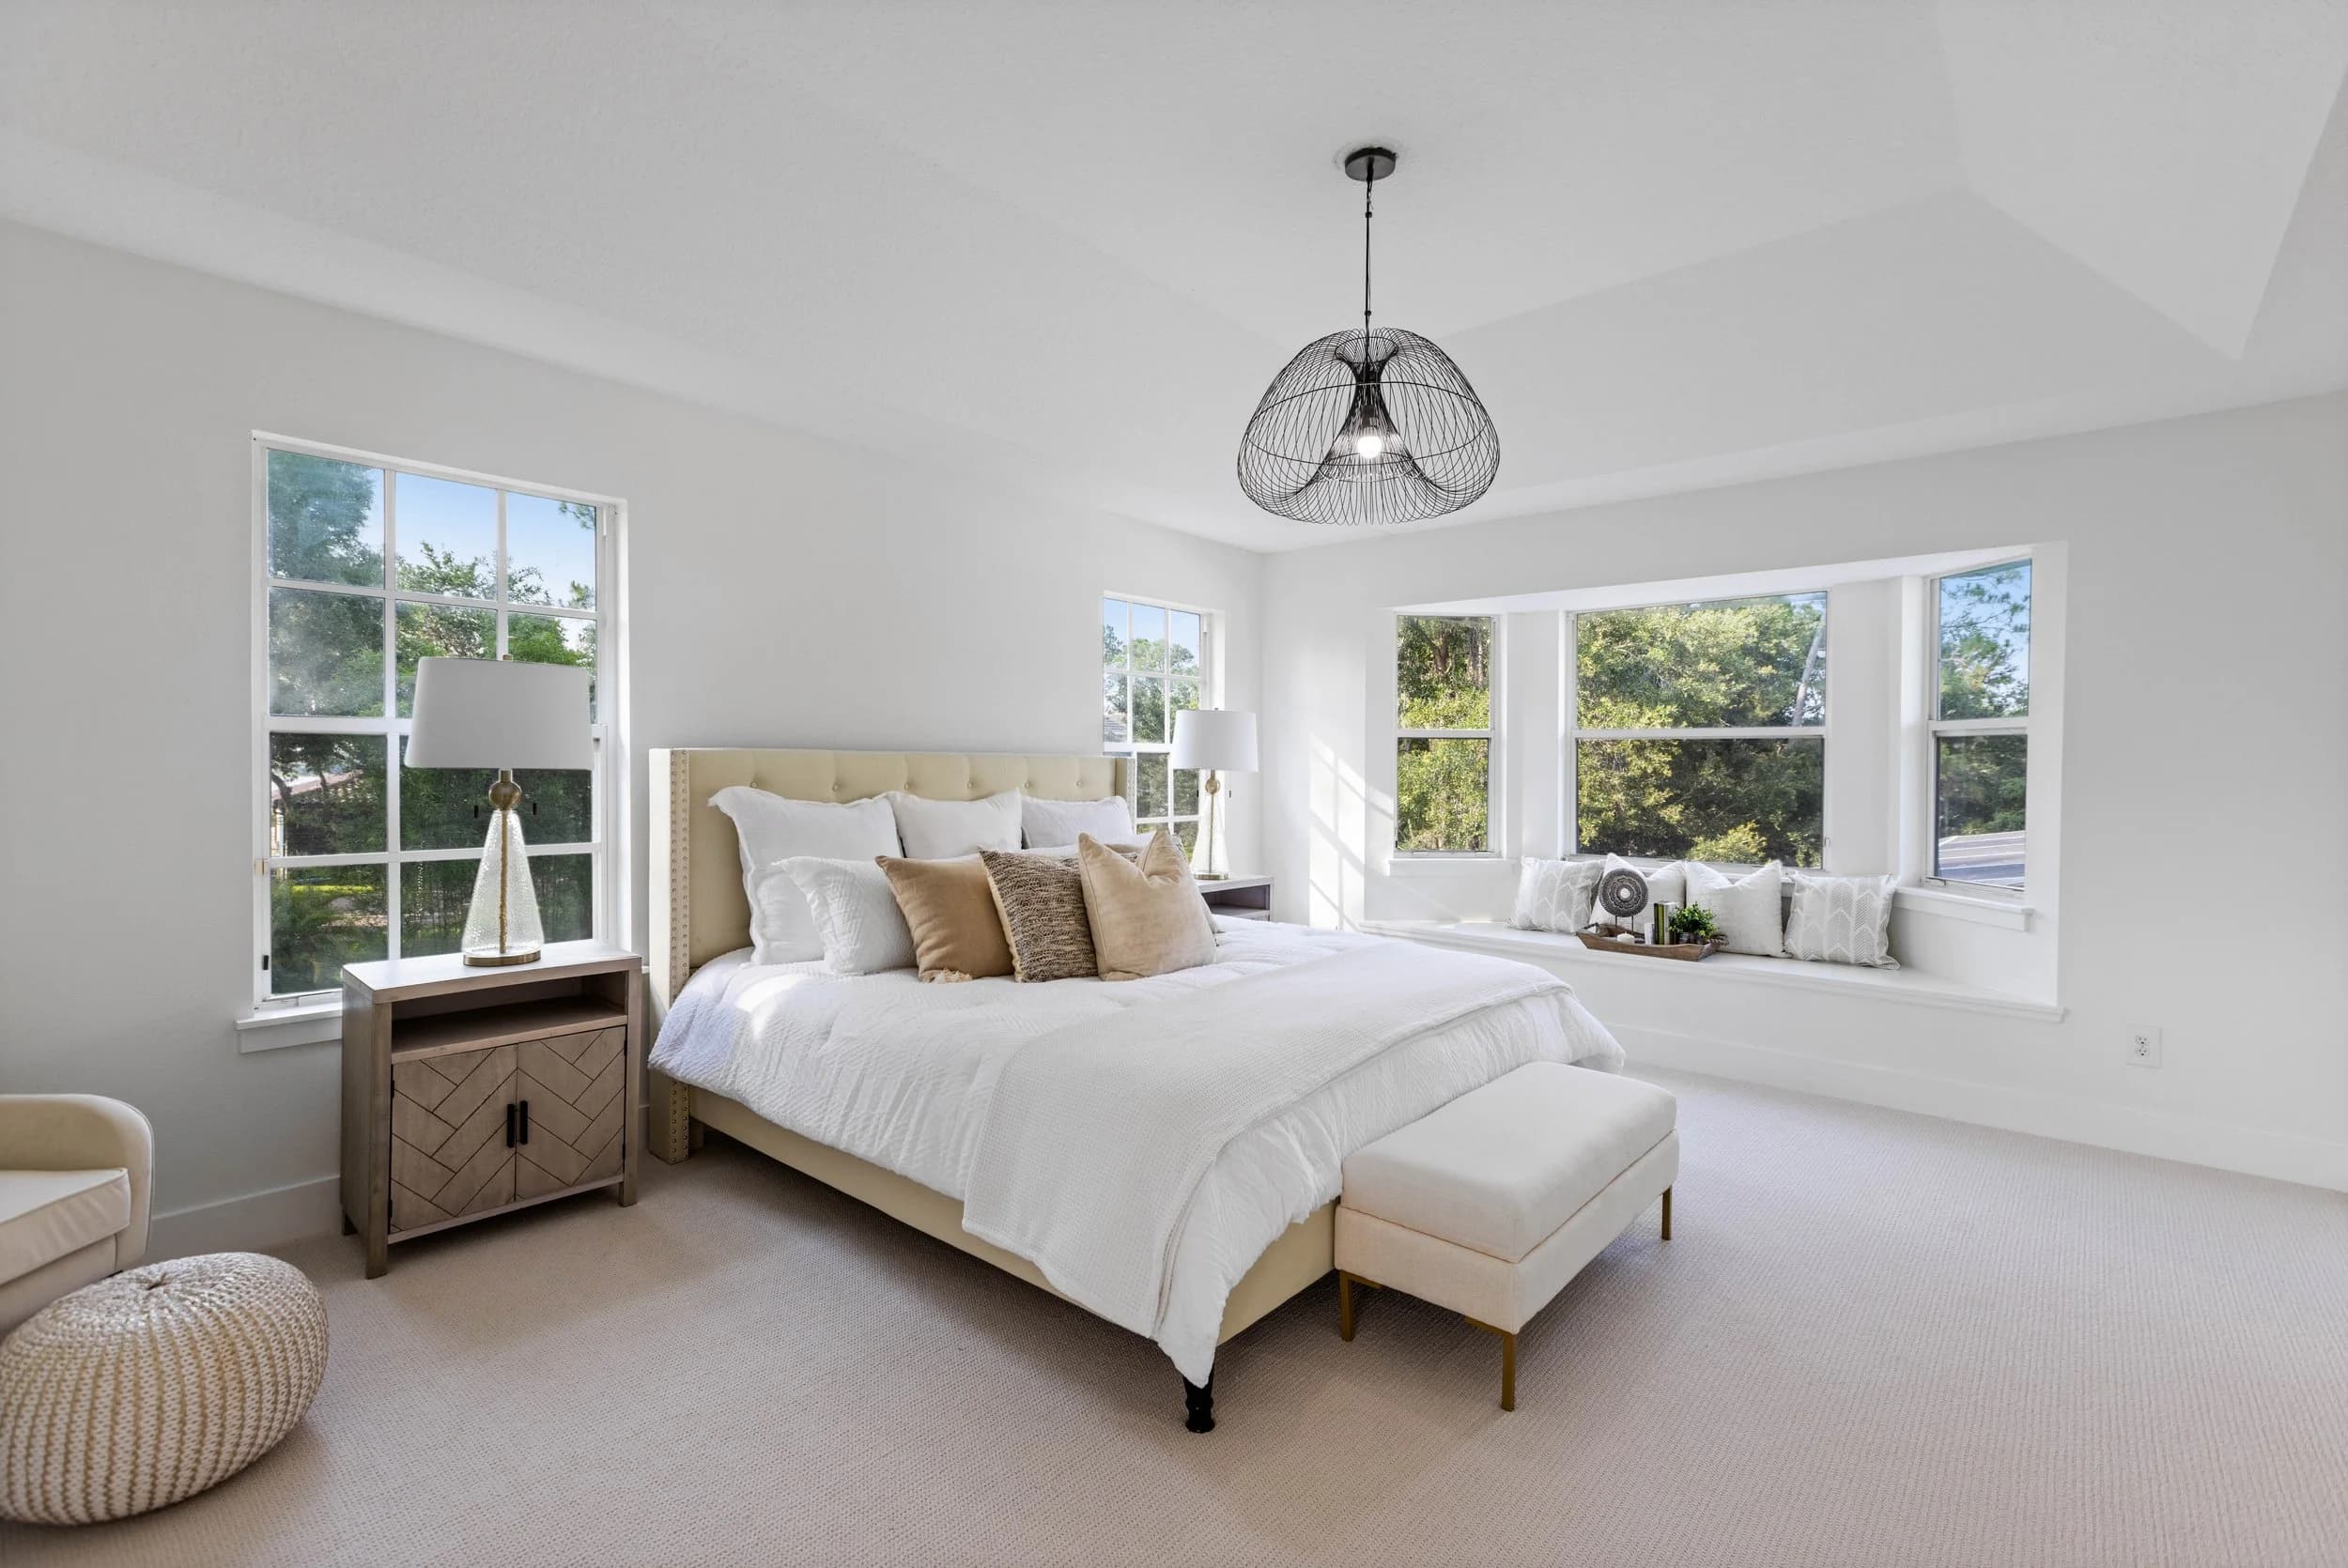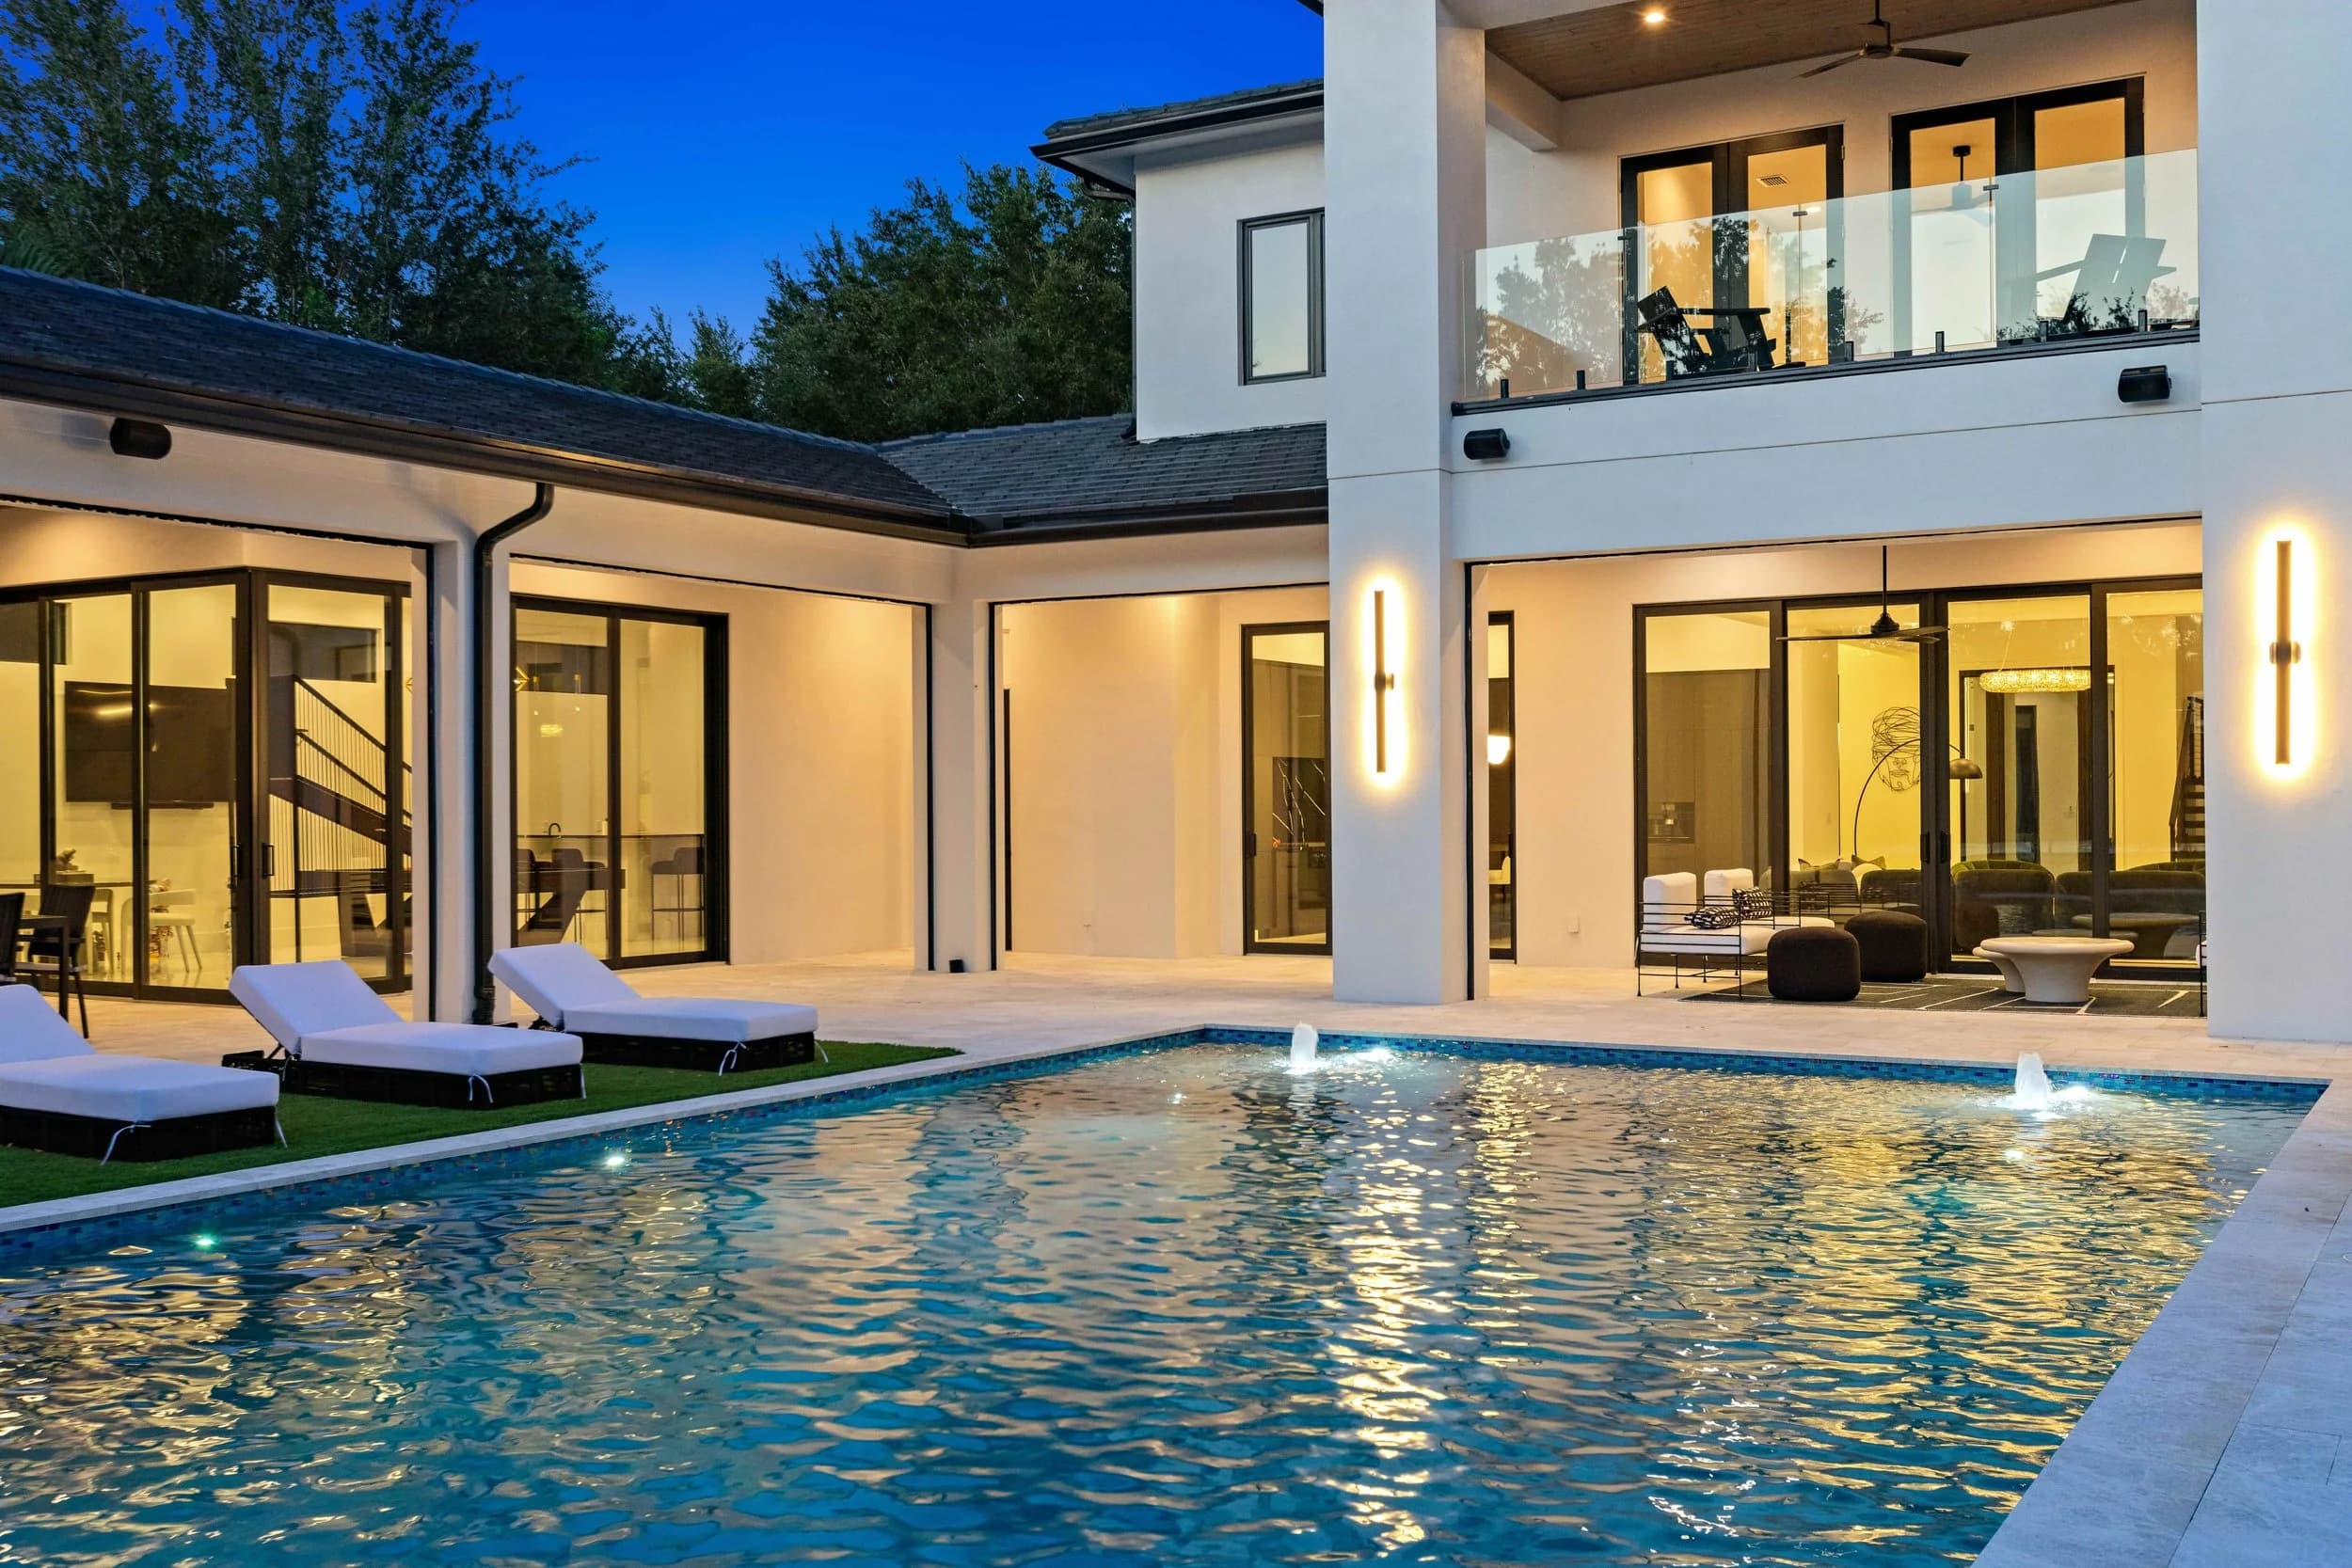
It sounds like a small question, and agents ask it on almost every shoot: should the lamps be on or off? The answer shapes the entire look of a gallery — and it depends on how the photographer works.
The Short Answer
Turn everything on before the photographer arrives. Every overhead, every lamp, every under-cabinet strip, every closet light. It is far easier for a photographer to turn a light off than to hunt down a switch panel in a dark hallway mid-shoot.
That said, lights on is not automatically the right final look. Whether those lights end up in the delivered image depends on the technique being used.
Why Photographers Disagree About This
There are two dominant approaches to interior real estate photography, and they treat artificial light differently.
Bracketed or HDR shooting captures several exposures of the same frame and blends them. Room lights are usually left on, because the warm glow from lamps reads as inviting and helps balance bright windows. The tradeoff is mixed color temperature: warm bulbs, cool daylight, and green-tinted fluorescents in the same room pull the white balance in three directions at once.
Flash-based shooting adds a controlled burst of neutral light to the room. Many flash photographers turn practical lights off so the color stays clean and consistent across the gallery, then selectively blend the lamp glow back in during editing where it adds warmth.
Neither method is objectively better. What matters is that a single listing gallery looks consistent from photo to photo — the same room should not be warm in one frame and blue in the next.
The Bulb Problem Nobody Warns Sellers About
The most common lighting issue on a shoot is not whether lights are on. It is that the bulbs do not match. Typical problem cases:
A kitchen with three warm bulbs and one daylight-white replacement in the same fixture.
Recessed cans at 2700K next to under-cabinet LEDs at 5000K.
A dead bulb in a chandelier, instantly visible in a wide shot.
Color-changing smart bulbs left on a tint from movie night.
A garage or laundry with a bare fluorescent tube casting green across everything.
Any of these force extra editing time and can still leave a photo looking slightly off. If a seller wants one cheap, high-impact prep task, it is this: replace burned-out bulbs and match color temperature within each room. Soft white, roughly 2700K to 3000K, is the safest choice for living spaces.
Ceiling Fans, Blinds, and the Rest of the Checklist
Lighting decisions extend past the switches:
Turn ceiling fans off. Spinning blades photograph as a gray blur and make a room look unfinished.
Open blinds and curtains to a consistent angle throughout the house. Slats half-open in one room and fully open in the next makes a gallery look sloppy.
Clean the windows if the view matters. Every smudge shows once a window is properly exposed.
Turn off televisions and monitors. A black screen is neutral; a screensaver is a distraction and can reflect the camera.
Switch on exterior lights for twilight shots — porch fixtures, path lights, landscape uplighting, and pool lights.
Check the range hood light and appliance displays. A microwave clock blinking 12:00 is a small tell that the home is not move-in ready.
What Window Pulls Are and Why They Matter
If a home has a view — water, golf course, conservation, or a downtown skyline — ask whether the photographer does window pulls.
A window pull is an extra exposure taken specifically for what is outside the glass, then blended into the final image. Without it, a properly lit interior turns the windows into blank white rectangles, and the view the seller paid a premium for simply disappears from the marketing.
For waterfront and view properties in Orlando and Tampa Bay, window pulls are not a luxury add-on. They are the difference between a photo that says living room and one that says living room overlooking the lake.
A Simple Pre-Shoot Lighting Routine
Give this to sellers the day before:
Replace any burned-out bulbs and match bulb color within each room.
Turn on every interior light, including closets and the pantry.
Turn off all ceiling fans.
Open all blinds to the same angle and pull sheer curtains back evenly.
Turn off televisions and monitors.
Wipe down windows in the main living spaces.
If a twilight shoot is booked, confirm exterior and pool lighting works.
It takes about twenty minutes and it removes almost every lighting problem before the photographer walks in.
The Bottom Line
Lights on or off is really a question about consistency. Warm, even, intentional light makes a home feel lived-in and cared for. Mixed bulbs, dead fixtures, and spinning fans make it feel neglected — and buyers scrolling a listing feed register that in a fraction of a second, even if they could not name why.
Turn everything on, match the bulbs, kill the fans, and let the photographer decide the rest.
Ready to book? Get in touch or call us — we serve Orlando, Tampa Bay, and Central Texas.