Before-and-after posts are some of the most saved and shared content an interior designer can publish. A dated kitchen next to the finished room tells the story of the project in one swipe, and potential clients understand right away what the designer changed. But a good before-and-after is planned. The best ones start before demolition, with matching angles, clear permission from the homeowner and a finished set photographed to line up with the originals. Here is how designers in Orlando, Tampa Bay, Austin and San Antonio can plan before-and-after photos for social media.
This post is about design projects and social content. If you renovate properties as an investor, our guide to before-and-after photography for investors and renovators covers documentation for resale and lenders.
Capture the before properly
Most weak before-and-afters fail at the start. The before photo is a phone snapshot taken from wherever the designer happened to stand, and the finished room is shot from a different corner by a professional. The two never line up, and the comparison loses its punch.
- Choose the angles that will matter. Think about the finished room's best views and photograph the before from those same spots: the doorway view, the corner that shows two walls, the view toward the window.
- Mark where you stood. Note the position and camera height for each frame, or take a wide phone photo showing where the tripod or phone was.
- Keep it honest. Do not stage the before to look worse than it was. Clutter and dim light are part of the story, but an exaggerated before undermines trust in the after.
- Shoot horizontal and vertical. Social platforms favor vertical frames, while your website and portfolio may use horizontal ones. Capture both.
Get permission before you post
Homeowners usually love seeing their finished home, but a before photo shows how they lived, and some clients would rather not share it. Agree on photo use at the start of the project, ideally in your contract, and confirm before posting.
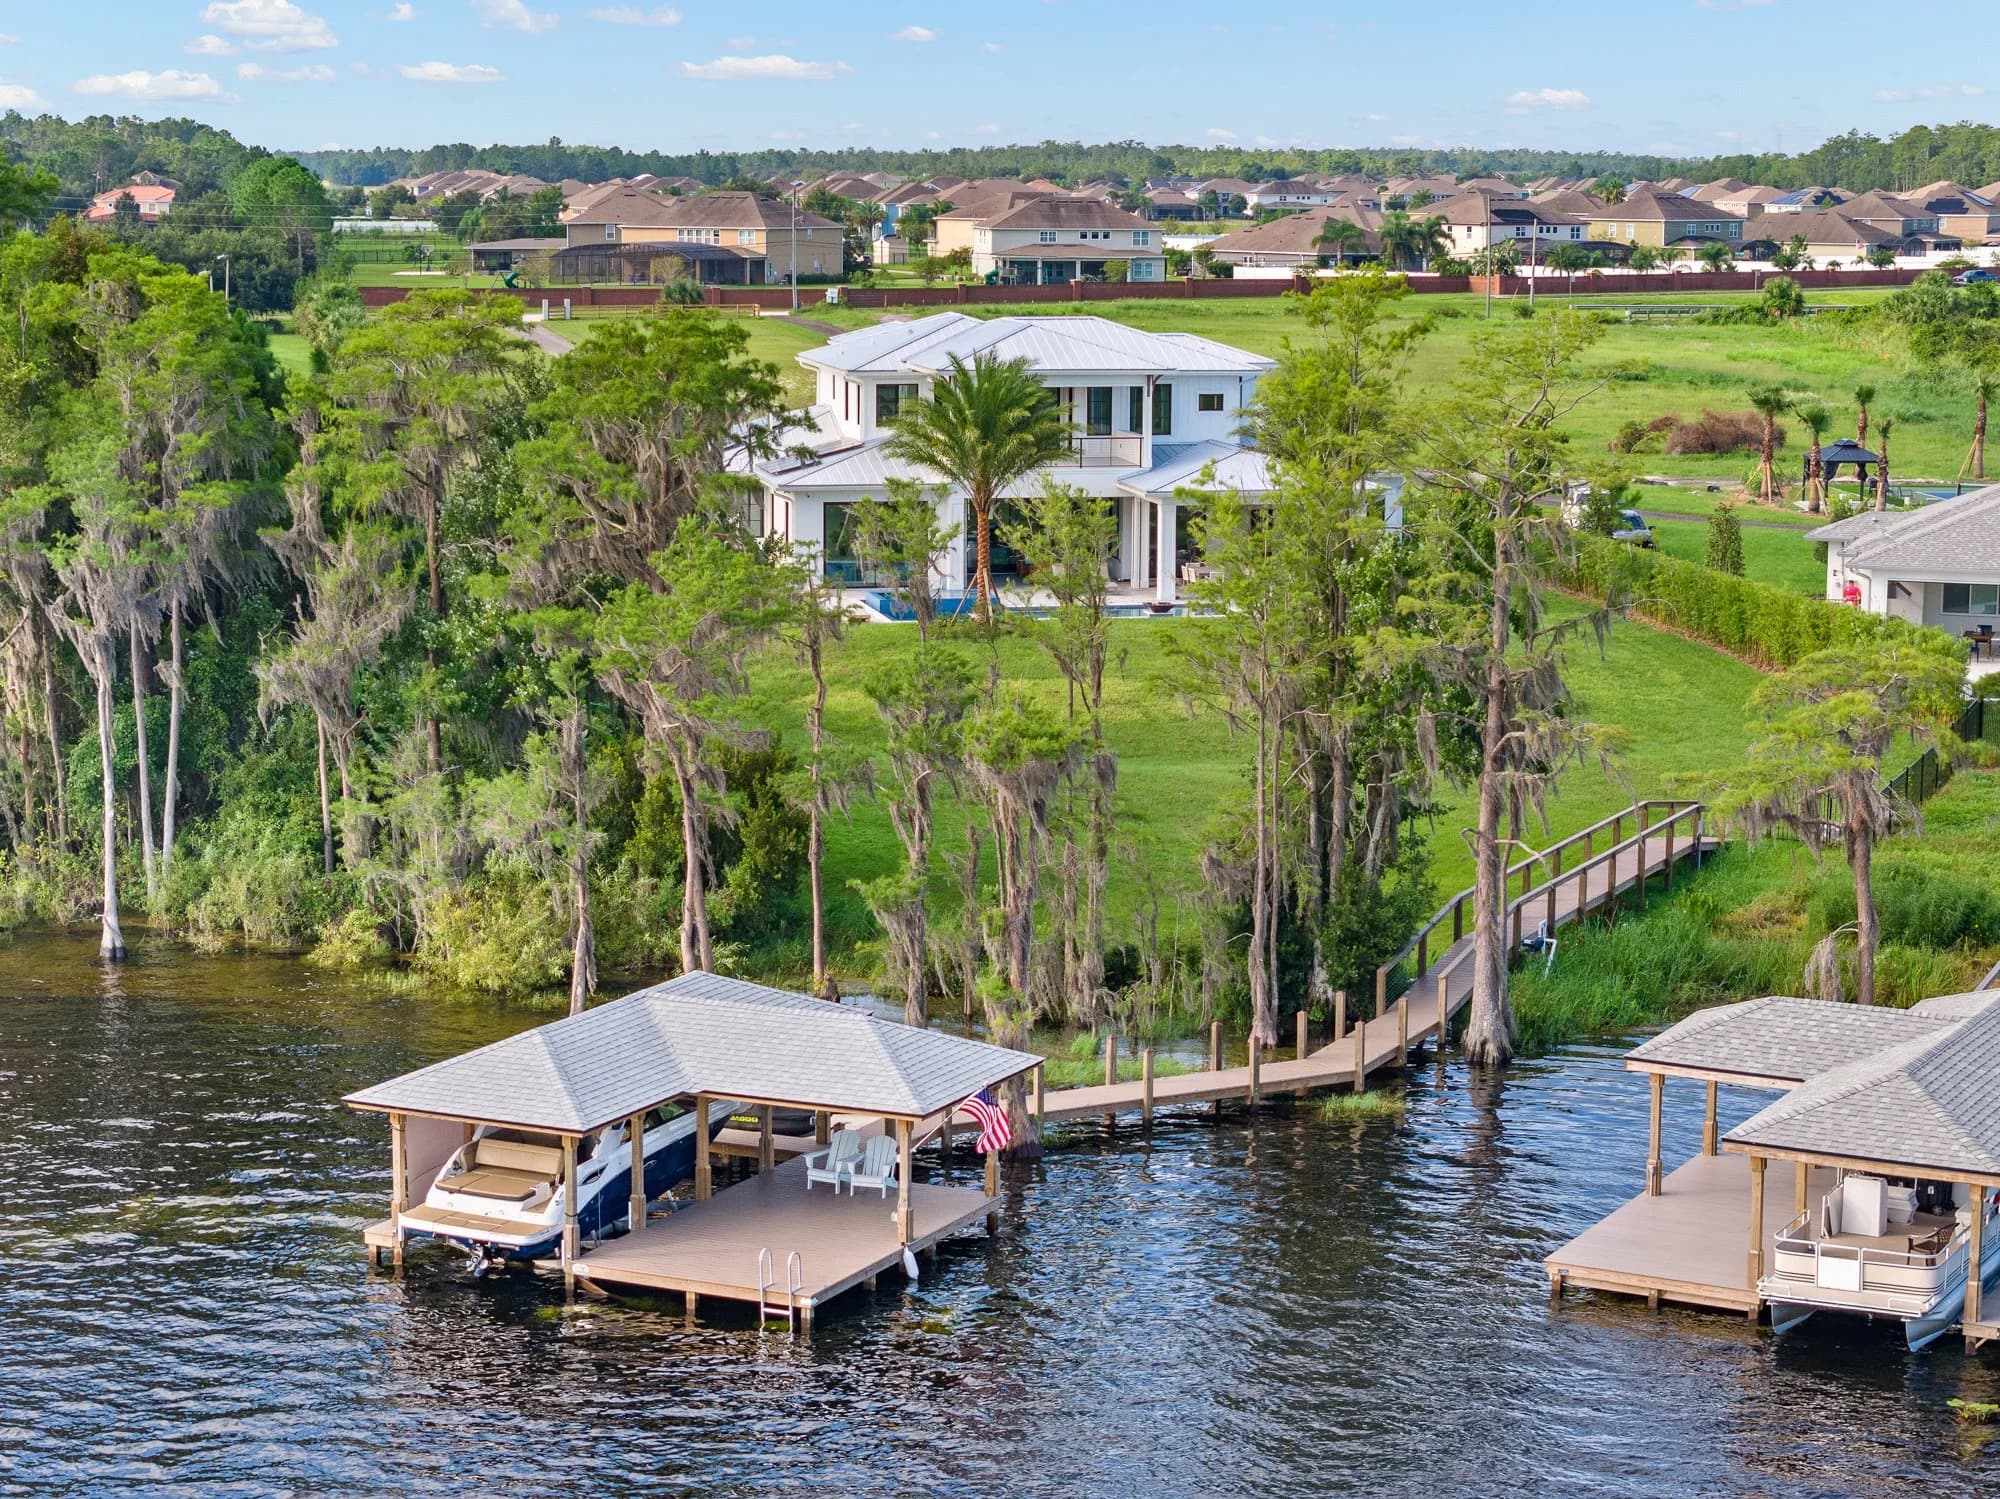
- Ask whether the homeowner wants the location kept general. "A lakefront home in Winter Park" is very different from a street name.
- Remove family photos, names, mail, documents, and anything visible through windows that identifies the house.
- Confirm who owns and can use the professional after photos. If you hire a photographer, the license should cover social media, your website and award submissions.
Photograph the after to match
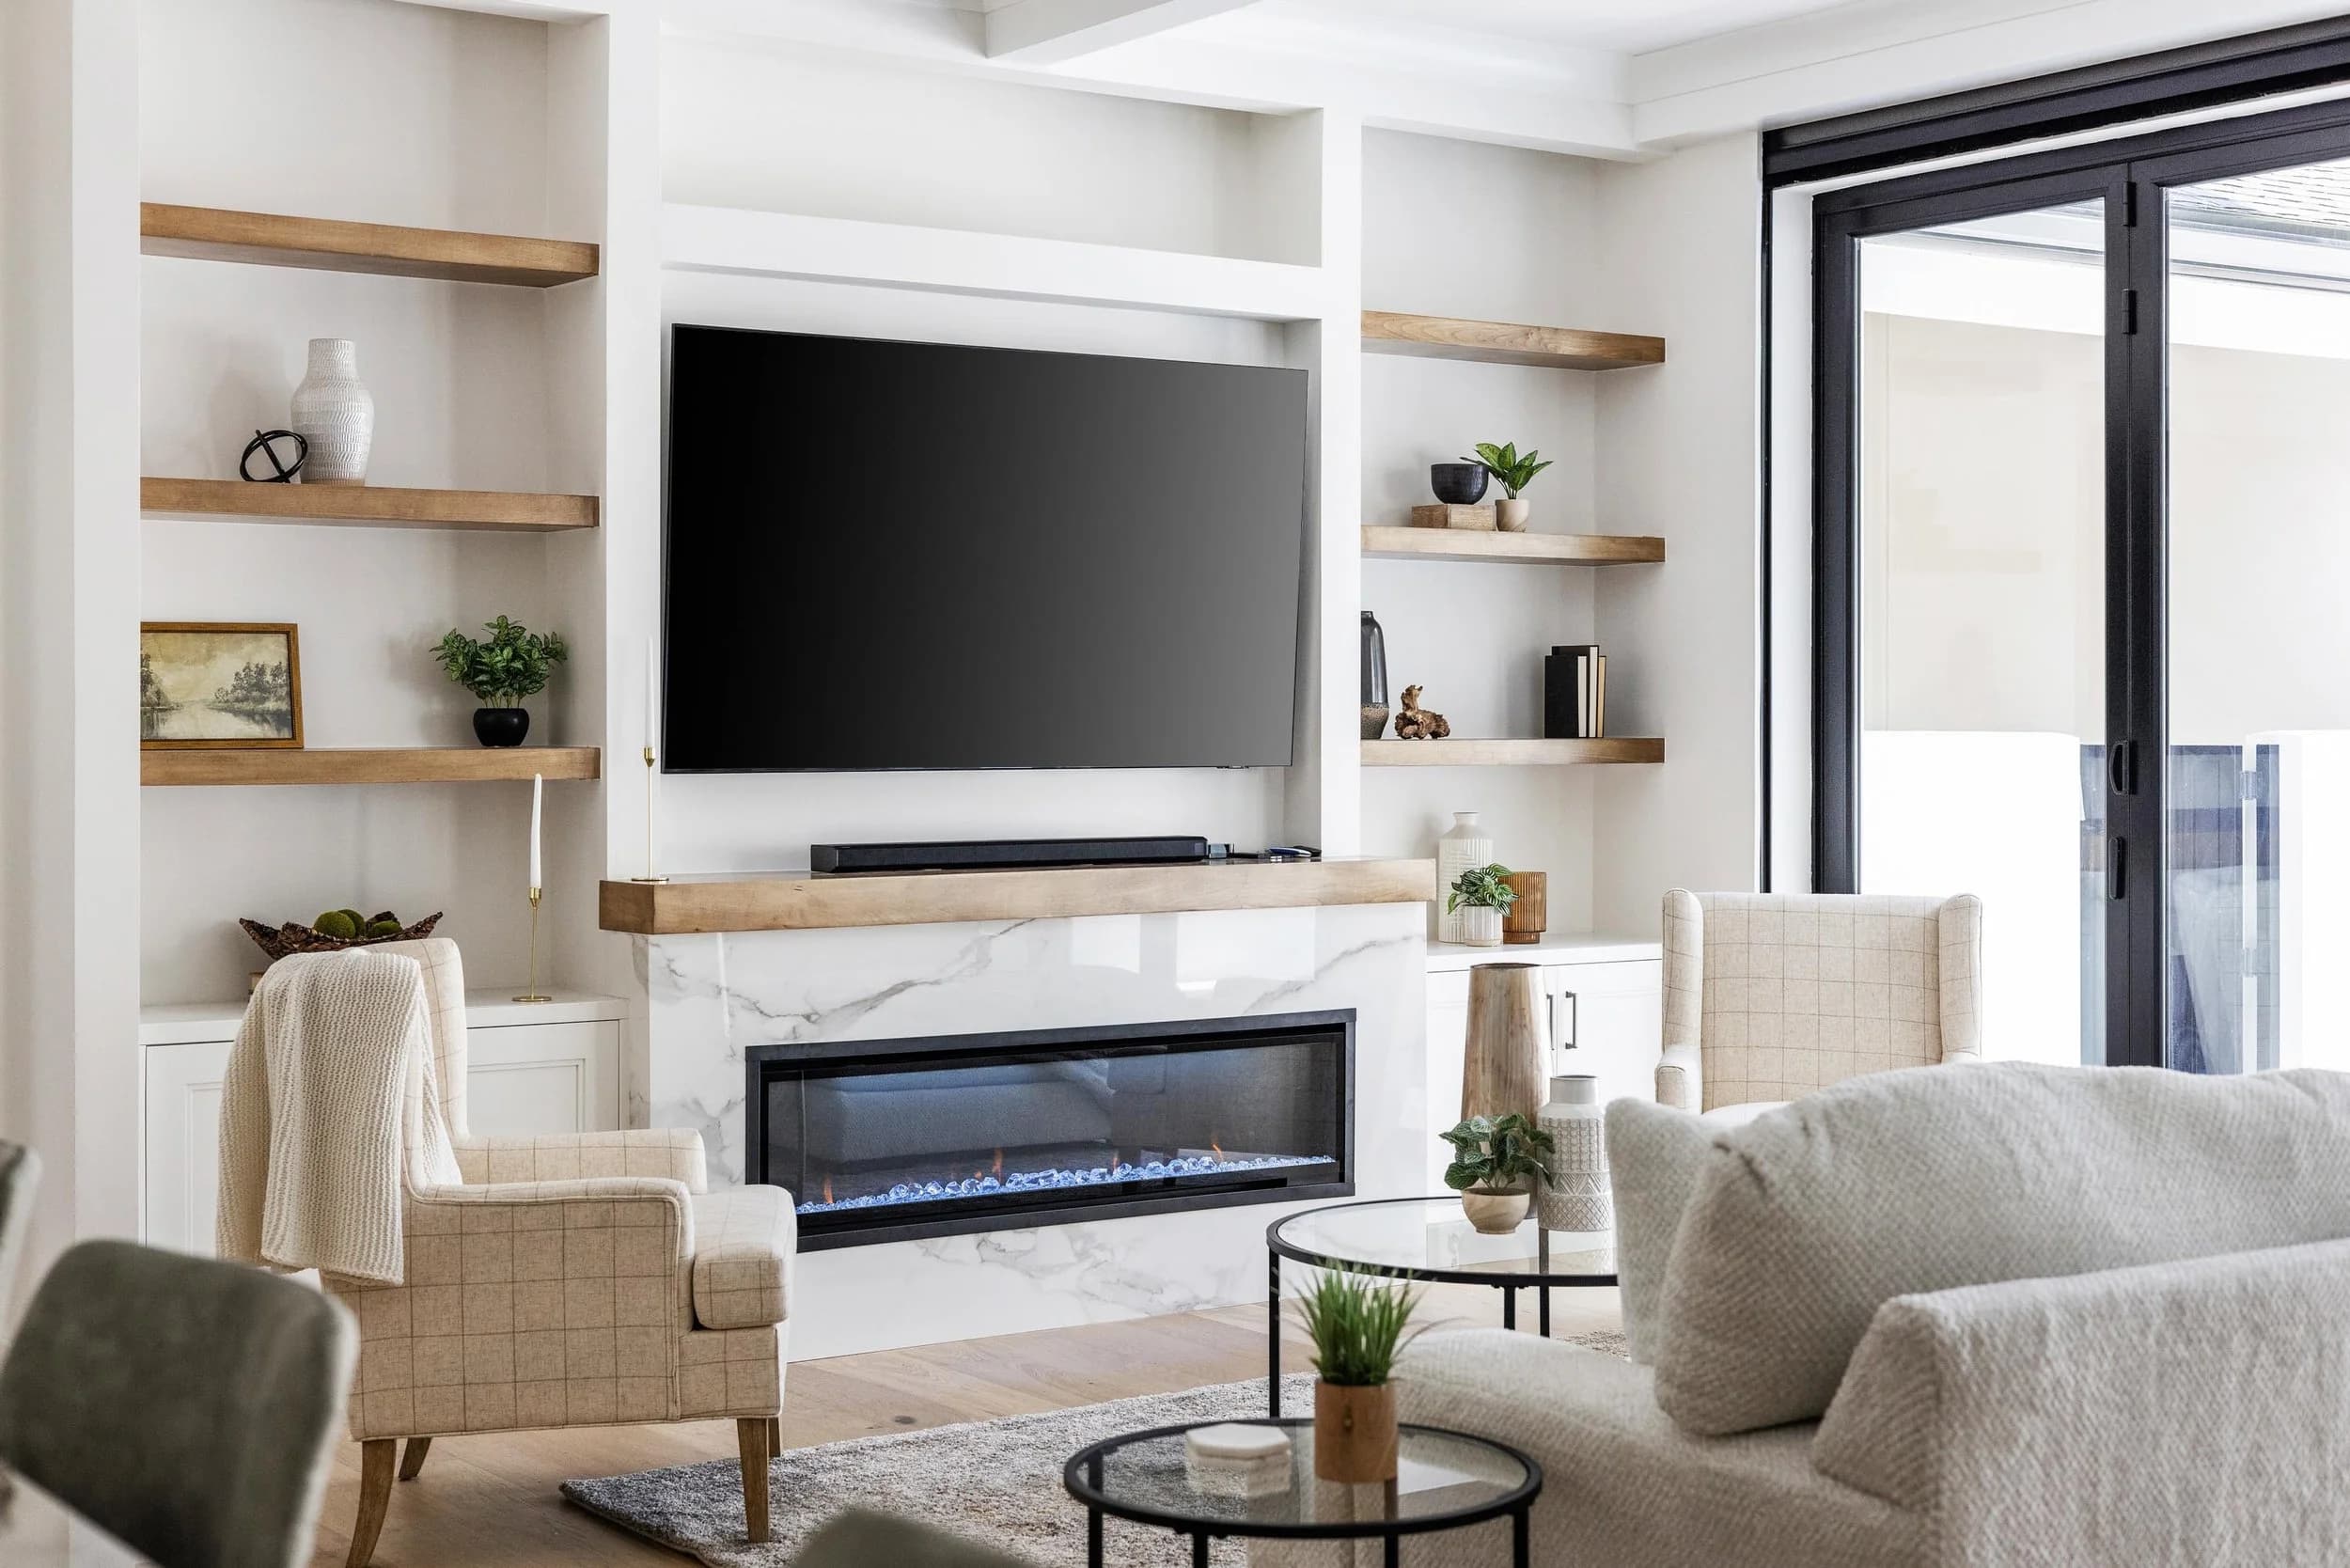
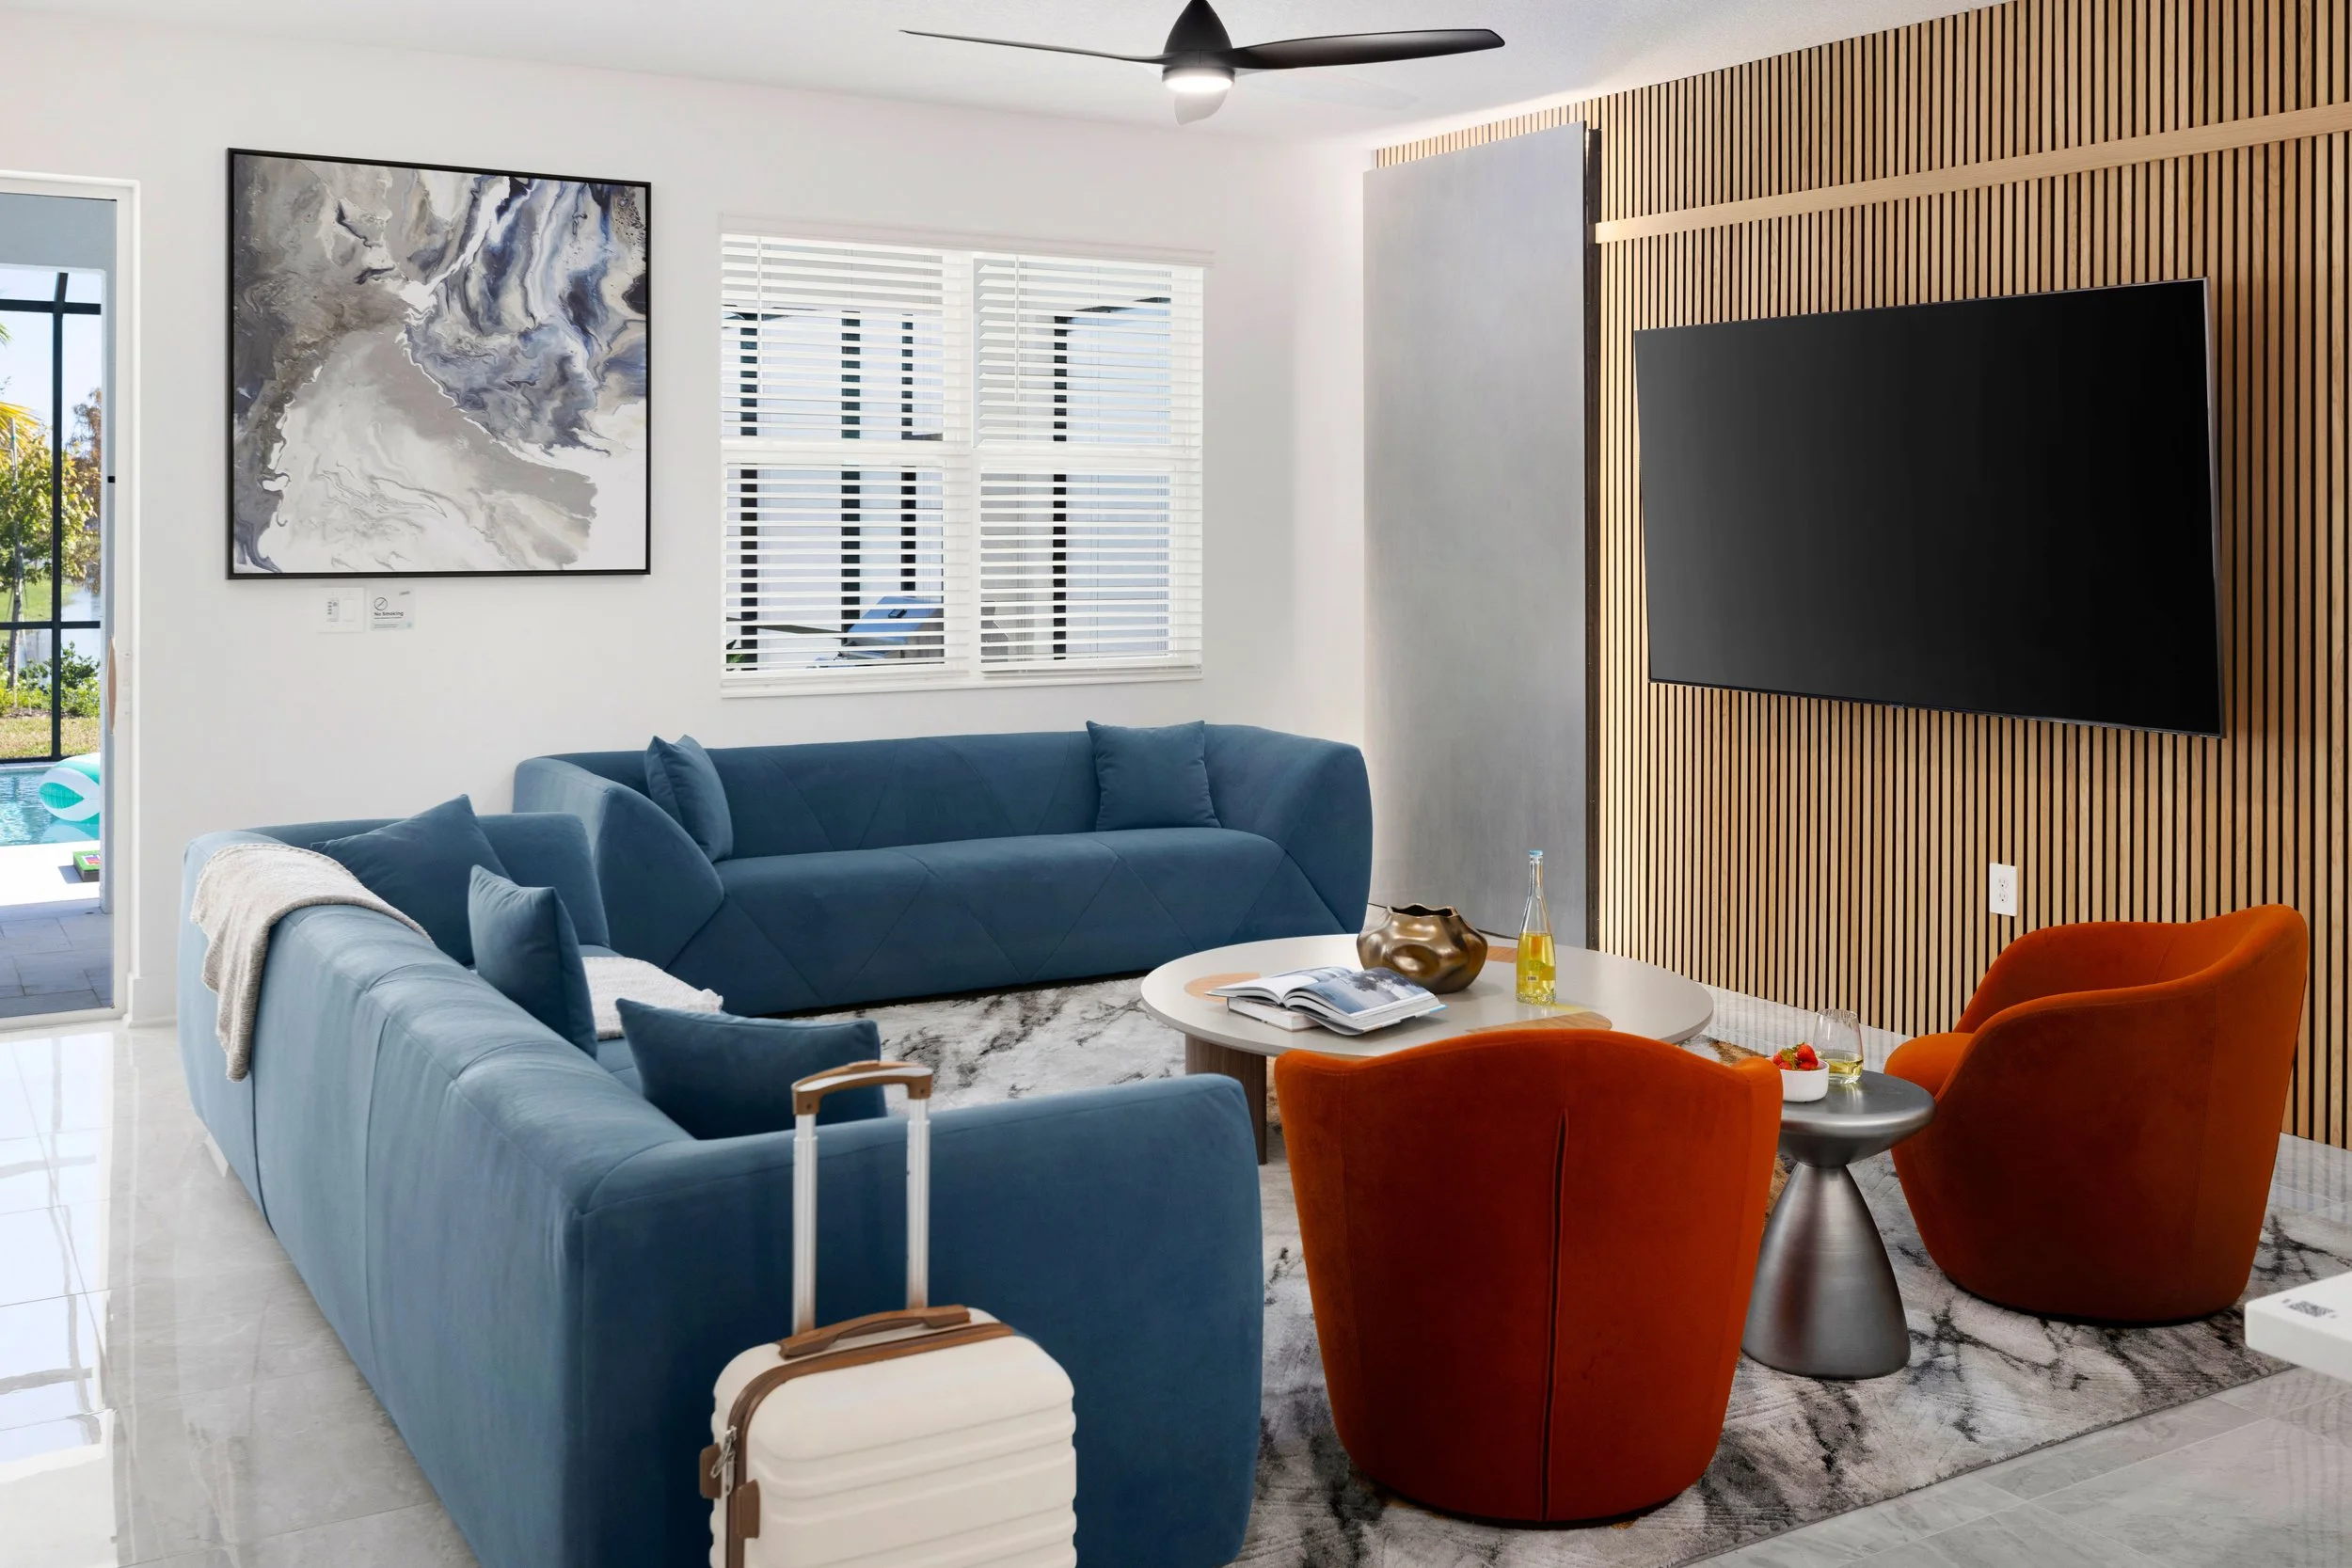
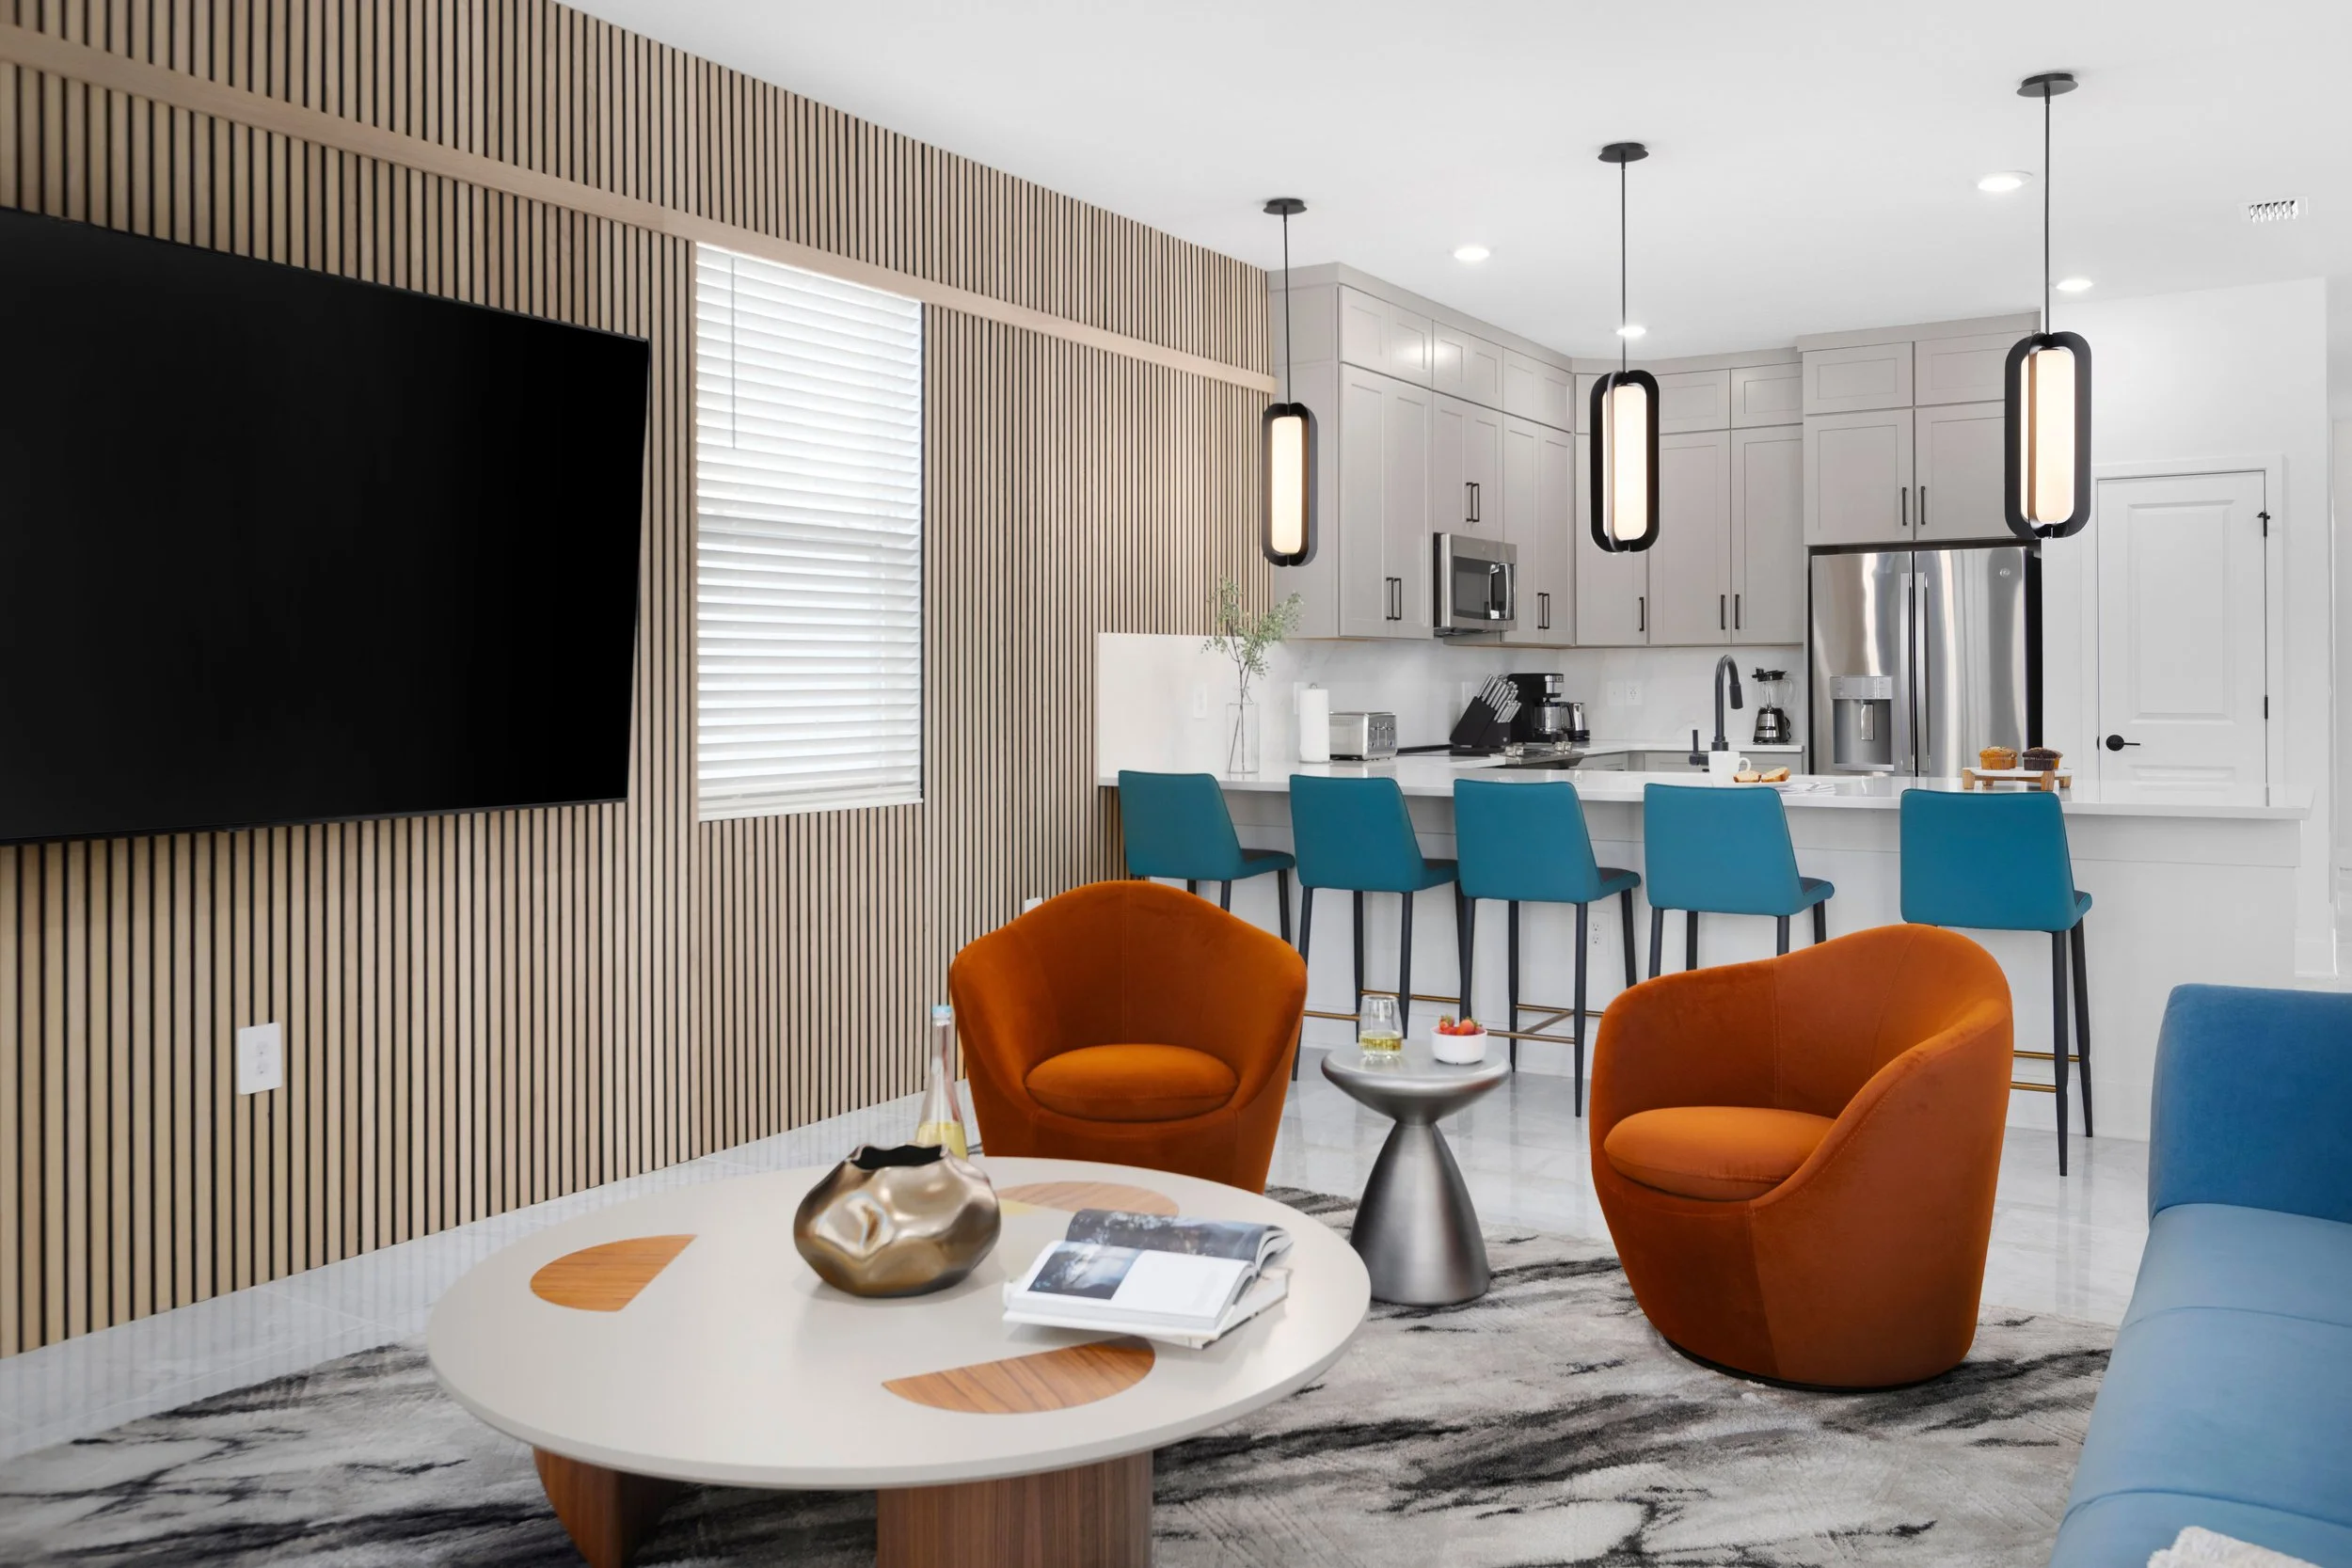
When the project is finished and styled, the professional shoot should recreate the before angles first, then move on to the hero frames and details that make the portfolio. Share your before photos and notes with the photographer ahead of the shoot so they can match position, height and lens as closely as possible.
A few matched pairs are usually enough for social media. The rest of the shoot can focus on the finished space on its own terms: the best overall view, vignettes, materials and the details that show your hand. Our post on how to prepare for an interior design photoshoot covers styling and scheduling.
If the design is a single room, such as a primary bath or kitchen, a tight set of three or four pairs often tells the story better than a full gallery.
Pace the reveal and write useful captions
How you present the pairs matters as much as the photos:
- Carousels. Lead with the strongest after, then show the before, then the remaining pairs. Some designers prefer to lead with the before to build curiosity; test both with your audience.
- Short reels. A matched before and after with a simple wipe or cut works well when the angles truly line up. If they do not, a carousel is more forgiving.
- Captions that explain decisions. Say what changed and why: the layout problem you solved, the materials you chose, how the client uses the room now. That is what turns a pretty post into a reason to hire you.
- Credit your team. Builders, contractors, stagers and the photographer appreciate tags, and many will share the post.
Before-and-afters work best as one part of a wider portfolio. Our guide to interior design portfolio photography explains how to build a body of work clients trust.
When you plan the project with the before-and-after in mind, the finished post almost writes itself. JRP photographs interior design projects across Orlando, Tampa Bay, Austin and San Antonio.
We are glad to work from your before photos to match the angles. Ready to book? Call or text (689) 600-2131 or get in touch.