In Central Florida, the pool and lanai are often the second-most important space in a listing after the kitchen — and they are also the hardest part of the house to photograph well. Here is how professional shoots handle them.
Why Screened Pools Are Genuinely Difficult
A screen enclosure is a giant gray filter sitting between the camera and everything you want the buyer to see. Shoot it wrong and you get three problems at once:
Moiré patterns. The repeating screen mesh interacts with the camera sensor grid and produces wavy rainbow artifacts across the frame.
Flattened contrast. Screen material cuts light and desaturates whatever is behind it, so the pool water reads gray instead of blue.
Blown-out surroundings. The lanai is in deep shade while the yard beyond the screen is in full Florida sun — a dynamic range gap most cameras cannot hold in one exposure.
None of these are fixed in editing. They are fixed at capture, with the right lens position, the right time of day, and bracketed or flashed exposures blended by hand.
Time of Day Matters More Here Than Anywhere Else
For a screened pool in Orlando or Tampa, mid-day is usually the worst option. High sun throws hard shadow grids from the screen frame across the deck and turns the water into a mirror of glare. Better windows:
Mid-morning or late afternoon, when the sun is off-axis and the water holds color instead of reflecting sky.
Overcast-bright days, which even out the light and eliminate the screen-shadow grid entirely.
Twilight, if the pool has lighting. A lit pool at dusk is one of the single strongest images in a Florida listing gallery — the water glows, the screen disappears into the dark, and the lanai reads like an outdoor room.
If a home’s main selling point is the pool, it is worth scheduling the shoot around the pool rather than around convenience.
What Sellers Should Do Before the Shoot
Pool areas photograph poorly when they are cluttered, and pool clutter is different from indoor clutter. A short prep list:
Run the pump and skim the surface the morning of the shoot — leaves and pollen film show clearly in wide shots.
Retract or fully extend the pool cover; a half-rolled cover is the most common ruined-photo culprit.
Remove floats, noodles, skimmer poles, vacuum hoses, and the robot cleaner.
Store pet bowls, toys, and hose reels out of frame.
Set the patio furniture square and symmetrical, and add cushions if they have been stored.
Clean the screen where it is obviously stained; algae streaks read as gray blotches in photos.
Turn on pool and landscape lighting if a twilight shoot is scheduled.
Ten minutes of this work is worth more than any amount of editing afterward.
Shooting Through Versus Shooting Inside
There are two distinct sets of images a good pool shoot delivers, and listings need both.
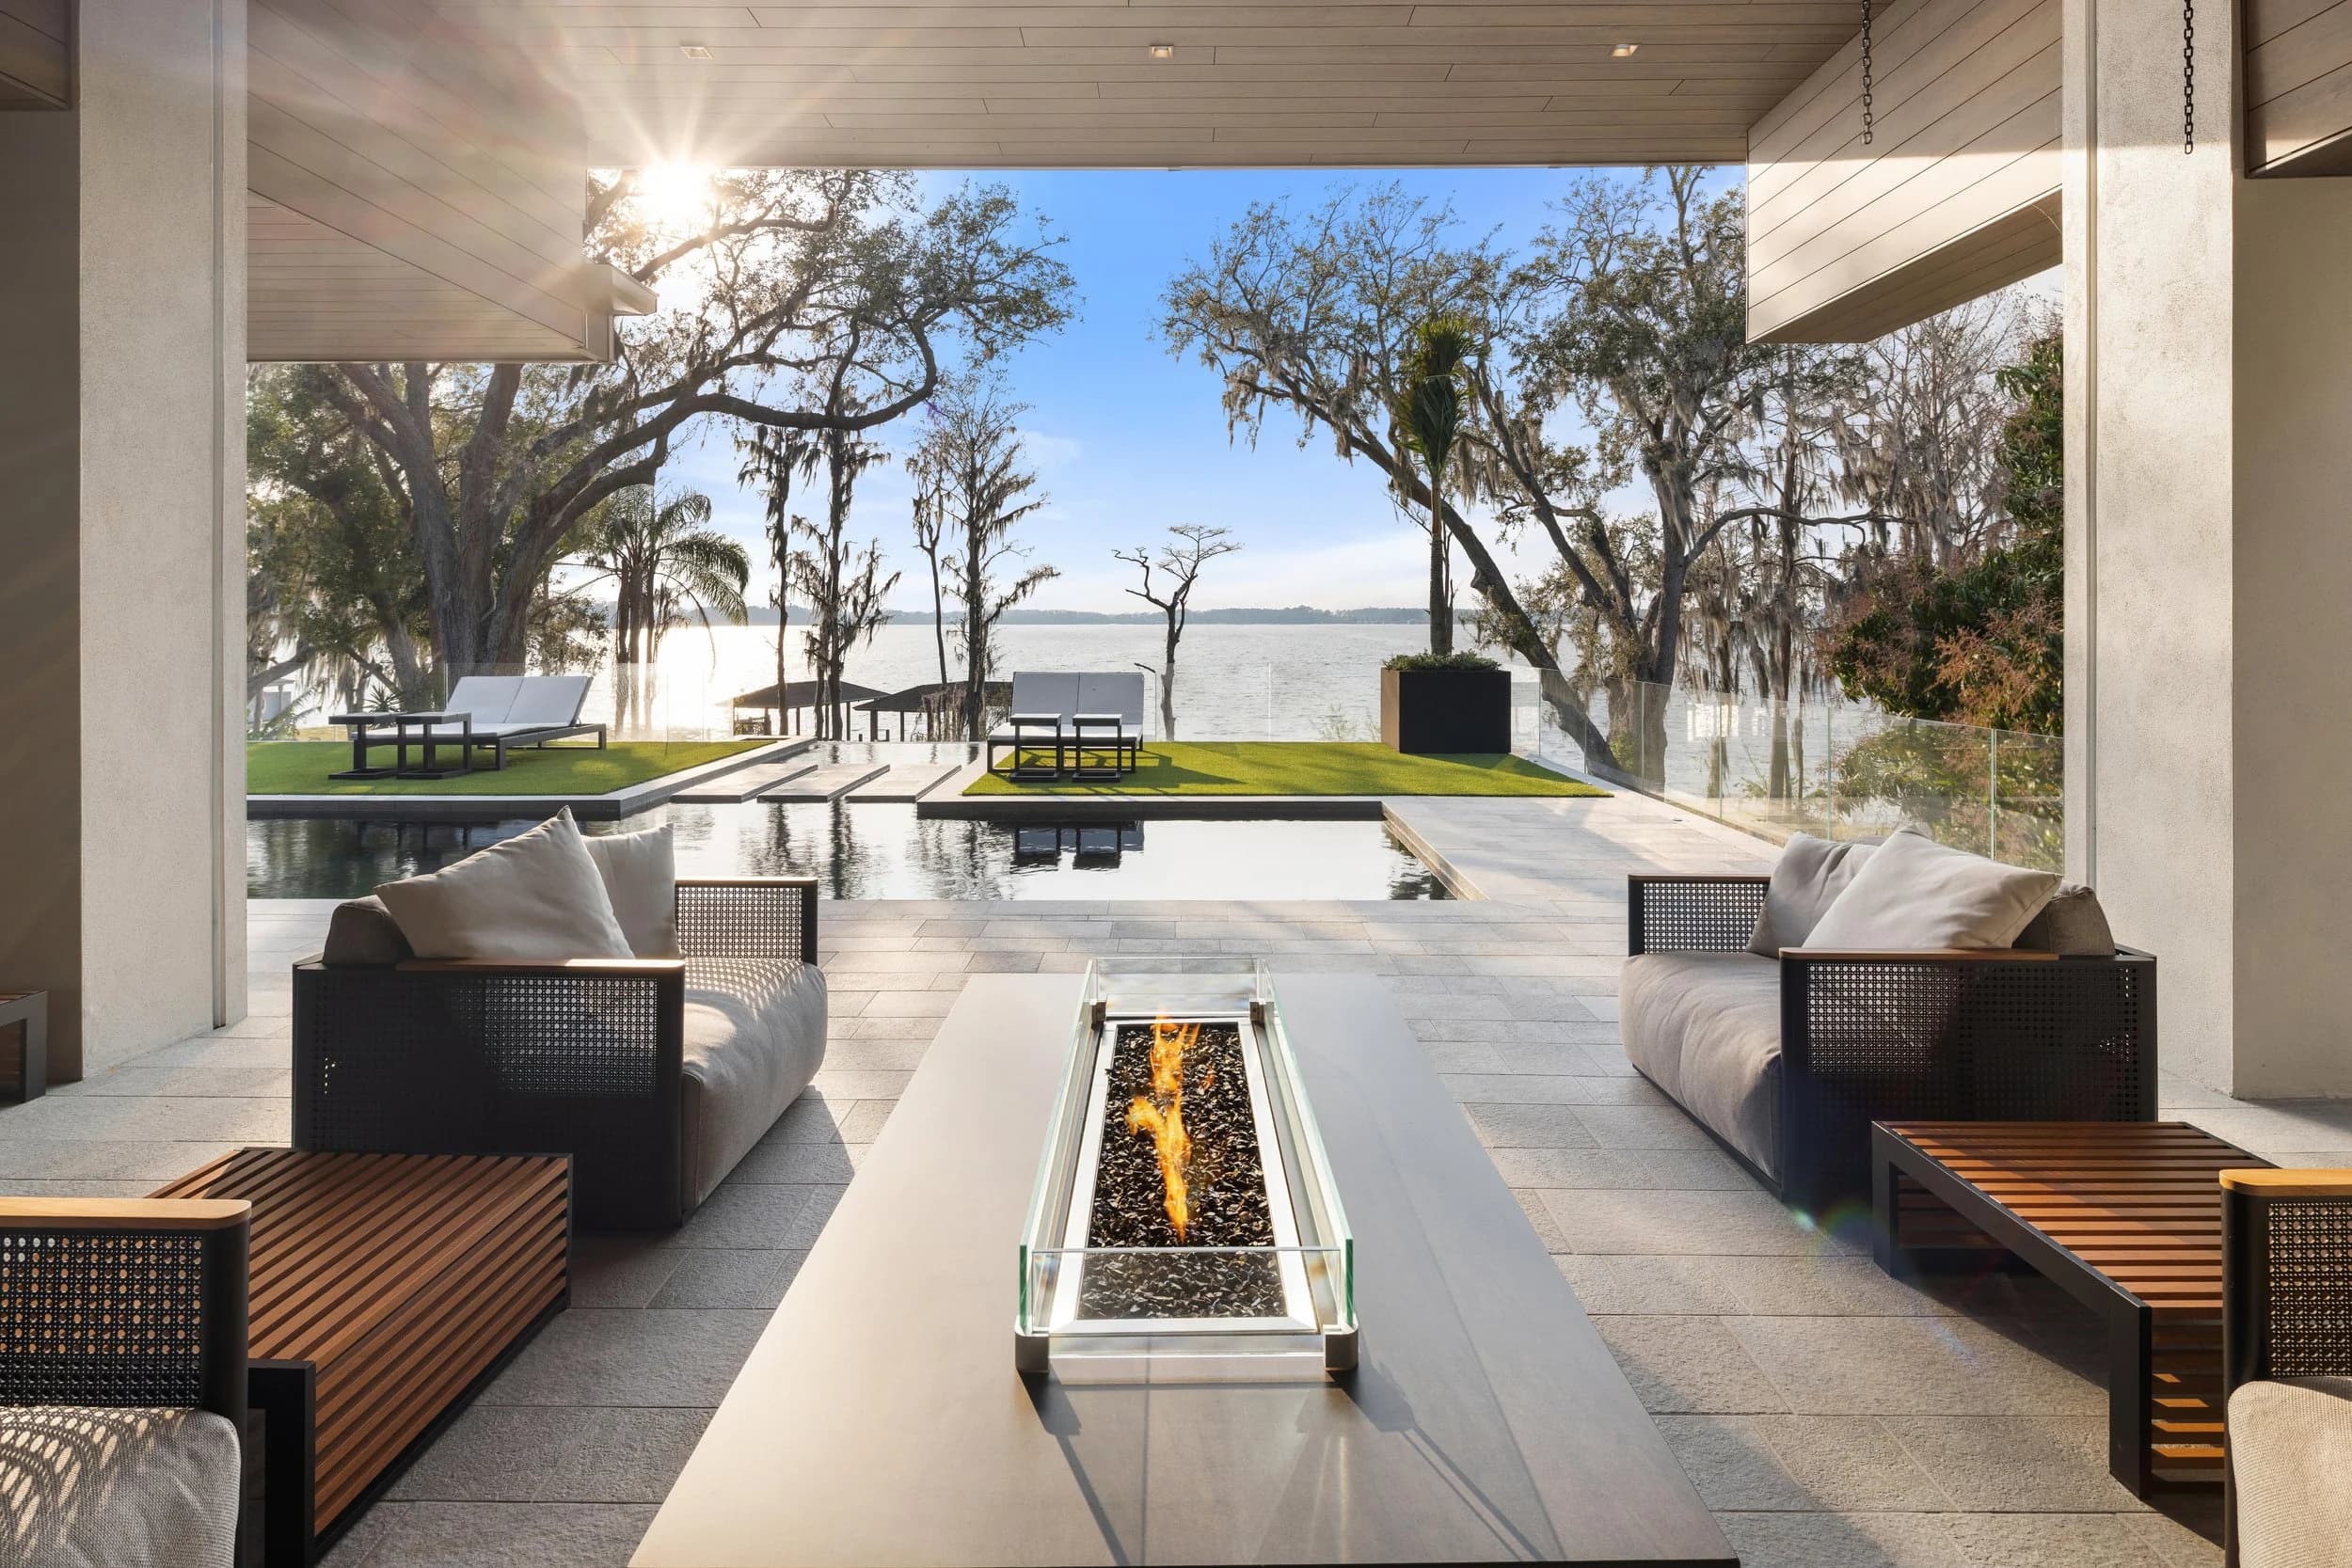
From inside the enclosure, the goal is to show the lanai as living space — covered seating, outdoor kitchen, ceiling fans, and the relationship between the sliders and the water. These are the images that tell a buyer how they would actually use the home.
From outside the enclosure, the goal is scale and setting — the footprint of the pool, the size of the yard, the fence line, and whether the property backs to a conservation area, a pond, or another house. Buyers shopping Florida homes remotely care intensely about what is behind the screen.
Drone helps enormously here. An aerial from 40 to 60 feet shows the pool, the deck, the yard, and the surroundings in one frame, and it sidesteps the screen-moiré problem because the camera looks down through the panel rather than across it. For waterfront and conservation-lot homes, that single overhead shot often does more selling than any interior image.
Common Mistakes Worth Avoiding
A few patterns show up constantly in do-it-yourself pool photos:
Shooting from the doorway only. One wide shot from the sliders does not show the pool shape or depth.
Including your own reflection in the water or in the glass slider — easy to miss, impossible to ignore once seen.
Letting the screen dominate the frame. If two-thirds of the image is mesh, the buyer sees a cage, not a pool.
Skipping the spa. Attached spas are a real value driver and deserve their own frame.
Over-saturating the water. Buyers notice when the water in the photos does not match the water in person, and it costs credibility at the showing.
The Bottom Line for Agents and Builders
In Florida, the pool and lanai are not a bonus feature. For a large share of buyers, especially out-of-state ones, they are the reason the home made the shortlist. That makes them worth planning the shoot around: the right time of day, a genuine prep pass, images from both inside and outside the enclosure, and an aerial for context.
If you are marketing new construction, the same logic applies to model home lanais and community pools. Amenity spaces sell the lifestyle, and screened amenity spaces need the same technical care as a private pool deck.
Ready to book? Get in touch or call us — we serve Orlando, Tampa Bay, and Central Texas.