A construction time-lapse turns months of work into a minute or two of video. Footings, framing, roof trusses, and finishes appear in sequence, and a project that took most of a year seems to rise out of the ground. For home builders, developers, and general contractors in Orlando, Tampa Bay, Central Florida, Austin, and San Antonio, a well planned time-lapse becomes one of the most reusable marketing assets of the whole project.
This guide covers how construction time-lapse works, how to choose a capture interval, and when it is worth the planning.
How a Construction Time-Lapse Works
A fixed camera is mounted on a pole, a neighboring building, or a temporary structure with a clear view of the site. It captures a still frame on a schedule, such as every five or ten minutes during working hours. Those frames are later assembled into video, so a full day of work might become a second or two on screen.
The camera typically runs on its own power, often a battery with a solar panel, and stores images on a memory card or sends them to the cloud. The site team mostly forgets it is there, which is the point. The result is an honest record of how the work actually progressed.
Choosing the Capture Interval
The interval is the time between frames, and it shapes how smooth the final video looks. Shorter intervals give smoother motion but more files to store and sort. Longer intervals save power and storage but can make fast phases look jumpy.
As a general guide:
- Short projects lasting days to a few weeks, such as a pour or a single home's framing, work well at one to five minute intervals.
- Medium projects such as a custom home or a small commercial building often use five to fifteen minute intervals.
- Long projects such as a multifamily building or a large amenity center can run at fifteen to thirty minute intervals, with tighter capture during busy phases like crane lifts or concrete pours.
Many builders schedule the camera for working days only, which keeps nights and weekends out of the footage and saves storage.
Pick the Camera Position Before the First Shovel
Placement is the most important decision, and it has to be made before work begins. The camera needs a view that will stay clear for the entire build: not blocked by a future wall, a staging area, a dumpster, or a tree that will leaf out in spring. It also needs to be safe from equipment and secure from theft.
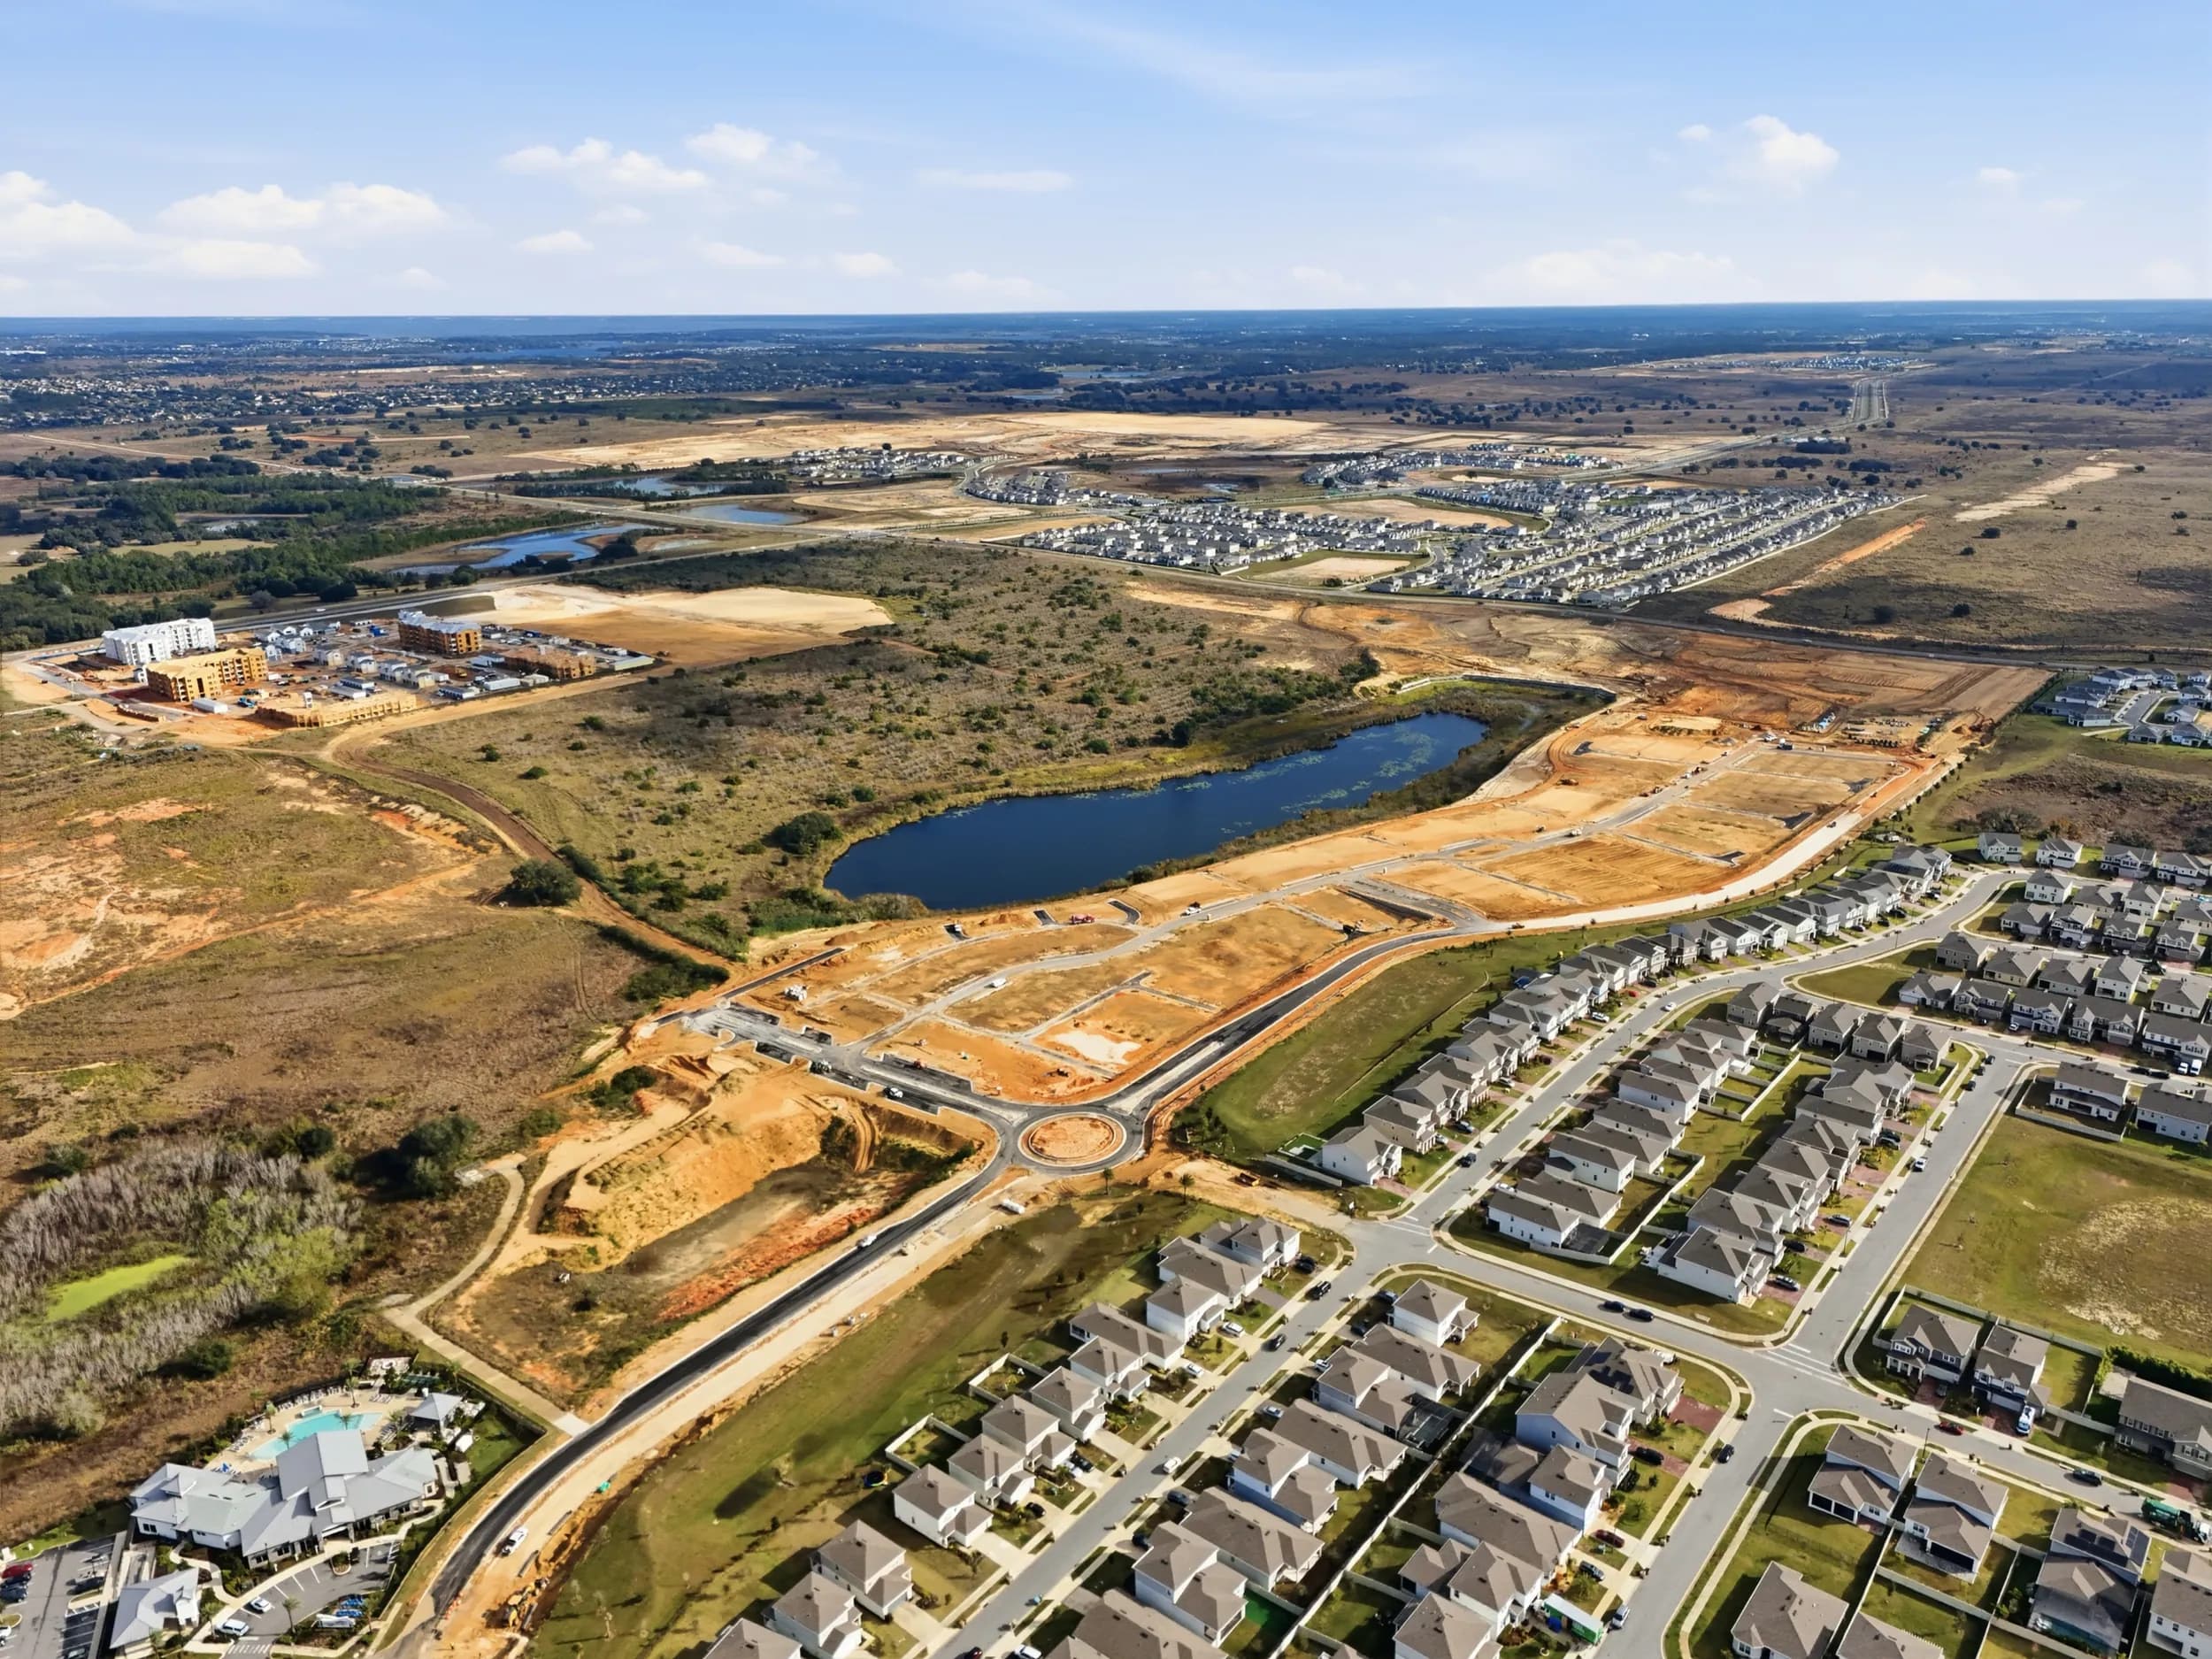
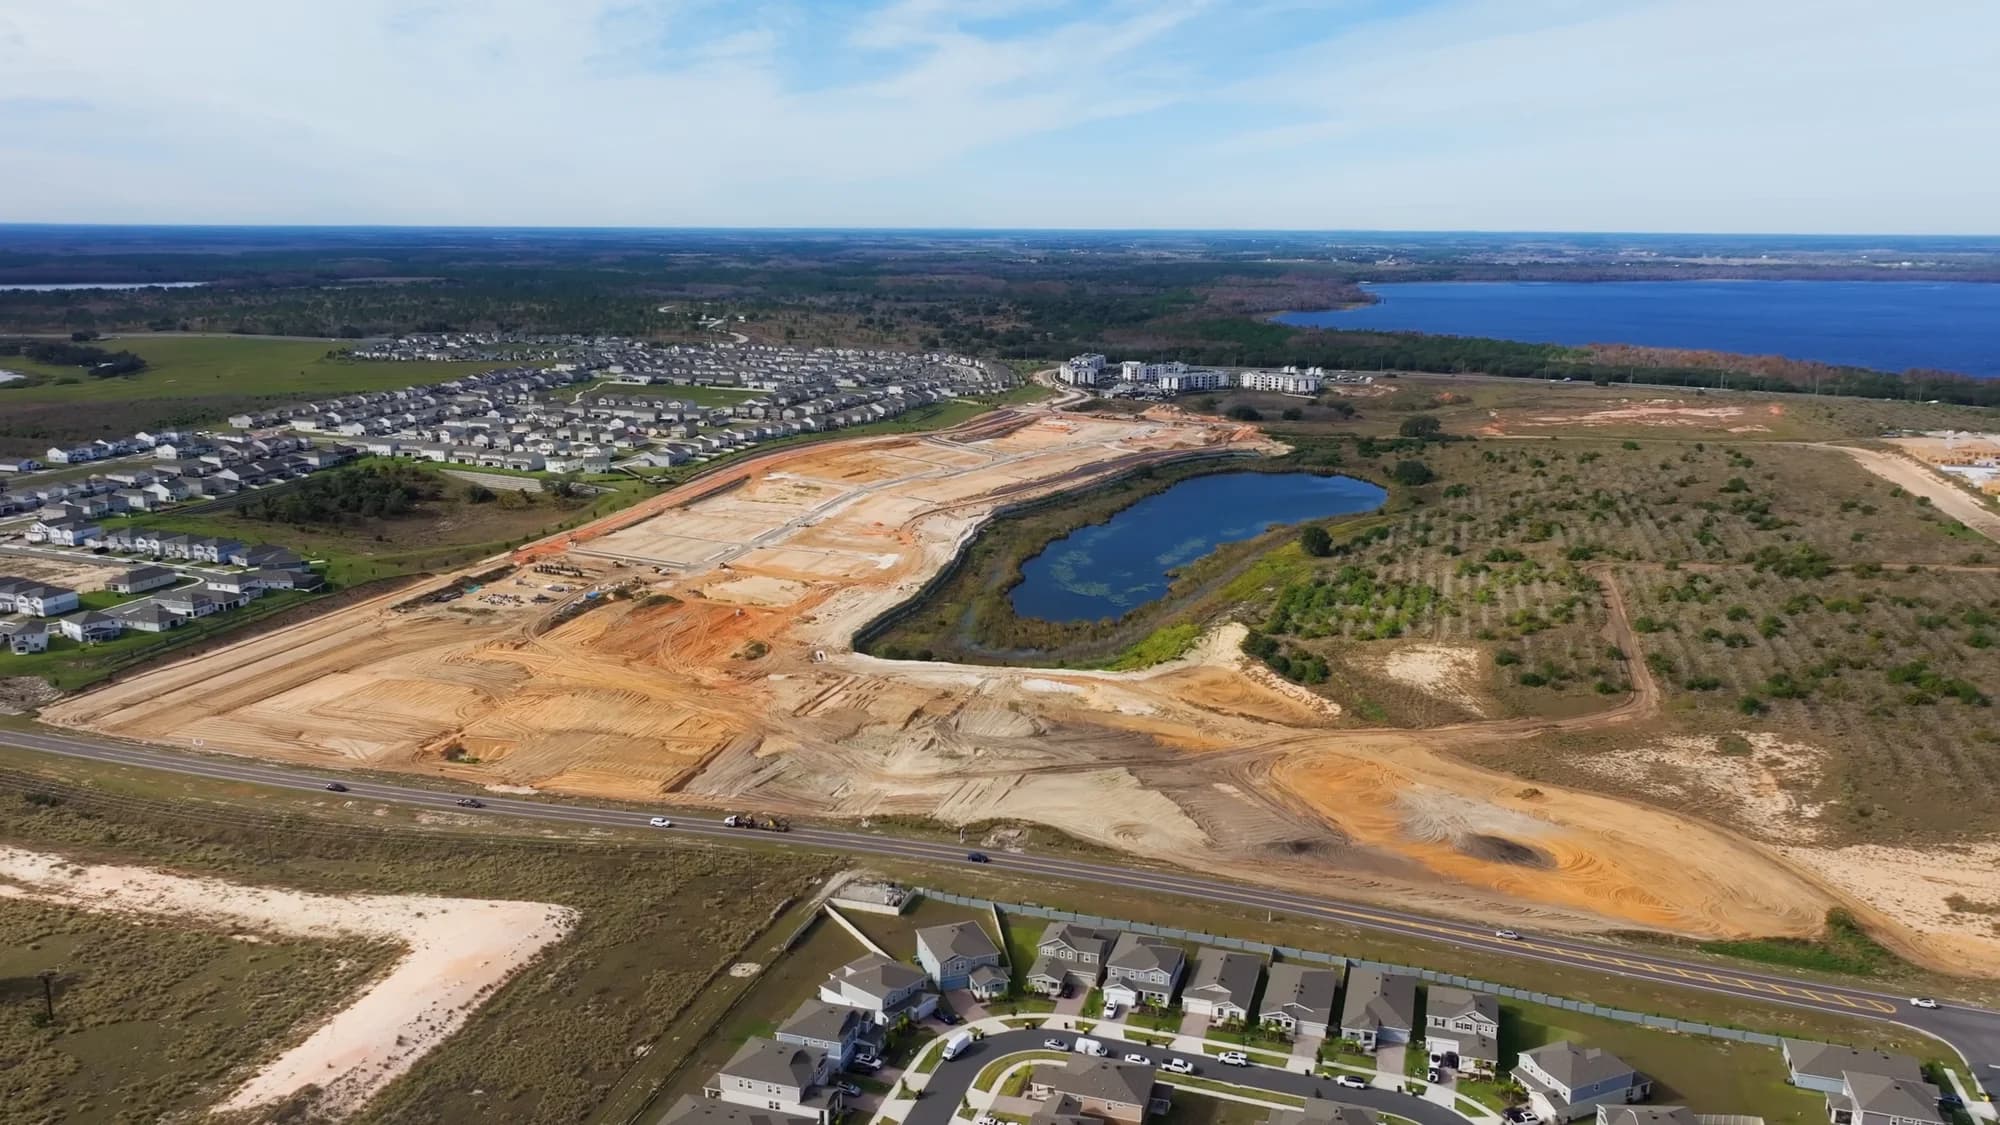
A slightly elevated angle usually tells the story best, showing the footprint at the start and the full structure at the end. For larger sites, a second camera on another side, or periodic drone flights from the same position, adds context. Our guide to construction progress photography for developers covers how scheduled stills and drone captures fit alongside a time-lapse.
Plan for Florida and Texas Weather
Weather affects both the equipment and the footage. Summer storms, lightning, and high heat are real concerns in Central Florida, and Central Texas brings its own heat and sudden storms. The housing should be weather rated, the mount should be secure enough for high winds, and someone should check the camera after major storms. During hurricane season, have a plan for taking the camera down if a storm threatens the site. Our post on hurricane season and listing photos covers storm-season planning more broadly.
Where Builders and Developers Use the Footage
A time-lapse earns its keep after the build, across many channels:
- Community and model home launch videos.
- Website pages for a new phase or community.
- Social posts, including short vertical clips for reels.
- Investor, lender, and partner updates during construction.
- Sales center displays that show buyers how the homes are built.
- Recruiting and brand videos for the builder or contractor.
It also has a practical side. Project managers use the footage to review sequencing, and the record can help settle questions about when work happened. Our post on why home builders need professional construction progress photos explains the documentation value in more detail.
Finish the Story With a Final Shoot
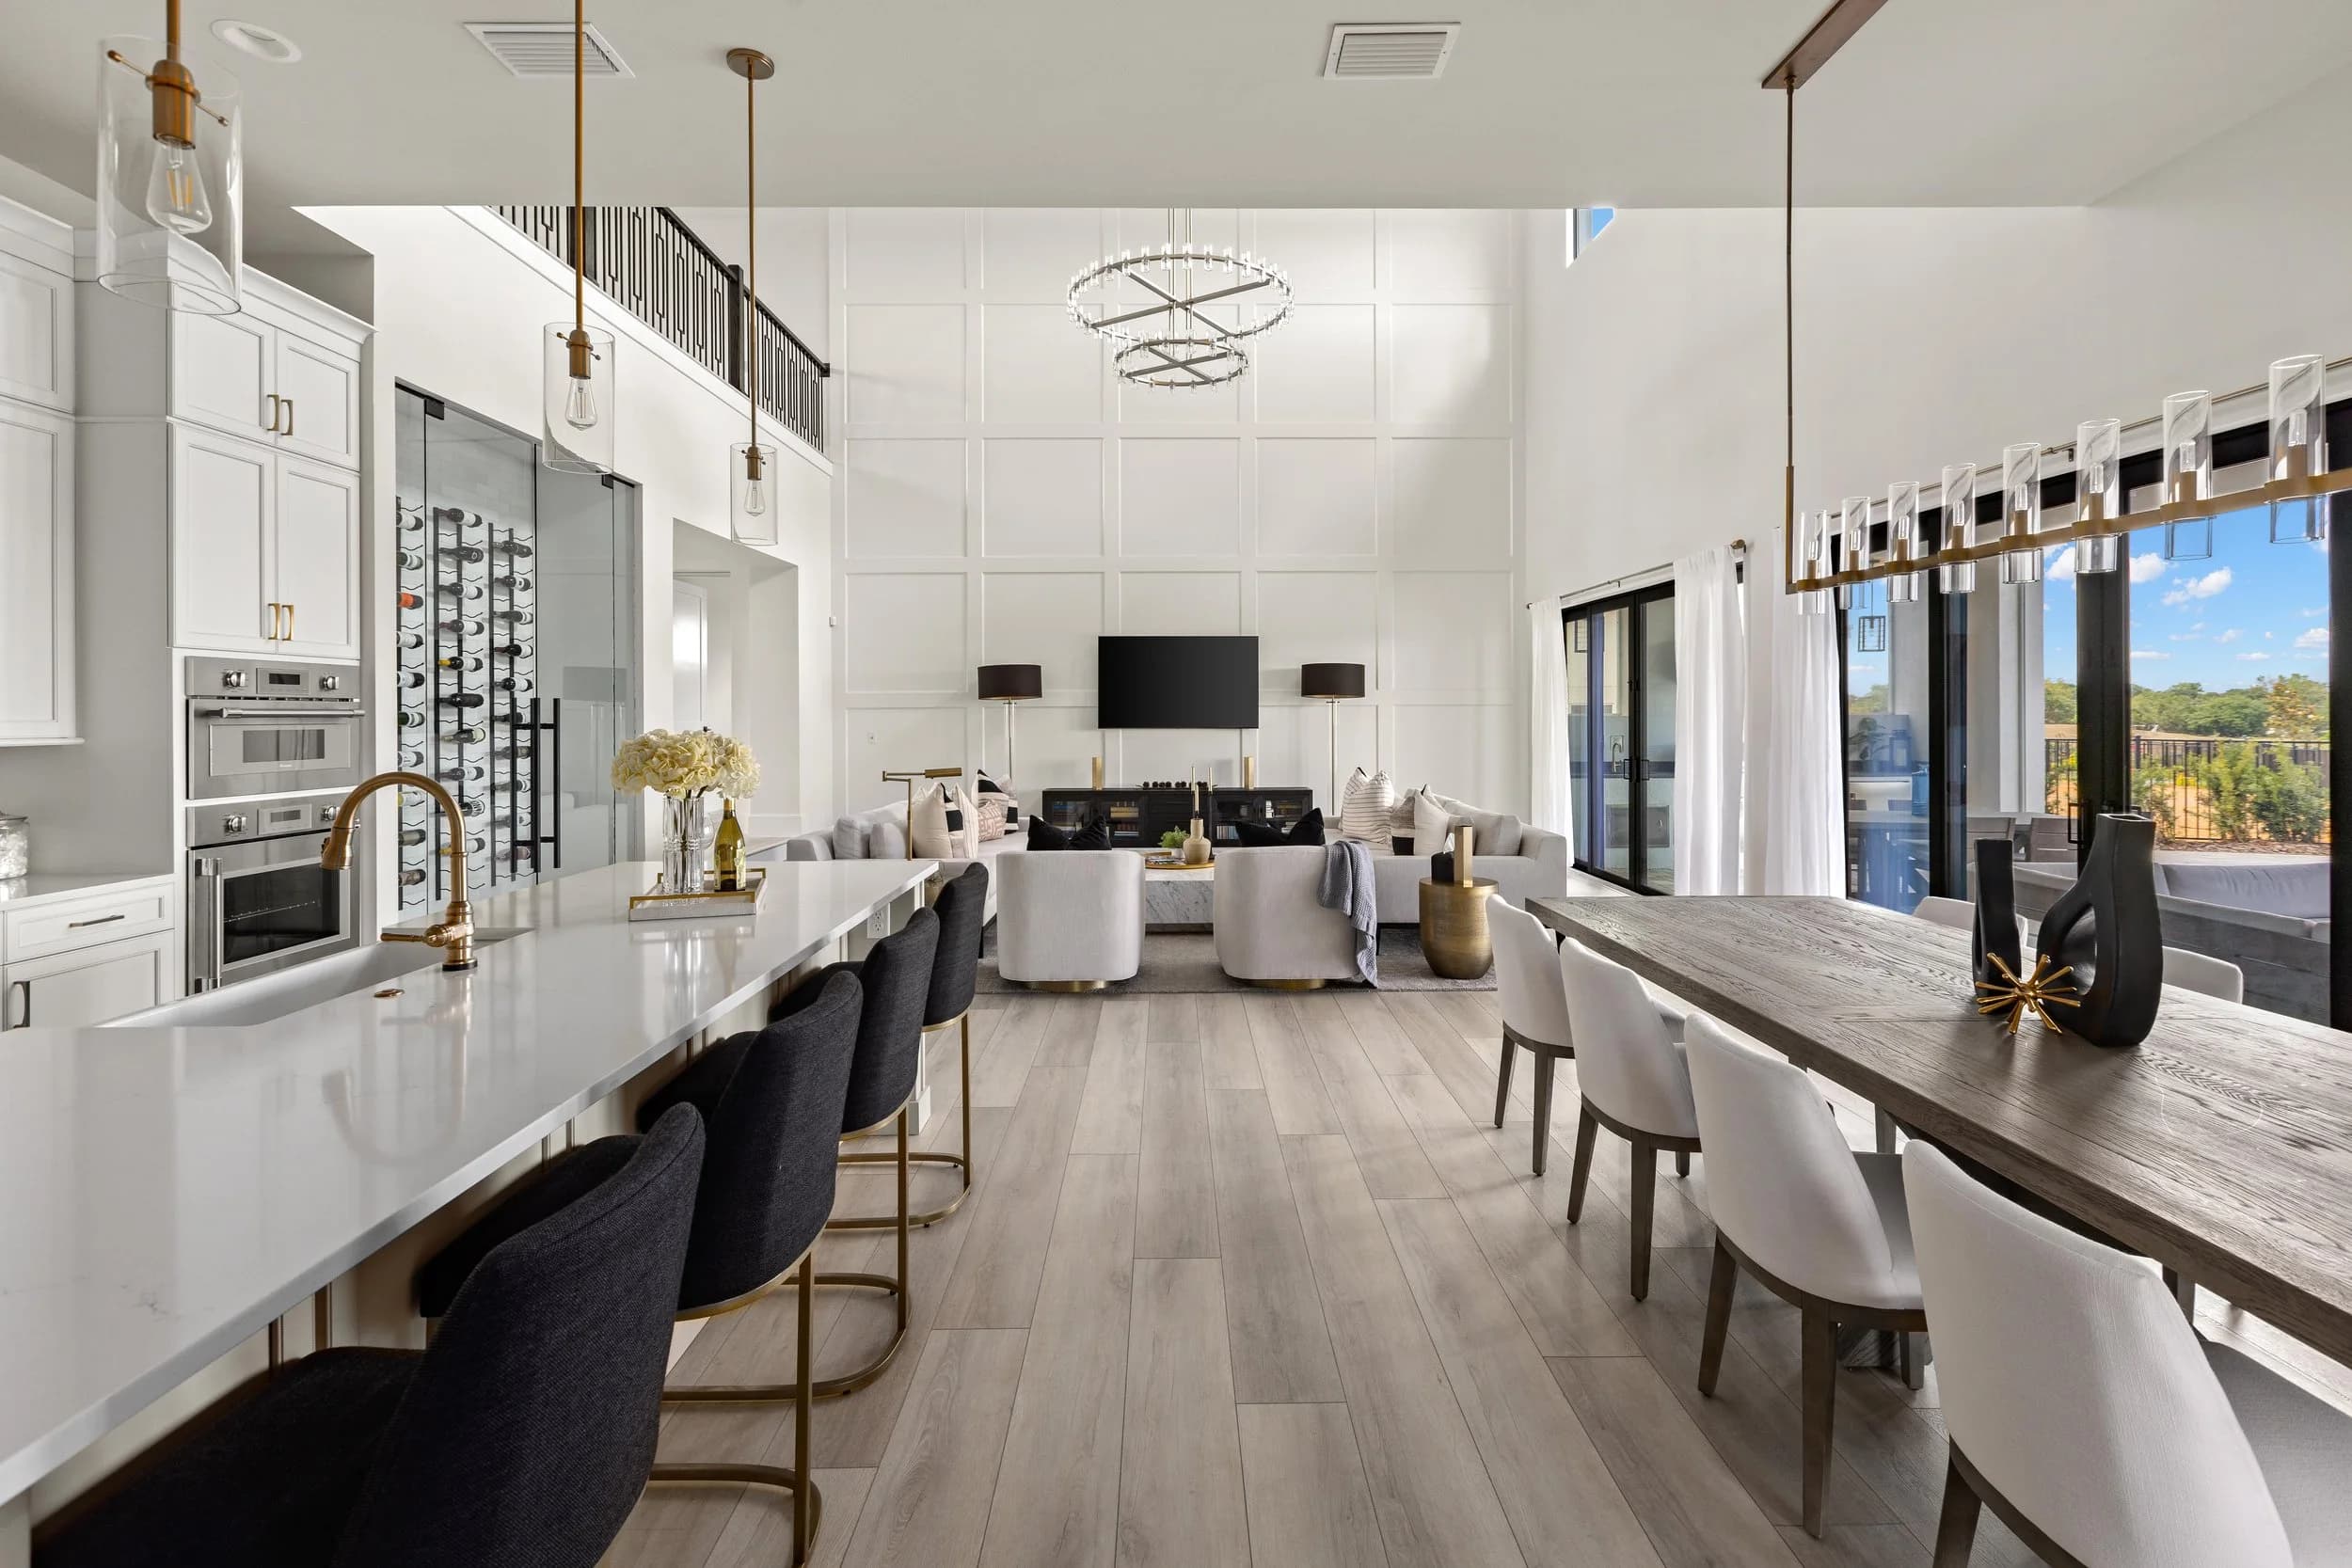
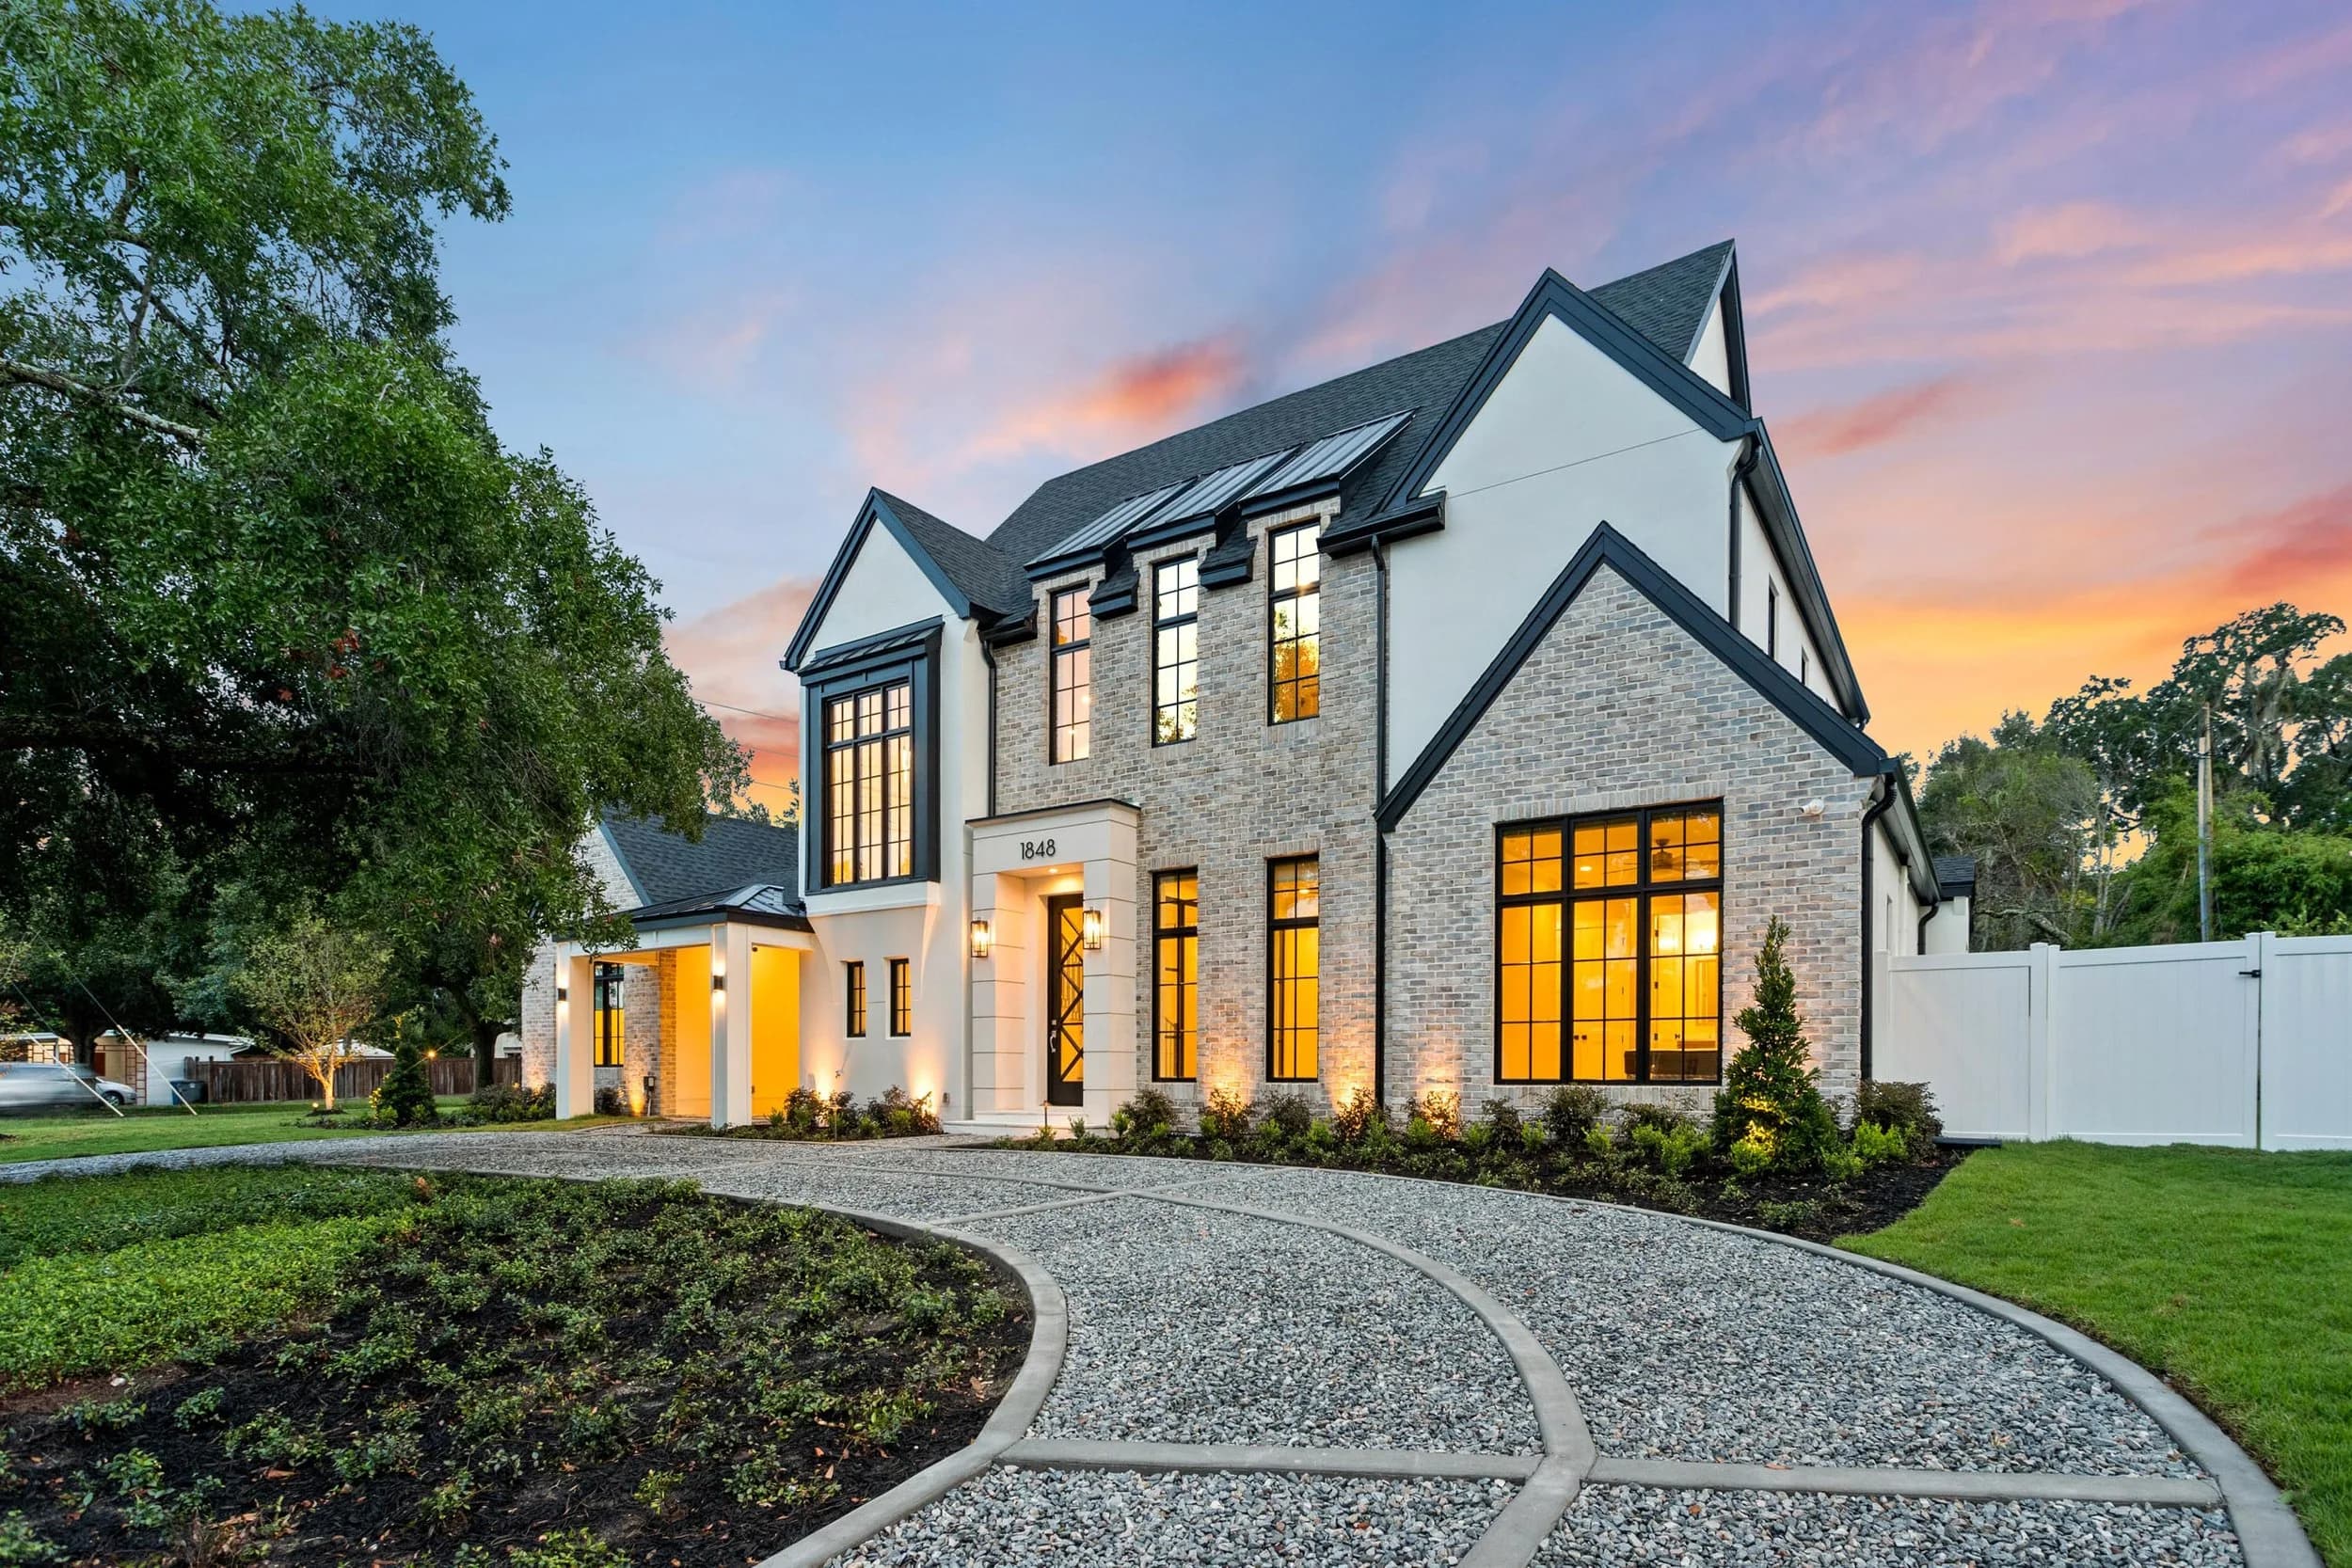
The best time-lapse videos end on a high point: the finished home or building, landscaped and lit at dusk. Pairing the time-lapse with a professional photo, video, and drone shoot when construction wraps gives you a complete arc, from empty lot to finished product. Builders often cut both together into a single launch video.
Is a Time-Lapse Worth It?
For a single spec home, scheduled progress photos may be enough. For a model home, a signature custom build, an amenity center, a multifamily project, or the first phase of a new community, a time-lapse is usually worth it, because the footage keeps working for years. Timing for the finished edit is confirmed at booking. Ready to book? Call or text (689) 600-2131 or get in touch.